Last Tuesday wasn’t supposed to be anything special. I popped over to my neighbor’s place to borrow a kitchen gadget I forgot at home. Before I even stepped inside, the smell of warm peanut butter and sweet oats hit me from the doorway—honestly, it was kind of impossible to ignore. She wasn’t making a big deal out of it, just casually mixing ingredients in a chipped old bowl that looked like it had seen better days. The simplicity was what struck me: no oven preheating, no fancy tools, just a few pantry staples coming together effortlessly.
She offered me one of these easy no-bake peanut butter oat lunchbox cookies without any fanfare, like it was just a snack she whipped up between errands. But that first bite? It stuck with me. The perfect balance of chewy oats and creamy peanut butter, not too sweet, and just enough bite to make you want another. Maybe you’ve been there—caught off guard by something unexpectedly delicious that feels homemade but not at all complicated.
I left with a small stack tucked in a paper towel, promising myself I’d make these ASAP. Since then, these cookies have become my go-to when I need a quick, satisfying snack that’s both kid-friendly and adult-approved. Honestly, it’s the kind of recipe that feels like a little secret between friends—simple, reliable, and downright comforting.
Why You’ll Love This Recipe
This easy no-bake peanut butter oat lunchbox cookies recipe ticks all the boxes for a fuss-free, tasty snack. It’s been tested over and over (and yes, sampled by plenty of picky eaters) to get just right.
- Quick & Easy: Comes together in under 15 minutes, which is perfect for those busy mornings or last-minute snack needs.
- Simple Ingredients: You probably have everything in your pantry already—no special trips required.
- Perfect for Lunchboxes: These cookies hold up well without crumbling, making them ideal for school or work snacks.
- Crowd-Pleaser: Kids and adults alike love the chewy texture and rich peanut butter flavor.
- Unbelievably Delicious: The combo of oats and peanut butter creates a satisfying texture that feels indulgent but wholesome.
What sets this recipe apart is its fuss-free nature. No baking means no heating up the kitchen or waiting around for cookies to cool. Plus, the balance of flavors is spot-on, thanks to just the right amount of honey and a sprinkle of vanilla. It’s not just another peanut butter cookie; it’s the one you reach for when you want something comforting but totally doable on a weeknight.
Honestly, after trying this, you might find yourself keeping peanut butter stocked just for these cookies. They’re the kind of snack that makes you close your eyes for a moment and savor that sweet, nutty goodness, whether you’re packing a lunch or sneaking one between meetings.
What Ingredients You Will Need
This recipe uses simple, wholesome ingredients to deliver bold flavor and satisfying texture without the fuss. Most are pantry staples, and substitutions are easy if you need them.
- Old-Fashioned Rolled Oats – 2 cups (180g); these give the cookies their hearty chew. Avoid instant oats as they can get mushy.
- Natural Peanut Butter – 1 cup (250g); creamy or chunky works, but I prefer creamy for a smoother bite. I recommend brands like Smucker’s Natural or Justin’s.
- Honey – ⅓ cup (113g); acts as the sweetener and binder. Maple syrup is a great vegan swap.
- Unsalted Butter – ¼ cup (56g), melted; adds richness and helps the cookies set.
- Vanilla Extract – 1 teaspoon; just a touch to deepen the flavor.
- Salt – ¼ teaspoon; balances the sweetness and enhances peanut butter’s flavor.
- Mini Chocolate Chips – ½ cup (90g), optional; a little indulgence that kids love. Use dairy-free chips if needed.
If you’re gluten-sensitive, make sure to use certified gluten-free oats. For a dairy-free version, swap the butter for coconut oil or a plant-based margarine. In summer, adding chopped dried fruit like cranberries or apricots can give a nice burst of flavor. These ingredients are easy to find at most grocery stores—nothing too fancy or intimidating.
Equipment Needed
- Mixing Bowl: A medium to large bowl to combine everything. I like using glass or stainless steel for easy cleanup.
- Wooden Spoon or Silicone Spatula: For mixing the sticky dough without scraping your hands.
- Measuring Cups and Spoons: Precision helps get the texture right, especially with oats and honey.
- Baking Sheet or Tray: To set the cookies while they firm up in the fridge. A silicone mat or parchment paper is best to prevent sticking.
- Refrigerator: For chilling the cookies until they’re set. No special tools needed, but it helps if you have a shelf space ready.
If you don’t have a scale, don’t worry—measuring cups work fine for this. I once made these using a mismatched spoon and a small bowl when I was in a rush, and they still turned out great. Just remember to scrape the peanut butter out carefully; it’s the flavor star, so every bit counts.
Preparation Method
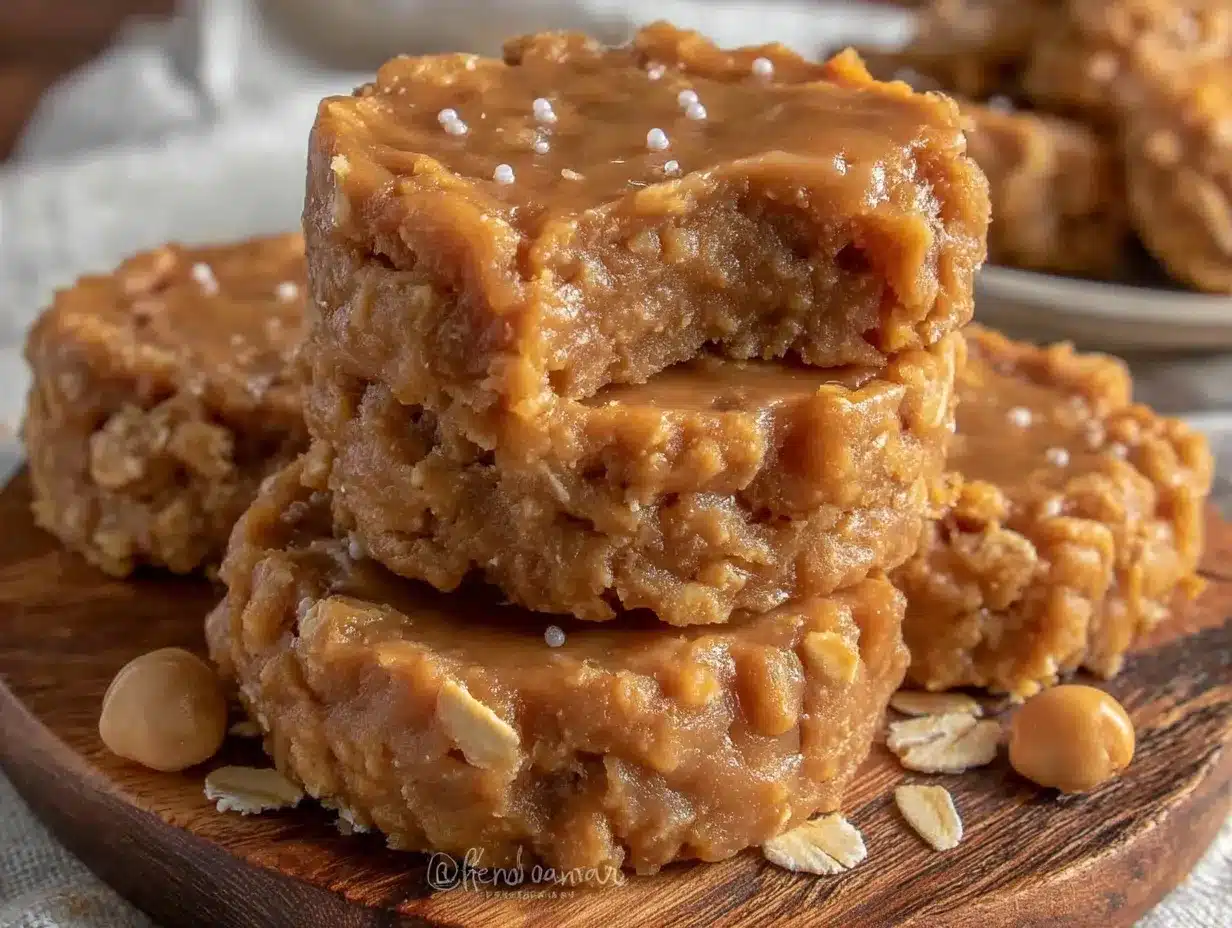
- Gather your ingredients: Measure out 2 cups (180g) of old-fashioned rolled oats, 1 cup (250g) natural peanut butter, ⅓ cup (113g) honey, ¼ cup (56g) melted unsalted butter, 1 teaspoon vanilla extract, and ¼ teaspoon salt. If using, have ½ cup (90g) mini chocolate chips ready. Prep time: 5 minutes.
- Mix the wet ingredients: In your mixing bowl, combine the peanut butter, honey, melted butter, and vanilla extract. Stir vigorously until the mixture is smooth and glossy, about 1-2 minutes. It might look a bit runny—that’s perfect. If you feel it’s too thick, a splash of milk (dairy or plant-based) can help loosen it slightly.
- Add dry ingredients: Sprinkle in the oats and salt. Fold gently but thoroughly until the oats are fully coated. At this stage, the mixture should be sticky enough to hold its shape when pressed together. If you’re adding chocolate chips, fold them in at this point. Troubleshooting tip: If the mixture feels crumbly and won’t stick, add a teaspoon of honey or a tiny bit more melted butter.
- Scoop and shape: Using a tablespoon or small cookie scoop, drop portions of the mixture onto your lined baking sheet. Press each mound down gently with your fingers or the back of a spoon to flatten slightly into cookie shapes. This step is quick—aim for uniform sizes so they set evenly. Time: about 5 minutes.
- Chill to set: Place the tray in the refrigerator for at least 30 minutes. The cookies will firm up nicely, making them easy to handle and pack. If you’re in a hurry, freezing them for 15 minutes works too.
- Store and enjoy: Once set, transfer to an airtight container. These cookies keep well refrigerated for up to a week and freeze beautifully for longer storage.
Pro tip: When pressing the cookies, don’t over-flatten—you want some thickness for that chewy texture. Also, if you find the mixture sticking to your hands, dampen them slightly with water or oil for a smoother shaping process. I learned this the hard way after a sticky mess one afternoon!
Cooking Tips & Techniques
Making no-bake cookies sounds simple, but a few tricks make all the difference. First, always use old-fashioned rolled oats rather than instant oats to maintain a chewy texture. Instant oats tend to break down too much and give a mushy result.
Don’t skimp on stirring the peanut butter and honey mixture—it needs to be smooth and well combined to help bind the oats. I’ve found that warming the peanut butter slightly in the microwave (about 15 seconds) makes mixing easier, especially in cooler kitchens.
When shaping the cookies, keep your hands just a little damp (water or a bit of oil) to prevent sticking. And don’t worry if the mixture feels a bit loose; chilling will firm it up nicely.
Common mistake? Adding too many mix-ins like chocolate chips or nuts can make the cookies fall apart. Stick to about ½ cup total for mix-ins to keep the balance right.
Timing-wise, multitasking works well here. While the cookies chill, you can tidy up the kitchen or prepare other lunchbox items. These cookies are forgiving, so even if you take a few extra minutes, they’ll turn out great.
One time, I accidentally used crunchy peanut butter and the texture was a bit uneven, but honestly, some folks liked that added bite. So feel free to experiment a little depending on your preference!
Variations & Adaptations
There’s room to make this recipe your own, whether you’re catering to dietary needs, seasonal tastes, or just craving something different.
- Gluten-Free: Use certified gluten-free rolled oats to keep these safe for gluten-sensitive eaters.
- Dairy-Free/Vegan: Replace butter with coconut oil or vegan margarine, and swap honey for maple syrup or agave nectar.
- Flavor Twists: Add a teaspoon of cinnamon or a pinch of sea salt on top before chilling for an extra flavor pop.
- Nut-Free: Substitute sunflower seed butter or soy nut butter in place of peanut butter for allergy-friendly options.
- Mix-Ins: Toss in chopped dried cherries, shredded coconut, or crushed pretzels for texture and flavor variety.
I once swapped peanut butter for almond butter and added dried blueberries—surprisingly tasty and a nice change. These cookies are flexible, so feel free to experiment and find your favorite combo.
Serving & Storage Suggestions
Serve these easy no-bake peanut butter oat lunchbox cookies chilled or at room temperature. They’re perfect for packing into lunchboxes or enjoying as an afternoon snack with a glass of cold milk or your favorite tea.
For a little extra flair, arrange them on a plate with fresh fruit or a handful of nuts. They also pair nicely with a simple yogurt dip or a drizzle of melted chocolate if you’re feeling fancy.
Store the cookies in an airtight container in the refrigerator for up to one week. If you want to keep them longer, freezing is your friend—place them in a single layer on a tray to freeze solid, then transfer to a freezer bag for up to three months. Thaw at room temperature or pop them in the fridge overnight before eating.
Flavors tend to deepen after a day or two in the fridge, so if you can wait, that’s when they’re really at their best. Just don’t wait too long, or you might find them mysteriously disappearing!
Nutritional Information & Benefits
These cookies are not just tasty—they offer a nice boost of energy and nutrition. Each cookie roughly contains:
- Calories: 150-170
- Protein: 5g
- Fat: 9g (mostly healthy fats from peanut butter)
- Carbohydrates: 15g
- Fiber: 2g
Peanut butter provides heart-healthy monounsaturated fats and protein, while oats contribute fiber and essential minerals like iron and magnesium. Using natural peanut butter keeps added sugars low, making these cookies a more wholesome snack option.
These are gluten-free if you use certified oats, and can be adapted for vegan or nut-free diets, making them accessible for many dietary needs. From my wellness perspective, they’re a smart snack choice that satisfies without excess sugar or processed ingredients.
Conclusion
If you’re looking for a snack that’s easy, tasty, and fuss-free, these easy no-bake peanut butter oat lunchbox cookies are a winner. They come together quickly, require minimal ingredients, and deliver a comforting, chewy bite every time.
Feel free to tweak the recipe based on your pantry and taste buds—whether that means adding a few chocolate chips or swapping in your favorite nut butter, it’s all about making it your own. I love how this recipe fits into busy days without stress, yet still feels like a little treat.
Give these cookies a try, and let me know how you customize them! Your feedback and stories make the kitchen feel like home, and I can’t wait to hear about your takes on this simple snack.
FAQs
Can I make these cookies without peanut butter?
Absolutely! Sunflower seed butter or almond butter work well as substitutes, especially for nut-free or variety options.
How long do these no-bake cookies last?
Stored in an airtight container in the fridge, they last up to one week. For longer storage, freeze them for up to three months.
Can I add other mix-ins besides chocolate chips?
Yes! Dried fruit, shredded coconut, or chopped nuts make great additions. Just keep total mix-ins around ½ cup to maintain the right texture.
Do I have to refrigerate the cookies before eating?
Chilling helps them set firmly, so it’s best to refrigerate for at least 30 minutes. You can eat them at room temperature afterward.
Are these cookies suitable for kids’ lunchboxes?
Definitely! They’re sturdy, not too sticky, and offer a balanced energy boost, making them perfect for school snacks.
Pin This Recipe!
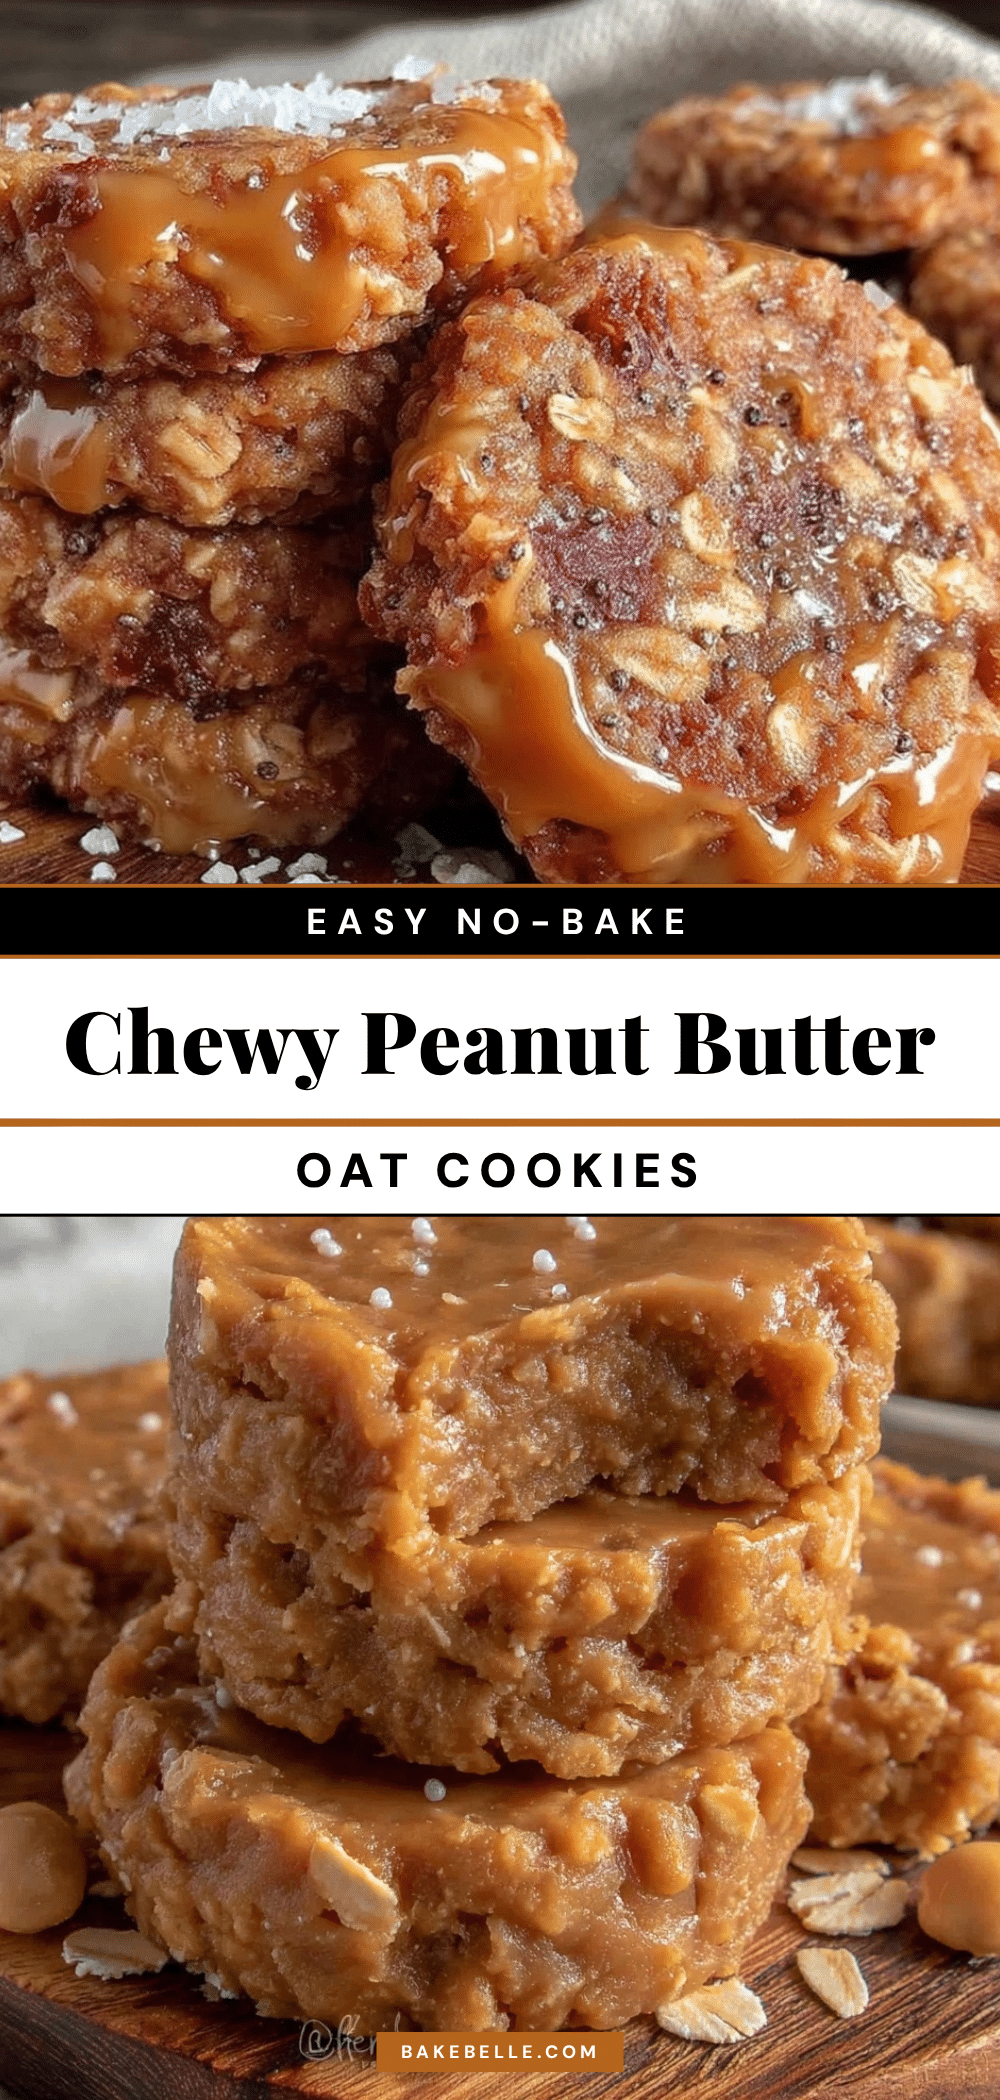
Easy No-Bake Peanut Butter Oat Lunchbox Cookies
These easy no-bake peanut butter oat lunchbox cookies are a quick, fuss-free snack with a perfect balance of chewy oats and creamy peanut butter, ideal for kids and adults alike.
- Prep Time: 5 minutes
- Cook Time: 0 minutes
- Total Time: 35 minutes
- Yield: 24 cookies 1x
- Category: Snack
- Cuisine: American
Ingredients
- 2 cups (180g) old-fashioned rolled oats
- 1 cup (250g) natural peanut butter (creamy or chunky)
- ⅓ cup (113g) honey (maple syrup as vegan substitute)
- ¼ cup (56g) unsalted butter, melted (coconut oil or vegan margarine for dairy-free)
- 1 teaspoon vanilla extract
- ¼ teaspoon salt
- ½ cup (90g) mini chocolate chips (optional, dairy-free if needed)
Instructions
- Gather your ingredients: Measure out oats, peanut butter, honey, melted butter, vanilla extract, salt, and optional chocolate chips.
- Mix the wet ingredients: In a mixing bowl, combine peanut butter, honey, melted butter, and vanilla extract. Stir vigorously until smooth and glossy, about 1-2 minutes. Add a splash of milk if mixture is too thick.
- Add dry ingredients: Sprinkle in oats and salt. Fold gently until oats are fully coated. Fold in chocolate chips if using. If mixture is crumbly, add a teaspoon of honey or a bit more melted butter.
- Scoop and shape: Drop tablespoon-sized portions onto a lined baking sheet. Press down gently to flatten slightly for uniform cookie shapes.
- Chill to set: Refrigerate for at least 30 minutes or freeze for 15 minutes until cookies firm up.
- Store and enjoy: Transfer set cookies to an airtight container. Keep refrigerated up to one week or freeze up to three months.
Notes
Use old-fashioned rolled oats for chewy texture; instant oats will become mushy. Slightly warm peanut butter for easier mixing. Keep hands damp when shaping cookies to prevent sticking. Avoid too many mix-ins to maintain cookie structure. Chilling is essential for setting.
Nutrition
- Serving Size: 1 cookie
- Calories: 160
- Sugar: 7
- Sodium: 70
- Fat: 9
- Saturated Fat: 2.5
- Carbohydrates: 15
- Fiber: 2
- Protein: 5
Keywords: no-bake cookies, peanut butter cookies, oat cookies, lunchbox snacks, easy snacks, kid-friendly, gluten-free, vegan option