It was 11:17 PM on a quiet Wednesday, and my craving for something crunchy and tangy hit like a freight train. The fridge was practically bare except for a sad-looking cucumber, a half-used jar of garlic, and a lonely bag of peppercorns that had been rattling around for months. I didn’t have the usual pickling spices or fresh dill you’d expect in a classic recipe, but I had an idea that popped into my head, probably fueled by the late-night silence and a stubborn hunger.
I grabbed a cracked mason jar that I’d been meaning to toss, rinsed that cucumber with the kind of focus only insomnia can bring, and got to work. Honestly, I wasn’t even sure if these would turn out right — maybe soggy, maybe dull. But the sound of garlic smashing and the peppercorns cracking under a spoon’s edge felt oddly satisfying. You know that feeling when your kitchen becomes a lab and you’re the mad scientist running the experiment alone? That was me, mixing vinegar, salt, and a splash of water, tossing in those lonely peppercorns, and hoping for magic.
By morning, the pickles had transformed—crisp, garlicky, with just the right peppery kick. I ate them straight from the jar while making coffee, thinking, “Why haven’t I done this before?” Maybe you’ve been there too, staring into a nearly empty fridge and deciding to make something unexpectedly awesome out of it. These Crispy Dill Refrigerator Pickles with Garlic and Peppercorn aren’t just a snack; they’re a reminder that some of the best recipes come from the weird hours and the ingredients you actually have on hand.
Why You’ll Love This Crispy Dill Refrigerator Pickles Recipe
Over the years, I’ve tested endless pickle recipes, but none have struck the perfect balance of crunch, flavor, and simplicity quite like this one. It’s a recipe I trust to deliver every time, and here’s why it stands apart:
- Quick & Easy: Ready to eat in as little as 24 hours, these pickles save you from the long wait of traditional fermentation.
- Simple Ingredients: Uses pantry staples like garlic and peppercorns—no need for a special trip to the store.
- Perfect for Snacking & Pairing: Whether it’s for burgers, sandwiches, or a crunchy side at your next barbecue, these pickles fit right in.
- Crowd-Pleaser: The garlicky, peppery flavor hits just right—kids and adults alike ask for seconds.
- Unbelievably Delicious: The dill and peppercorn combo gives a fresh, bold flavor that’s anything but ordinary.
This recipe isn’t just another jar of pickles—it’s a little late-night magic packed with personality. The method of smashing garlic releases an intense aroma that’s surprisingly mellowed after a day soaking, and the peppercorns add a subtle, warming spice you don’t get in typical refrigerator pickles. Plus, making pickles this way lets you skip the canning hassle but still enjoy that satisfying crunch and tang. Honestly, it’s become my go-to for turning cucumbers into something memorable without fuss.
Ingredients You Will Need for Crispy Dill Refrigerator Pickles
This recipe keeps it straightforward with a handful of ingredients that pack a punch. The ingredients are mostly pantry staples, which makes it perfect for whipping up last-minute batches that taste like you spent hours on them.
- Cucumbers: 4 medium Kirby cucumbers, washed and sliced into 1/4-inch thick rounds (Kirby cucumbers are best for their firmness and crunch)
- Fresh Dill: 4 large dill sprigs (if unavailable, 2 teaspoons dried dill works too)
- Garlic: 4 cloves, smashed (crushing releases oils that infuse the brine more deeply)
- Black Peppercorns: 1 tablespoon whole peppercorns, lightly crushed (adds a subtle heat and complexity)
- White Vinegar: 1 cup (240 ml) — use distilled white vinegar for a clean tangy flavor; apple cider vinegar works if you prefer a milder taste
- Water: 1 cup (240 ml), filtered or bottled for best flavor
- Kosher Salt: 1 tablespoon (avoid iodized salt as it can cloud the brine)
- Granulated Sugar: 1 teaspoon (balances the acidity just right)
Pro Tip: I prefer Diamond Crystal kosher salt for pickling because it dissolves evenly and doesn’t make the brine overly salty. If you’re using table salt, reduce the amount by half.
Feel free to experiment with fresh herbs like tarragon or thyme if you want a twist. Also, in summer, swapping out half the cucumbers for fresh green beans or carrots adds a fun crunch variation.
Equipment Needed
- Mason Jar or Glass Container: A quart (1 liter) jar with a tight-fitting lid is perfect. I’ve used old pickle jars cleaned thoroughly when in a pinch.
- Sharp Knife: For slicing cucumbers evenly. A serrated knife can help if your cucumbers are waxed.
- Spoon or Mortar & Pestle: To lightly crush peppercorns and smash garlic cloves, releasing more flavor.
- Measuring Cups and Spoons: For precise brine preparation.
- Mixing Bowl: To combine the brine ingredients before pouring over cucumbers.
Alternative: If you don’t have a mortar and pestle, place peppercorns in a zip-top bag and crush gently with a rolling pin or bottom of a heavy pan. I’ve done this many times and it works just fine.
Glass containers are best to keep flavors pure and avoid any metallic taste. Also, make sure your jar is clean and dry before starting to prevent any unwanted fermentation.
Preparation Method for Crispy Dill Refrigerator Pickles
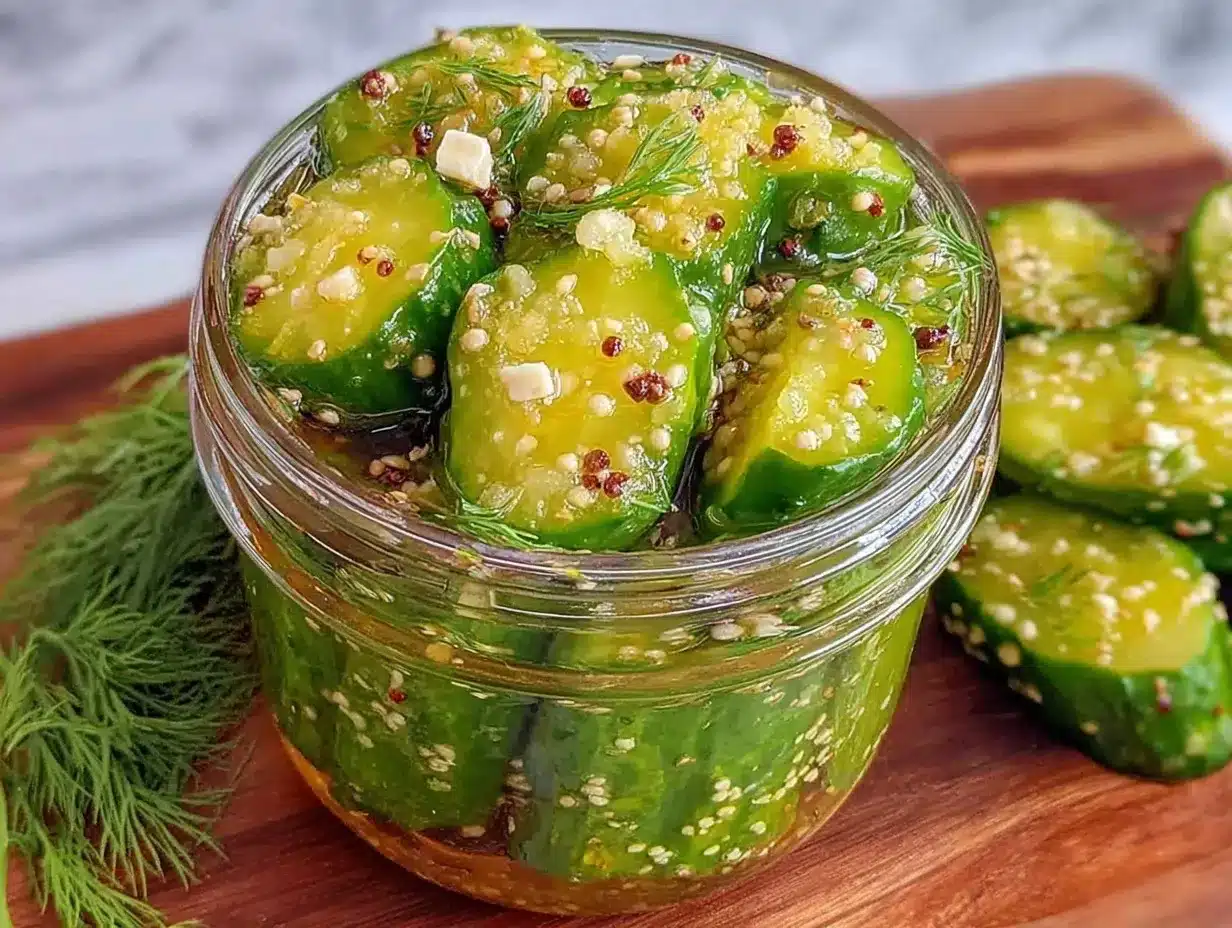
- Prepare the Cucumbers: Wash the Kirby cucumbers thoroughly. Trim off the blossom ends to prevent softening. Slice into 1/4-inch thick rounds for uniform pickling. This step usually takes about 5–7 minutes.
- Crush Garlic and Peppercorns: Lightly smash the garlic cloves with the flat side of your knife or a mortar and pestle. Do the same with the peppercorns—just enough to crack them and release aroma. This boosts the flavor infusion.
- Make the Brine: In a bowl, combine 1 cup (240 ml) white vinegar, 1 cup (240 ml) water, 1 tablespoon kosher salt, and 1 teaspoon granulated sugar. Stir until salt and sugar fully dissolve—this usually takes 2–3 minutes. The brine should taste slightly salty but balanced.
- Pack the Jar: Place the dill sprigs, smashed garlic, and cracked peppercorns at the bottom of your mason jar. Layer cucumber slices vertically or loosely packed horizontally—don’t cram too tightly or the brine won’t soak evenly.
- Pour the Brine: Slowly pour the brine over the cucumbers, making sure all slices are submerged. Press down gently with a clean spoon if needed to eliminate air pockets. Leave about 1/2 inch (1.25 cm) headspace at the top of the jar.
- Seal and Refrigerate: Screw on the lid tightly and place the jar in the refrigerator. The pickles will be ready to enjoy in as little as 24 hours but taste even better after 2–3 days.
- Enjoy and Store: Use tongs or a clean fork to remove pickles when serving. Keep refrigerated and consume within 3 weeks for best flavor and crunch.
Note: If you notice any cloudiness or off smells, discard immediately. This recipe is designed for quick refrigerator pickling, not long-term fermentation.
One time, I forgot to smash the garlic and the flavor was muted—lesson learned: never skip that step! Also, slicing cucumbers too thin can make them soggy, so keep them at least 1/4 inch thick for satisfying crunch.
Cooking Tips & Techniques for Perfect Refrigerator Pickles
One of the trickiest parts of making refrigerator pickles is keeping them crispy. Here are some tips I’ve picked up over countless batches:
- Trim Blossom Ends: The cucumber’s blossom end contains enzymes that promote softening. Trimming it off helps retain crunch.
- Use Fresh, Firm Cucumbers: Kirby cucumbers or pickling cucumbers are your best bet. Avoid cucumbers that are soft or have blemishes.
- Smash Garlic and Peppercorns: This releases essential oils and flavors into the brine, giving a deeper, more complex taste.
- Don’t Overcrowd: Leave enough space in your jar so brine can circulate evenly. Overpacking leads to uneven pickling and mushy spots.
- Keep Refrigerated: This recipe relies on cold temperatures to prevent fermentation and keep pickles crisp.
- Adjust Salt and Sugar: Salt is crucial for flavor and texture, but you can tweak the sugar if you prefer your pickles a little sweeter or more tart.
Once, I tried adding a pinch of mustard seeds for an extra zing, but honestly it distracted from the garlic and peppercorn harmony. So I stick to the basics here—sometimes less is more, especially when you’re chasing that perfect crunch.
Variations & Adaptations
Feel free to switch things up based on what you have or your personal taste preferences. Here are some tried-and-true variations:
- Spicy Kick: Add a few dried red chili flakes or a sliced jalapeño to the jar for heat.
- Herb Swap: Replace fresh dill with fresh tarragon or fresh thyme for a different herbal note.
- Low-Sodium Version: Reduce the salt to 1/2 tablespoon and increase refrigeration time slightly.
- Vinegar Variations: Use apple cider vinegar for a milder, fruity flavor or white wine vinegar for a subtle twist.
- Different Veggies: Try the same brine with green beans, carrots, or cauliflower for crunchy refrigerator pickled veggies.
My personal favorite is adding a teaspoon of mustard seeds when I’m feeling adventurous—it adds a nice pop. Also, when I’m short on fresh dill, I’ve used dried dill weed with good results, just remember to crush it a bit for better flavor release.
Serving & Storage Suggestions
Crispy Dill Refrigerator Pickles are best served cold straight from the fridge. They make a fantastic side to sandwiches, burgers, or even as a tangy snack on their own.
- Serving: Arrange pickles on a small plate garnished with extra fresh dill or a sprinkle of flaky sea salt for a restaurant-style touch.
- Pairing: They’re fantastic alongside crispy garlic chicken or a creamy egg salad sandwich.
- Storage: Keep the pickles submerged in brine in a sealed jar in the refrigerator. They should stay fresh and crunchy for up to 3 weeks.
- Reheating: No reheating needed—these pickles shine cold, but you can chop them up to add fresh zing to warm dishes like potato salad or grain bowls.
- Flavor Development: Flavors deepen over the first 3 days, so if you can wait, it’s worth it!
Nutritional Information & Benefits
This recipe is surprisingly light and offers some benefits beyond just flavor:
- Low Calorie: Each serving has roughly 10-15 calories, making it a guilt-free snack.
- Hydrating: Cucumbers are mostly water, which helps with hydration.
- Probiotic-Friendly: While this is a quick pickle, the vinegar and salt create a gut-friendly environment when combined with a balanced diet.
- Rich in Antioxidants: Garlic and dill both contain compounds known for their antioxidant properties.
- Gluten-Free & Vegan: Suitable for most dietary needs.
Just note that the sodium content is moderate due to the salt in the brine, so if you’re on a low-sodium diet, you might want to adapt accordingly.
Conclusion
If you’re looking for an easy, flavorful, and crunchy pickle recipe that doesn’t require a ton of fuss, these Crispy Dill Refrigerator Pickles with Garlic and Peppercorn are your new best friend. They come together quickly, taste phenomenal, and feel like a little kitchen victory every time you open the jar. I love that this recipe encourages creativity with whatever you have on hand and proves that pickling doesn’t have to be complicated or intimidating.
Give it a try, tweak it to your taste, and don’t be shy about sharing your results or adaptations with me. There’s something really satisfying about turning simple cucumbers into something special, and I’m excited for you to experience that too. Happy pickling!
Frequently Asked Questions
- How long do refrigerator pickles last? They typically stay fresh and crunchy for up to 3 weeks when kept refrigerated and submerged in brine.
- Can I use regular cucumbers instead of Kirby cucumbers? Yes, but Kirby cucumbers are preferred for their firmness and crunch. Regular cucumbers tend to be more watery and softer.
- Do I need to sterilize the jars? Since these are refrigerator pickles and not canned, thorough cleaning is enough. Sterilizing is optional but can extend shelf life.
- Can I add sugar or spices? Absolutely! A teaspoon of sugar balances acidity, and spices like mustard seeds or chili flakes can add extra flavor.
- Why are my pickles soggy? Soft pickles usually come from overripe cucumbers, not trimming the blossom end, or overcrowding the jar, which prevents even brine circulation.
Pin This Recipe!
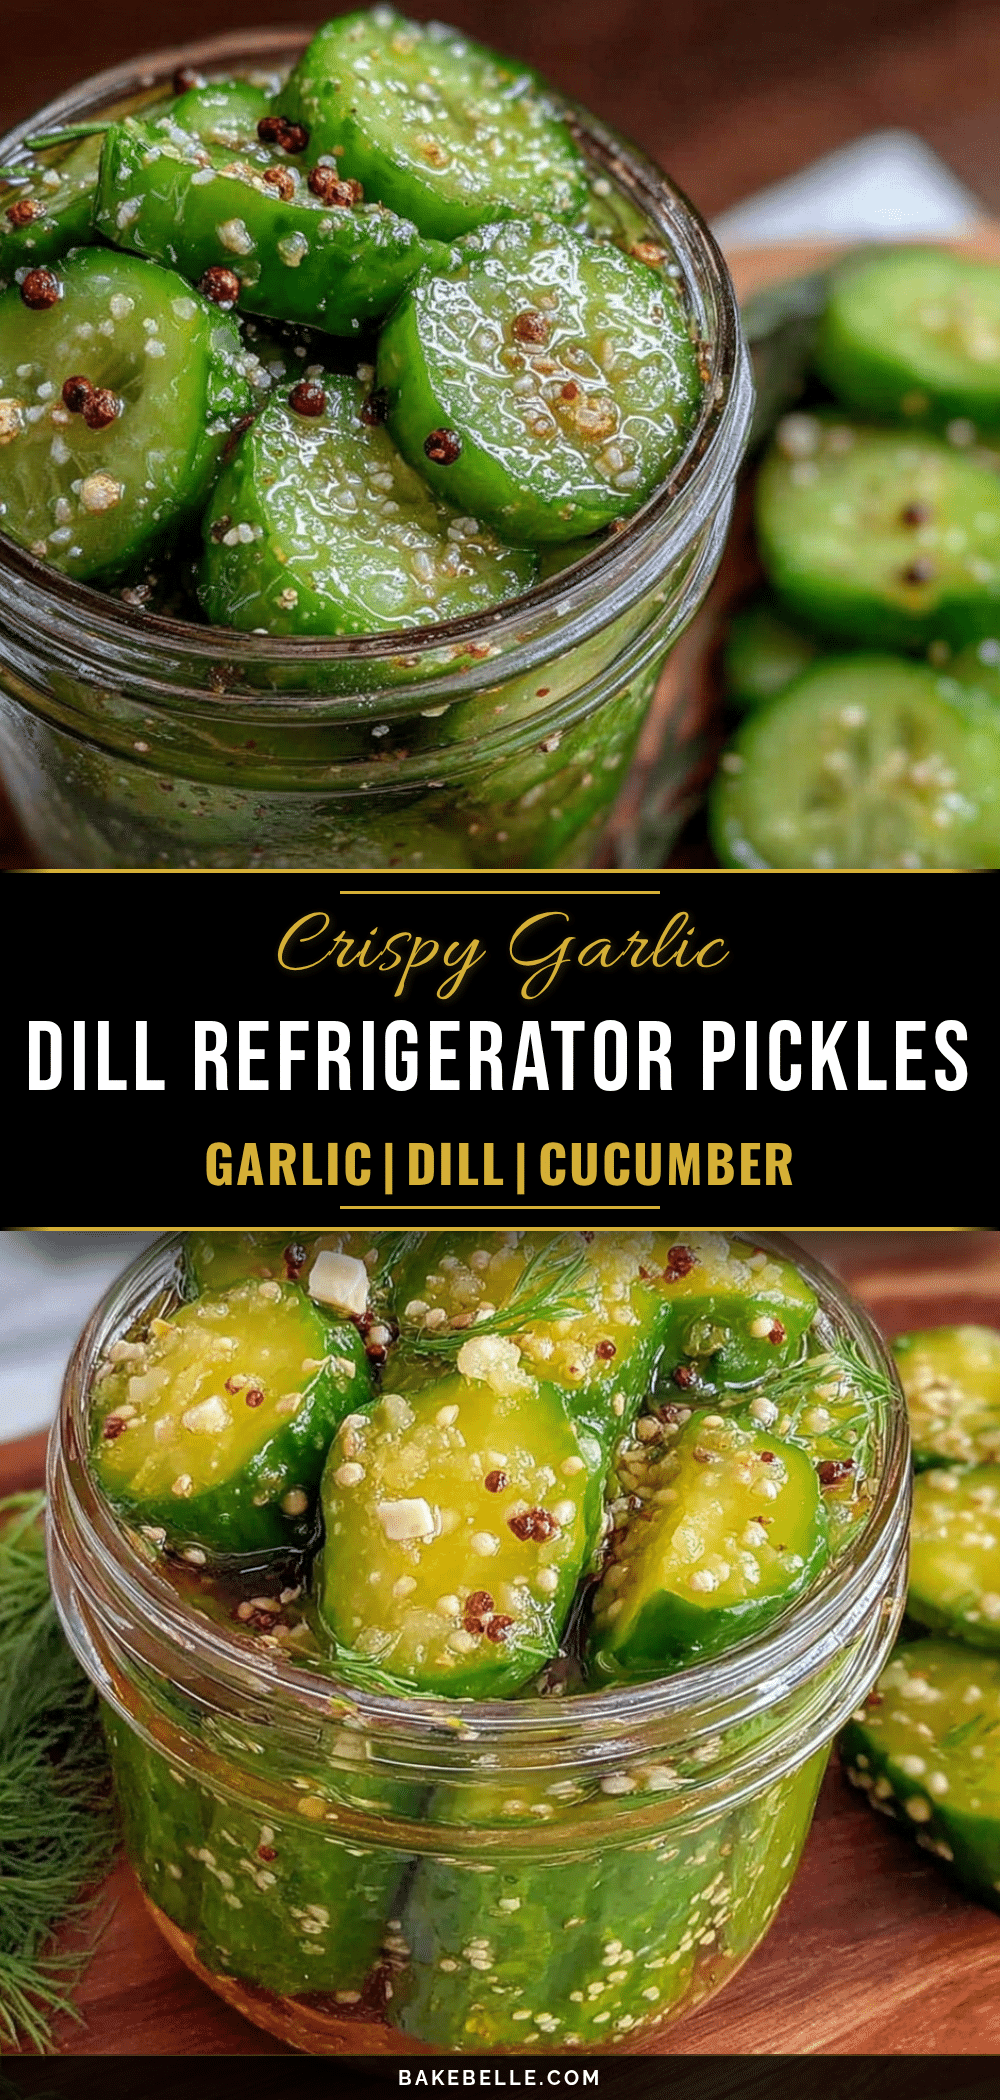
Crispy Dill Refrigerator Pickles Recipe Easy Homemade Garlic Peppercorn Flavor
A quick and easy refrigerator pickle recipe featuring crunchy Kirby cucumbers, fresh dill, smashed garlic, and cracked peppercorns for a bold, garlicky, and peppery flavor. Ready to eat in as little as 24 hours, perfect for snacking or pairing with sandwiches and burgers.
- Prep Time: 10 minutes
- Cook Time: 0 minutes
- Total Time: 24 hours (including refrigeration time)
- Yield: 4 servings 1x
- Category: Side Dish
- Cuisine: American
Ingredients
- 4 medium Kirby cucumbers, washed and sliced into 1/4-inch thick rounds
- 4 large dill sprigs (or 2 teaspoons dried dill)
- 4 cloves garlic, smashed
- 1 tablespoon whole black peppercorns, lightly crushed
- 1 cup (240 ml) white vinegar (distilled white vinegar preferred)
- 1 cup (240 ml) water, filtered or bottled
- 1 tablespoon kosher salt (Diamond Crystal preferred)
- 1 teaspoon granulated sugar
Instructions
- Wash the Kirby cucumbers thoroughly. Trim off the blossom ends to prevent softening. Slice into 1/4-inch thick rounds.
- Lightly smash the garlic cloves with the flat side of a knife or mortar and pestle. Lightly crush the peppercorns to release aroma.
- In a mixing bowl, combine 1 cup white vinegar, 1 cup water, 1 tablespoon kosher salt, and 1 teaspoon granulated sugar. Stir until salt and sugar dissolve.
- Place dill sprigs, smashed garlic, and cracked peppercorns at the bottom of a clean mason jar.
- Layer cucumber slices vertically or loosely packed horizontally in the jar without overcrowding.
- Pour the brine over the cucumbers, ensuring all slices are submerged. Press down gently to remove air pockets, leaving about 1/2 inch headspace.
- Seal the jar tightly and refrigerate. Pickles are ready to eat in 24 hours but taste better after 2–3 days.
- Use tongs or a clean fork to serve. Keep refrigerated and consume within 3 weeks.
Notes
Trim the blossom ends of cucumbers to keep pickles crispy. Smash garlic and peppercorns to release more flavor. Do not overcrowd the jar to ensure even brining. Use Diamond Crystal kosher salt for best results or reduce salt if using table salt. Keep pickles refrigerated and consume within 3 weeks. If cloudiness or off smells occur, discard immediately.
Nutrition
- Serving Size: About 1/2 cup pickle
- Calories: 15
- Sugar: 1
- Sodium: 600
- Carbohydrates: 3
- Fiber: 0.5
- Protein: 0.3
Keywords: refrigerator pickles, dill pickles, garlic pickles, peppercorn pickles, quick pickles, easy pickles, crunchy pickles, homemade pickles