“Why can’t we just toss the green beans in the jar whole, no blanching?” my friend asked, eyebrows raised. I started to explain why that wouldn’t work — then stopped. Honestly, the idea sounded too simple, almost reckless, but I figured, why not try? So we skipped the usual steps, packed the beans in tight with fresh garlic cloves and a good pinch of red pepper flakes, and went for it.
The next day, I popped open the jar, expecting something underwhelming. Instead, I got this crisp, tangy, garlicky burst that honestly caught me off guard. The pickled dilly beans were perfectly crunchy, with that gentle heat from the pepper and a brightness that made my taste buds wake up. Maybe you’ve been there — doubting a shortcut only to realize your gut was onto something.
That jar has been sitting on my shelf ever since, a reminder that sometimes rules are made to be bent, and flavor can come from the most unexpected places. This recipe for Flavorful Pickled Dilly Beans with Garlic and Red Pepper is just that — simple, bold, and absolutely addictive. Let me tell you why it stays in my rotation and why you might want to make a batch yourself.
Why You’ll Love This Recipe
- Quick & Easy: The prep takes less than 15 minutes, and then you just wait for the magic to happen in the jar — perfect for when you want homemade pickles without fuss.
- Simple Ingredients: You likely already have everything on hand — fresh green beans, garlic, dill, and pantry staples like vinegar and spices.
- Perfect for Snacking & Gifts: These pickled beans are great for a crunchy snack, a tangy side dish at barbecue dinners, or a thoughtful homemade gift.
- Crowd-Pleaser: Kids and adults alike love the garlicky punch and subtle kick from red pepper flakes — they disappear fast!
- Unbelievably Delicious: The combination of fresh dill, garlic, and a touch of heat makes these beans far from your average pickle — they pack a flavorful punch that keeps you reaching for more.
This isn’t just another pickled bean recipe. What sets it apart is the balance — the beans stay crisp without blanching, the garlic doesn’t overpower, and the red pepper adds just the right amount of warmth. I’ve tried other versions where the beans turned soggy or the flavors clashed, but this one nails it every time.
It’s the kind of recipe that quietly impresses guests and turns a simple snack into something memorable. You might find yourself closing your eyes after that first bite — that’s how good it is.
What Ingredients You Will Need
This recipe uses straightforward, fresh ingredients that come together to create a bold, crunchy pickle with a perfect garlicky and spicy kick. Most are pantry staples or easy to find at your local market.
- Fresh green beans: about 1 pound (450g), trimmed and washed (choose firm, crisp beans for best crunch)
- Fresh dill: 3-4 sprigs (adds that signature dill flavor)
- Garlic cloves: 4 large, peeled and lightly crushed (for robust aroma and flavor)
- Red pepper flakes: 1 teaspoon (adjust to taste for spice level)
- White vinegar: 2 cups (480ml) (best to use 5% acidity for proper pickling)
- Water: 2 cups (480ml) (helps balance the vinegar’s intensity)
- Kosher salt: 1 tablespoon (if you want, use pickling salt as a substitute)
- Granulated sugar: 1 tablespoon (balances acidity without sweetness)
- Mustard seeds: 1 teaspoon (optional, adds subtle warmth)
- Black peppercorns: 1 teaspoon (whole, for gentle peppery notes)
Ingredient tips: I prefer using organic green beans when possible, especially if eating raw or lightly pickled. For vinegar, brands like Bragg’s Organic Raw Apple Cider Vinegar or Heinz White Vinegar work great. If you want to tone down the heat, start with half a teaspoon of red pepper flakes — you can always add more next time.
For a seasonal twist, try adding a few slices of fresh cucumber or a sprig of fresh thyme. Need a gluten-free or vegan snack? This recipe fits perfectly!
Equipment Needed
- Quart-sized mason jar or similar pickling jar: for storing the beans — I like wide-mouth jars for easy packing and cleaning.
- Medium saucepan: to heat the pickling brine.
- Tongs or chopsticks: helpful for packing beans into the jar without bruising.
- Measuring cups and spoons: essential for accurate brine ratios.
- Cutting board and sharp knife: for trimming the beans and prepping garlic.
If you don’t have mason jars, any clean, food-safe glass container with a tight lid will do. I once made a batch in a repurposed glass jar from the grocery store — worked just fine! Just be sure everything is sanitized to avoid any funky flavors.
Pro tip: If you plan to make pickles often, invest in a good jar lifter and funnel set — they save a lot of mess and make the process smoother.
Preparation Method
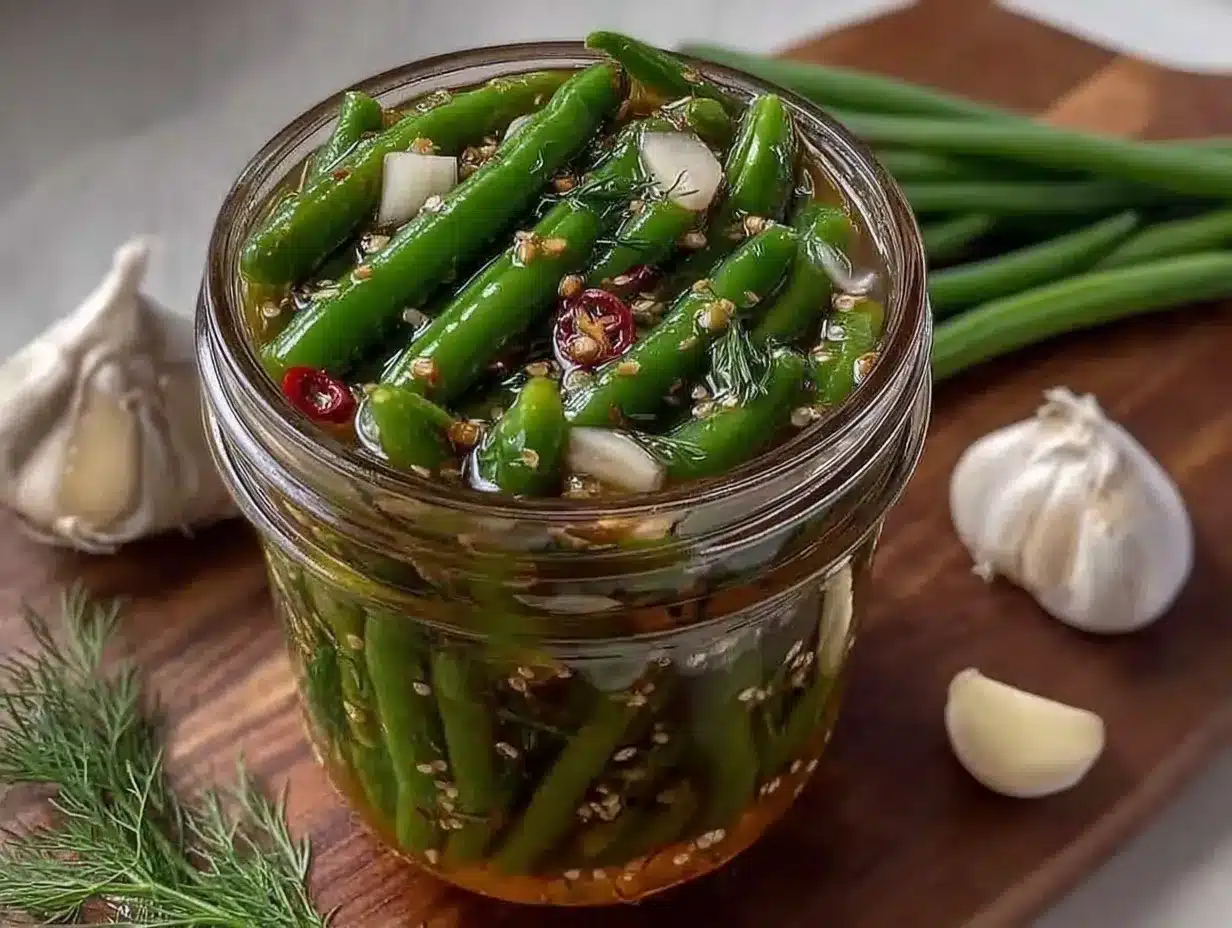
- Prepare the green beans: Rinse 1 pound (450g) of fresh green beans under cold water. Trim the ends off, but keep the beans whole for that satisfying crunch. If beans are particularly long, you can halve them to fit your jar. (5 minutes)
- Pack the jar: Place 3-4 sprigs of fresh dill, 4 peeled and lightly crushed garlic cloves, 1 teaspoon mustard seeds, 1 teaspoon black peppercorns, and 1 teaspoon red pepper flakes at the bottom of your quart-sized jar. Layer the green beans vertically, packing them snugly but without smashing. Use tongs or chopsticks to help. (5 minutes)
- Make the brine: In a medium saucepan, combine 2 cups (480ml) white vinegar, 2 cups (480ml) water, 1 tablespoon kosher salt, and 1 tablespoon granulated sugar. Bring to a simmer over medium heat, stirring until the salt and sugar dissolve completely. Remove from heat. (5-7 minutes)
- Pour the brine: Carefully pour the hot brine over the packed beans and aromatics, leaving about ½ inch (1.25 cm) headspace at the top of the jar. Tap the jar lightly on the counter to release any air bubbles. Wipe the rim with a clean cloth and seal tightly with the lid. (3 minutes)
- Let it pickle: Allow the jar to cool to room temperature, then place it in the refrigerator. Let the beans pickle for at least 48 hours before tasting, though the flavor improves after 5 days. (Wait time: minimum 2 days)
- Enjoy: Once pickled, these dilly beans are ready to snack on straight from the jar, add to salads, or serve as a tangy side. (No cooking required after pickling!)
Helpful notes: If you notice the beans become soft, it’s usually because the beans were packed too tightly or the brine was too weak. Make sure to use fresh, crisp beans and keep the vinegar concentration as specified. Also, don’t skip the salt — it’s key for flavor and preservation.
Cooking Tips & Techniques
Pickling dilly beans is more about patience and precise balance than cooking skill. Here are a few tips I’ve learned the hard way:
- Don’t blanch the beans: I know it sounds counterintuitive, but blanching softens them too much. Raw beans stay crisp and soak up the brine beautifully.
- Use fresh garlic and dill: Old or dried herbs won’t give you that bright, fresh flavor. I always buy fresh dill from local farmers’ markets when I can.
- Heat your brine fully: Dissolving salt and sugar completely ensures even flavor distribution and proper pickling.
- Be patient: The beans need time in the fridge — rush it and you’ll miss out on the full flavor development.
- Watch your jar sealing: Make sure the jar is sealed tight to prevent spoilage, especially if you plan to store for weeks.
I once tried doubling the red pepper flakes and ended up with beans that were too spicy even for me — lesson learned! Start mild, and you can always add more spice next time.
Variations & Adaptations
- Spicy Variation: Add sliced fresh jalapeños or increase red pepper flakes for an extra kick.
- Herbal Twist: Swap dill for fresh tarragon or add a few bay leaves for a different aromatic profile.
- Garlic-Free: If you’re sensitive to garlic, replace with sliced shallots or omit altogether and boost with extra dill.
- Fermented Version: Use a saltwater brine without vinegar and ferment at room temperature for a few days for tangier, probiotic-rich dilly beans.
- Oven-Roasted Beans: For a warm variation, roast the beans with garlic and red pepper before pickling to deepen the flavor.
Personally, I once made a batch with smoked paprika instead of red pepper flakes — it gave a lovely smoky warmth that was a nice change for fall gatherings.
Serving & Storage Suggestions
These flavorful pickled dilly beans are best served chilled straight from the jar or added to dishes for a crunchy, tangy lift. Try pairing them with creamy dips, grilled meats, or alongside a cheese board for contrast.
Store your pickled beans in the refrigerator for up to 4 weeks. Over time, the beans will soften slightly but the flavors deepen — you know that feeling when something tastes even better after a few days? That’s what happens here.
To reheat (if you prefer warm pickled beans), briefly sauté them with a little olive oil and garlic — just enough to warm without losing their snap.
Nutritional Information & Benefits
This recipe is low in calories and carbs, making it a healthy, flavorful snack or side. Green beans provide fiber, vitamins A and C, and antioxidants, while garlic adds immune-boosting compounds. The vinegar is known to help with digestion and blood sugar regulation.
Because this recipe uses no added preservatives and relies on natural pickling, it’s a wholesome choice. It’s naturally gluten-free, vegan, and can be made low sodium by adjusting the salt.
Conclusion
This recipe for Flavorful Pickled Dilly Beans with Garlic and Red Pepper is proof that simple ingredients and a little patience can result in something truly special. Whether you’re a pickling novice or a seasoned pro, this method is forgiving, approachable, and endlessly tasty.
Make it your own by adjusting the spice or herbs, and trust me — you’ll be hooked. I keep a jar on hand because there’s nothing like that satisfying crunch and tang when you want a quick snack or a unique side dish.
Give it a try, and if you make any fun variations, I’d love to hear about them in the comments. Happy pickling, and here’s to many crunchy, garlicky bites ahead!
FAQs
How long do pickled dilly beans last in the fridge?
They typically last up to 4 weeks when stored properly in a sealed jar in the refrigerator.
Do I have to blanch the green beans before pickling?
No, blanching softens the beans. Using raw, fresh beans keeps them crunchy after pickling.
Can I use apple cider vinegar instead of white vinegar?
Yes, apple cider vinegar works well and adds a slightly fruity note to the pickles.
How spicy are these beans with 1 teaspoon of red pepper flakes?
They have a gentle heat that’s noticeable but not overpowering. Adjust the amount to suit your spice preference.
Can I can these dilly beans for shelf storage?
This recipe is designed for refrigerator pickling. For shelf-stable canning, follow tested canning guidelines to ensure safety.
Pin This Recipe!
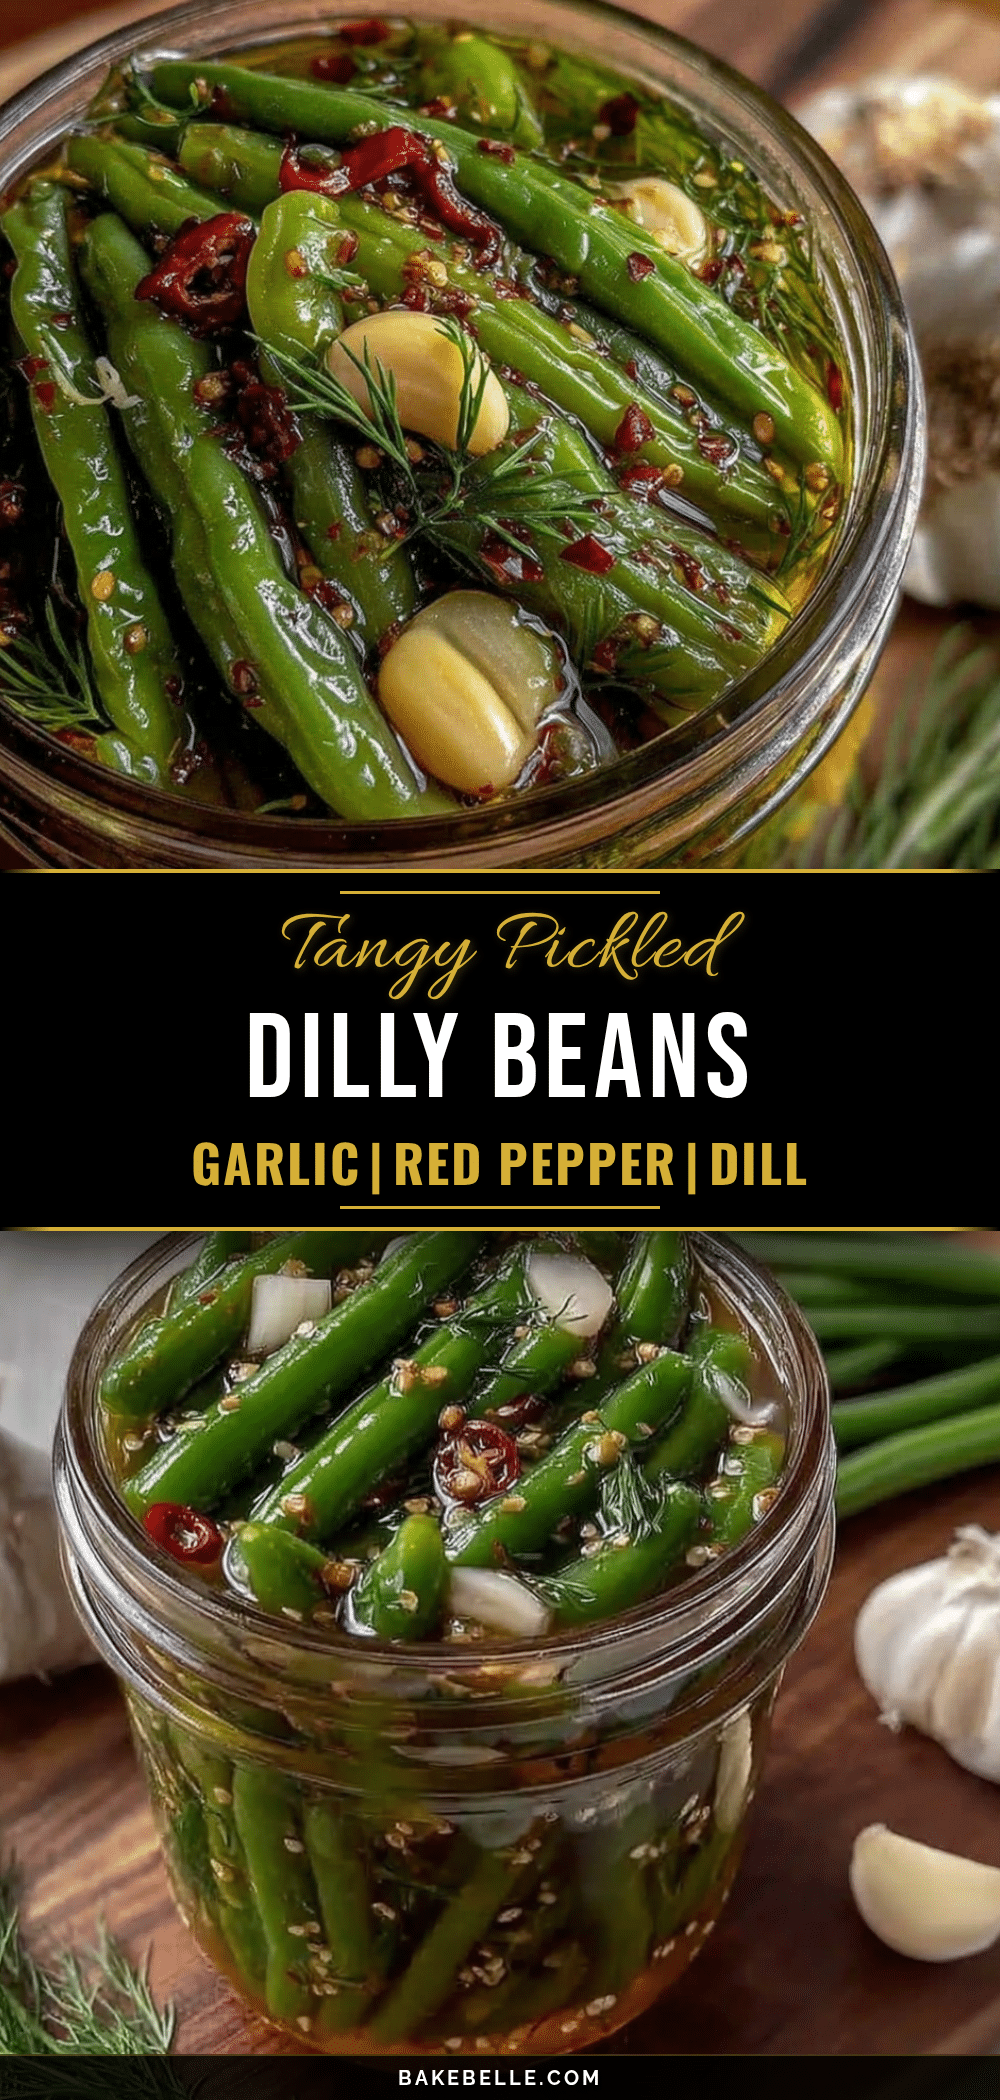
Flavorful Pickled Dilly Beans Recipe Easy Homemade Garlic Red Pepper
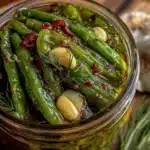
A simple and bold recipe for pickled dilly beans with fresh garlic and red pepper flakes that stay crisp without blanching. Perfect for snacking, gifts, or a tangy side dish.
- Prep Time: 15 minutes
- Cook Time: 7 minutes
- Total Time: 2 days 22 minutes
- Yield: 1 quart jar (about 4 servings) 1x
- Category: Snack / Side Dish
- Cuisine: American
Ingredients
- 1 pound fresh green beans, trimmed and washed
- 3–4 sprigs fresh dill
- 4 large garlic cloves, peeled and lightly crushed
- 1 teaspoon red pepper flakes (adjust to taste)
- 2 cups white vinegar (5% acidity)
- 2 cups water
- 1 tablespoon kosher salt (or pickling salt)
- 1 tablespoon granulated sugar
- 1 teaspoon mustard seeds (optional)
- 1 teaspoon whole black peppercorns
Instructions
- Rinse 1 pound of fresh green beans under cold water. Trim the ends off, keeping the beans whole or halving if too long to fit the jar. (5 minutes)
- Place 3-4 sprigs of fresh dill, 4 peeled and lightly crushed garlic cloves, 1 teaspoon mustard seeds, 1 teaspoon black peppercorns, and 1 teaspoon red pepper flakes at the bottom of a quart-sized jar. Layer the green beans vertically, packing snugly but without smashing. Use tongs or chopsticks to help. (5 minutes)
- In a medium saucepan, combine 2 cups white vinegar, 2 cups water, 1 tablespoon kosher salt, and 1 tablespoon granulated sugar. Bring to a simmer over medium heat, stirring until salt and sugar dissolve. Remove from heat. (5-7 minutes)
- Carefully pour the hot brine over the packed beans and aromatics, leaving about ½ inch headspace at the top of the jar. Tap the jar lightly to release air bubbles. Wipe the rim clean and seal tightly with the lid. (3 minutes)
- Allow the jar to cool to room temperature, then place it in the refrigerator. Let the beans pickle for at least 48 hours before tasting; flavor improves after 5 days. (Minimum 2 days wait time)
- Enjoy the pickled dilly beans straight from the jar, in salads, or as a tangy side. No cooking required after pickling.
Notes
Do not blanch the beans to keep them crisp. Use fresh garlic and dill for best flavor. Ensure the brine is fully heated to dissolve salt and sugar. Pack beans snugly but not too tight to avoid softening. Seal jars tightly to prevent spoilage. Adjust red pepper flakes to control spice level. Store in refrigerator up to 4 weeks.
Nutrition
- Serving Size: About 1/4 cup (appro
- Calories: 15
- Sugar: 1
- Sodium: 600
- Carbohydrates: 3
- Fiber: 1
- Protein: 1
Keywords: pickled dilly beans, pickled green beans, garlic pickles, red pepper flakes, easy pickles, homemade pickles, crunchy pickles, refrigerator pickles, vegan snack, gluten-free snack