My roommate asked why I couldn’t just scramble eggs, wrap them in a tortilla, and throw them in the freezer. I started to explain why that wouldn’t work — then stopped. Honestly, I had no good reason. I just assumed breakfast burritos were a “fresh only” kind of food, the kind of thing you make and eat immediately or you’re left with a sad, soggy mess. That was three winters ago, and I was dead wrong.
She was a sophomore, I was the self-appointed kitchen expert, and we were both running on three hours of sleep during finals week. I had my fancy meal prep containers and my carefully planned overnight oats, and she had a stack of tortillas and a bag of frozen hash browns. I watched her assemble these burritos with zero technique — no even distribution of fillings, no careful wrapping method — and slide them into a zip-top bag. “Those are going to be terrible,” I said. She shrugged. “We’ll see.”
The next morning, I microwaved one out of pure curiosity. And let me tell you, I have never been so happy to be wrong. The eggs were fluffy, the cheese was melted, and the whole thing tasted like something you’d get at a diner, not something that spent the night next to my frozen peas. I ate two more that week. By the end of the semester, we had a system — a Sunday afternoon assembly line with a rotating cast of fillings and a freezer full of emergency breakfasts. This recipe is the result of all those experiments, all those mornings when we grabbed a burrito and ran to class, and all the times my roommate was right and I was wrong. Maybe you’ve been there — that moment when you realize the simplest solution is the best one.
Why You’ll Love This Recipe
These freezer-friendly breakfast burritos are not just another meal prep idea. They are a genuine life hack for anyone who values sleep more than a complicated morning routine. I have tested every combination of ingredients, every wrapping technique, and every reheating method so you don’t have to.
- Quick & Easy: Comes together in under 30 minutes of active prep time, and you get 8 to 10 breakfasts out of it. Perfect for those mornings when your alarm didn’t go off and you have ten minutes to get to class.
- Simple Ingredients: No fancy grocery trips needed. Eggs, tortillas, cheese, and whatever protein and veggies you have on hand. You likely already have most of this in your kitchen.
- Perfect for College Life: Great for early classes, library study sessions, or those days when the dining hall hours don’t match your schedule. Grab one and go.
- Crowd-Pleaser: Always gets rave reviews from roommates, friends, and even skeptical parents who think frozen food can’t be good.
- Unbelievably Delicious: The texture and flavor combo is next-level comfort food. The secret is in how you prep the fillings — not too wet, not too dry, just right.
What makes this recipe different from the rest? It’s the technique. Most freezer burritos turn into a soggy mess because people don’t drain their ingredients properly. I learned that the hard way — my first batch was a sad, wet disaster. Now, I make sure every component is prepped to hold up to freezing and reheating. This isn’t just another version of a breakfast burrito. It’s your best version.
This recipe is the kind that makes you close your eyes after the first bite. It’s comfort food reimagined — faster, freezer-friendly, but with the same soul-soothing satisfaction as a fresh one. Perfect for impressing your roommates without stress, or turning a simple breakfast into something memorable.
What Ingredients You Will Need
This recipe uses simple, wholesome ingredients to deliver bold flavor and satisfying texture without the fuss. Most of these are pantry staples, which makes this perfect for a student budget.
- Large eggs (12 eggs): The base of our filling. Use room temperature eggs if you can — they scramble fluffier.
- Milk (1/4 cup, 60 ml): A splash of milk makes the eggs tender. I use whole milk, but any kind works.
- Flour tortillas (8 to 10, 8-inch size): Look for burrito-sized tortillas. The brand I prefer is Mission — they hold up well to freezing and don’t crack when you fold them.
- Shredded cheddar cheese (2 cups, 200 grams): Sharp cheddar adds the most flavor. Pre-shredded is fine, but freshly shredded melts better.
- Cooked breakfast sausage (1 pound, 450 grams): You can use crumbled sausage, bacon, or even leftover taco meat. I usually buy the pre-cooked sausage crumbles for convenience.
- Frozen hash browns (2 cups, 300 grams): These add texture and bulk. No need to thaw them first — they cook right in the pan.
- Bell pepper (1 medium, diced): Adds color and a little crunch. Red or green both work.
- Onion (1/2 medium, diced): For flavor. Yellow or white onion is fine.
- Salt and black pepper (to taste): Simple seasoning goes a long way.
- Optional add-ins: Black beans (drained and rinsed), diced jalapeños, chopped spinach, or salsa verde. These are great for variety.
Ingredient selection tip: Look for tortillas that are labeled “burrito size” — the smaller ones won’t hold enough filling and will tear when you wrap them. For the cheese, I recommend Tillamook or Cabot for the best melt and flavor. If you’re using bacon, cook it until crispy and crumble it — nobody wants chewy bacon in their burrito.
Substitution guidance: Use turkey sausage or plant-based crumbles for a lighter option. Swap the cheddar with pepper jack for a spicy kick. For a dairy-free version, use vegan cheese and skip the milk in the eggs. You can also use corn tortillas, but they’re smaller and more delicate — warm them first so they don’t crack.
Equipment Needed
You don’t need a fancy kitchen to make these. Here’s what you’ll need:
- Large non-stick skillet (12-inch): For scrambling the eggs and cooking the fillings. If you don’t have non-stick, use a well-seasoned cast iron pan with extra butter.
- Spatula: A silicone spatula is best for gentle scrambling.
- Cutting board and knife: For dicing the veggies.
- Mixing bowl: For whisking the eggs.
- Whisk or fork: For beating the eggs until uniform.
- Baking sheet: Lined with parchment paper. This is where you’ll place the assembled burritos to flash-freeze them before bagging.
- Parchment paper or wax paper: To wrap each burrito individually.
- Freezer-safe zip-top bags: Gallon size works best. I like the Ziploc brand with the double zipper seal.
- Paper towels: For draining excess moisture from cooked ingredients. This is crucial.
Budget-friendly tip: You don’t need a baking sheet? A large plate or a cutting board that fits in your freezer works just fine. Just make sure the burritos aren’t touching each other while they freeze.
Personal experience: I used to skip the parchment paper step and just throw the burritos directly into bags. They stuck together in a frozen clump, and I had to break them apart with a butter knife. Learn from my mistakes — wrap each one individually.
Preparation Method
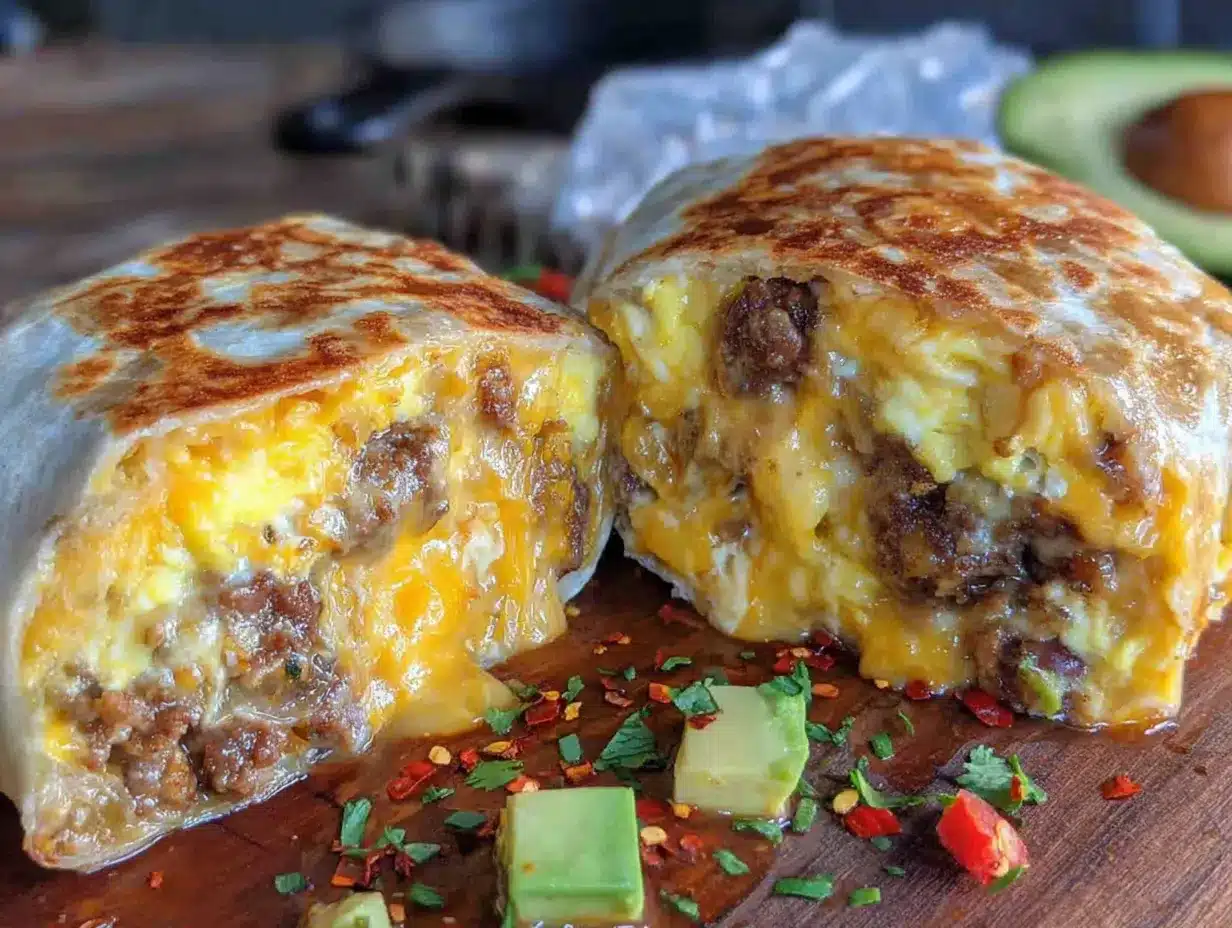
Let’s get cooking. This whole process takes about 30 minutes of active time, plus an hour for freezing.
- Cook the hash browns (5 minutes): Heat a large skillet over medium-high heat. Add a tablespoon of oil. Spread the frozen hash browns in an even layer and cook for 3-4 minutes per side, until golden and crispy. Transfer to a plate lined with paper towels to drain excess oil. This step is important — soggy hash browns make soggy burritos.
- Cook the sausage (5 minutes): In the same skillet, add the sausage crumbles. Cook over medium heat until browned and heated through, about 3-4 minutes. Use your spatula to break up any large pieces. Transfer to a separate plate lined with paper towels. Blot off any excess grease.
- Sauté the veggies (3 minutes): Drain most of the grease from the skillet, leaving about a teaspoon. Add the diced onion and bell pepper. Cook over medium heat for 2-3 minutes, until softened and fragrant. You should see the onions turning translucent. Transfer to the plate with the sausage.
- Scramble the eggs (4 minutes): In a mixing bowl, whisk together the 12 eggs, 1/4 cup milk, 1/2 teaspoon salt, and 1/4 teaspoon black pepper. Whisk until the mixture is uniform and slightly frothy — about 30 seconds. Reduce the heat under the skillet to medium-low. Add a tablespoon of butter. Pour in the egg mixture and let it sit for 20 seconds without stirring. Then, using your spatula, gently push the cooked eggs from the edges toward the center. Repeat this motion, tilting the pan to let the uncooked egg flow to the edges. Cook until the eggs are just set but still soft and fluffy — about 2-3 minutes. Do not overcook. Remove from heat immediately.
- Cool the fillings (5 minutes): Spread the scrambled eggs on a large plate or baking sheet to cool. Do the same with the sausage and veggie mixture. You want everything to be at room temperature before assembling. Hot fillings will create steam inside the burrito, which leads to soggy tortillas after freezing.
- Assemble the burritos (10 minutes): Lay a tortilla flat on your work surface. In the center, place about 1/3 cup of scrambled eggs, 2 tablespoons of the sausage mixture, 2 tablespoons of hash browns, and a generous sprinkle of shredded cheese. Don’t overfill — less is more here. Fold the sides of the tortilla inward over the filling. Then fold the bottom edge up and over the filling, tucking it snugly. Roll the burrito away from you, keeping the sides tucked in, until it’s sealed. The seam should be on the bottom.
- Wrap in parchment paper (5 minutes): Cut parchment paper into squares slightly larger than your burritos. Wrap each burrito tightly in parchment, folding the ends like you’re wrapping a gift. This prevents freezer burn and makes reheating easier.
- Flash freeze (1 hour): Place the wrapped burritos on a baking sheet in a single layer, not touching. Freeze for 1 hour, or until solid. This step prevents them from sticking together.
- Transfer to freezer bags (2 minutes): Once frozen, transfer the burritos to a gallon-sized freezer bag. Squeeze out as much air as possible before sealing. Label the bag with the date and contents. They’ll keep for up to 3 months.
Cooking Tips & Techniques
I’ve made probably a hundred batches of these burritos, and I’ve learned a few things the hard way. Let me save you some trouble.
Don’t skip the draining step. This is the number one mistake people make. Wet fillings = soggy burritos. After cooking the hash browns and sausage, let them sit on paper towels for at least a minute. Blot off any visible grease or moisture. I once skipped this step because I was in a hurry, and my burritos were a sad, mushy mess after reheating. Never again.
Let everything cool before assembling. I know it’s tempting to just throw everything together while it’s hot, but trust me on this. Hot fillings create steam, and steam turns into ice crystals in the freezer. Those ice crystals make your tortilla soggy when you reheat it. Give everything 5-10 minutes to come to room temperature.
Don’t overfill your tortillas. I know you want a massive burrito packed with everything, but an overstuffed tortilla will burst open during freezing or reheating. Stick to about 1/2 cup of filling total per burrito. You’ll get more burritos this way, and they’ll hold together better.
Wrap tightly. A loose wrap lets in air, which causes freezer burn. When you roll your burrito, make sure the seam is on the bottom and the parchment paper is snug. If you’re not using parchment, wrap each burrito tightly in plastic wrap before bagging.
Reheat properly. The best method is to unwrap the burrito, wrap it in a damp paper towel, and microwave for 2-3 minutes, flipping halfway through. The damp paper towel creates steam that rehydrates the tortilla without making it soggy. If you have time, you can also reheat in a skillet over medium heat for 4-5 minutes per side — this gives you a crispy exterior.
Label your bags. I cannot stress this enough. Write the date and the filling type on the bag. You will not remember three months from now whether these are the sausage ones or the veggie ones. I have a bag of unlabeled burritos in my freezer right now, and it’s a mystery every time I grab one.
Variations & Adaptations
One of the best things about this recipe is how customizable it is. Here are some variations I’ve tried and loved:
Vegetarian Version: Skip the sausage and add a can of black beans (drained and rinsed) and a cup of sautéed mushrooms. The beans add protein and fiber, and the mushrooms give that savory, umami flavor. I made this version for my vegetarian roommate, and she said it was better than the original.
Spicy Southwest Style: Add 1/4 cup of diced green chiles, a handful of chopped cilantro, and use pepper jack cheese instead of cheddar. Top with a spoonful of salsa before rolling. This one has a nice kick without being overwhelming.
Bacon and Potato: Swap the sausage for 6 strips of crispy bacon, crumbled. Add an extra 1/2 cup of hash browns. This is the classic diner-style burrito, and it’s my personal favorite. Just make sure to drain the bacon grease well.
Healthy Green Machine: Add a handful of fresh spinach to the egg scramble right before it finishes cooking. The spinach will wilt down and blend right in. You can also add a tablespoon of nutritional yeast for a cheesy flavor without the dairy.
Breakfast Bowl Alternative: If you’re out of tortillas or want a low-carb option, just serve the filling in a bowl with some avocado and hot sauce on top. It’s not a burrito, but it’s still delicious.
Seasonal Variation: In the fall, I add 1/2 cup of roasted sweet potato cubes and a pinch of cinnamon to the filling. It sounds weird, but the sweetness pairs perfectly with the savory eggs and sausage.
Serving & Storage Suggestions
These burritos are designed to be eaten on the go, but they’re also great for a sit-down breakfast.
Serving Temperature: Reheat until the center is hot — about 165°F (74°C) if you’re using a thermometer. The cheese should be melted and the tortilla should be soft but not steaming wet. I like to serve mine with a side of salsa or hot sauce for dipping.
Complementary Sides: A piece of fresh fruit, a small cup of yogurt, or a handful of grapes rounds out the meal nicely. If you’re feeling fancy, a side of sliced avocado or a dollop of sour cream works too.
Storage Instructions: Keep the burritos in a sealed freezer bag for up to 3 months. Do not refrigerate them after freezing — they’ll lose their texture and the tortilla will get tough. If you’re meal prepping for the week, you can keep a few in the fridge for up to 5 days, but the texture is best when frozen and reheated.
Reheating Methods:
- Microwave: Unwrap, wrap in a damp paper towel, microwave on high for 2-3 minutes, flipping halfway. Let rest for 1 minute before eating.
- Oven: Preheat to 350°F (175°C). Unwrap and place on a baking sheet. Bake for 15-20 minutes, flipping halfway. This gives you a slightly crispier tortilla.
- Air Fryer: Unwrap and air fry at 350°F (175°C) for 8-10 minutes, flipping halfway. This is the best method for a crispy exterior and fully heated center.
Flavor Development: Honestly, these burritos taste better after a week in the freezer. The flavors meld together and the fillings become more cohesive. I always try to save a couple for the second week.
Nutritional Information & Benefits
Here’s the approximate nutritional breakdown for one burrito (using the basic recipe with sausage and cheddar):
| Nutrient | Amount |
|---|---|
| Calories | 380 |
| Protein | 22g |
| Carbohydrates | 28g |
| Fat | 18g |
| Fiber | 3g |
| Sugar | 4g |
| Sodium | 680mg |
Health Benefits: Eggs are a fantastic source of high-quality protein and choline, which supports brain health — perfect for studying. The bell peppers add vitamin C, and the onions provide prebiotic fiber for gut health. If you use whole wheat tortillas, you’ll get extra fiber and B vitamins.
Dietary Considerations: This recipe is naturally nut-free and can be made gluten-free by using corn or gluten-free tortillas. For a lower-sodium version, use low-sodium cheese and skip the added salt in the eggs. The sausage can be swapped for turkey or plant-based alternatives to reduce saturated fat.
Potential Allergens: Eggs, dairy (cheese), and gluten (tortillas). Always check your ingredient labels if you’re cooking for someone with allergies.
Personal Wellness Perspective: I love that these burritos give me a balanced breakfast without any effort on busy mornings. Having a healthy, homemade option in the freezer means I’m less likely to grab a sugary granola bar or skip breakfast entirely.
Conclusion
These freezer-friendly breakfast burritos are the kind of recipe that changes your morning routine. They’re proof that meal prep doesn’t have to be complicated or expensive, and that you can eat well even when you’re running on fumes and a student budget. I still make a batch every few weeks, and every time I unwrap one and take that first bite, I think about my roommate and how wrong I was about frozen breakfast burritos.
I encourage you to make these your own. Swap in your favorite fillings, adjust the spice level, or experiment with different cheeses. The basic formula is forgiving, and the results are always satisfying. If you try this recipe, let me know how it goes — leave a comment below or tag me in your photos. I love seeing how people make these their own.
Happy prepping, and may your mornings be a little less hectic and a lot more delicious.
Frequently Asked Questions
Can I use egg whites instead of whole eggs?
Yes, you can use liquid egg whites or separate the eggs yourself. Use about 1.5 cups of egg whites to replace the 12 whole eggs. The texture will be slightly less rich, but they’ll still freeze well. Add an extra tablespoon of milk to keep them moist.
How do I prevent my tortillas from cracking when I roll them?
Warm the tortillas before assembling. You can microwave them for 15-20 seconds, or warm them in a dry skillet for about 10 seconds per side. This makes them pliable and less likely to crack. Also, don’t overfill — too much filling puts pressure on the tortilla and causes it to tear.
Can I freeze these without parchment paper?
Yes, you can wrap them tightly in plastic wrap instead. The key is to create a barrier between the burrito and the air in the freezer. If you’re using plastic wrap, make sure it’s snug and there are no gaps. You can also use reusable silicone bags or beeswax wraps for a more eco-friendly option.
How long do these burritos last in the freezer?
They’ll stay fresh for up to 3 months if stored properly in an airtight freezer bag. After that, they’re still safe to eat, but the texture may decline. The tortilla can get a bit dry, and the fillings may lose some flavor. I recommend labeling your bag with the date so you know when to use them by.
Can I cook the eggs in the microwave instead of on the stove?
Yes, you can make microwave scrambled eggs in a pinch. Whisk the eggs and milk in a microwave-safe bowl, then microwave in 30-second intervals, stirring between each, until just set. The texture won’t be as fluffy as stovetop eggs, but it works if you’re short on time or don’t have access to a stove.
Pin This Recipe!
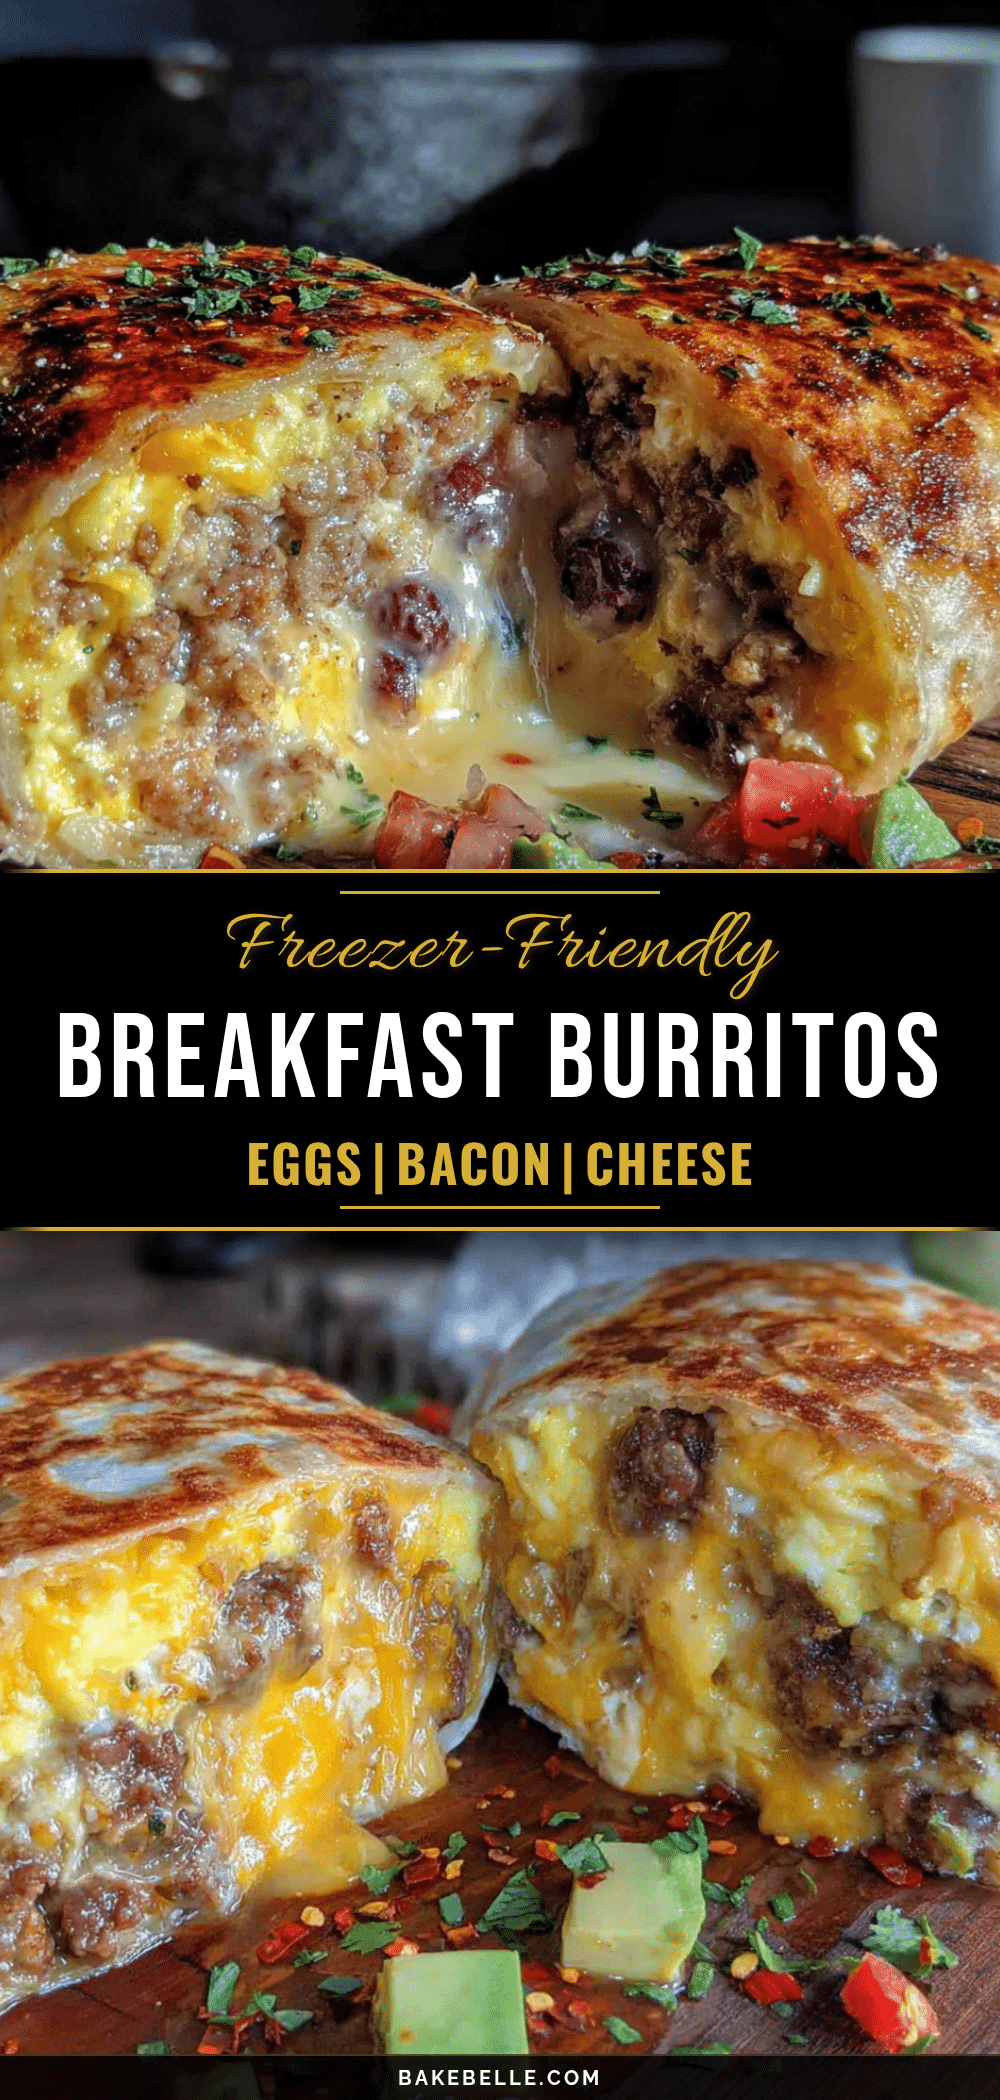
Freezer-Friendly Breakfast Burritos: Easy College Meal Prep

These freezer-friendly breakfast burritos are a genuine life hack for anyone who values sleep more than a complicated morning routine. They come together in under 30 minutes of active prep time and yield 8 to 10 breakfasts.
- Prep Time: 30 minutes
- Cook Time: 20 minutes
- Total Time: 1 hour 50 minutes (including freezing)
- Yield: 8 to 10 servings 1x
- Category: Breakfast
- Cuisine: American
Ingredients
- 12 large eggs
- 1/4 cup (60 ml) milk
- 8 to 10 flour tortillas (8-inch, burrito size)
- 2 cups (200 g) shredded cheddar cheese
- 1 pound (450 g) cooked breakfast sausage (crumbled)
- 2 cups (300 g) frozen hash browns
- 1 medium bell pepper, diced
- 1/2 medium onion, diced
- Salt and black pepper to taste
- Optional: black beans (drained and rinsed), diced jalapeños, chopped spinach, salsa verde
Instructions
- Cook the hash browns: Heat a large skillet over medium-high heat with a tablespoon of oil. Spread frozen hash browns in an even layer and cook for 3-4 minutes per side until golden and crispy. Transfer to a plate lined with paper towels to drain.
- Cook the sausage: In the same skillet, add sausage crumbles and cook over medium heat until browned and heated through, about 3-4 minutes. Transfer to a separate plate lined with paper towels and blot off excess grease.
- Sauté the veggies: Drain most of the grease from the skillet, leaving about a teaspoon. Add diced onion and bell pepper. Cook over medium heat for 2-3 minutes until softened. Transfer to the plate with the sausage.
- Scramble the eggs: In a mixing bowl, whisk together 12 eggs, 1/4 cup milk, 1/2 teaspoon salt, and 1/4 teaspoon black pepper until uniform and slightly frothy. Reduce heat under the skillet to medium-low, add a tablespoon of butter, pour in egg mixture, and let sit for 20 seconds. Gently push cooked eggs from edges toward center until just set but still soft and fluffy, about 2-3 minutes. Remove from heat immediately.
- Cool the fillings: Spread scrambled eggs and sausage-veggie mixture on separate plates to cool to room temperature (about 5-10 minutes).
- Assemble the burritos: Lay a tortilla flat. Place about 1/3 cup scrambled eggs, 2 tablespoons sausage mixture, 2 tablespoons hash browns, and a generous sprinkle of cheese in the center. Fold sides inward, then fold bottom edge up and over filling, tucking snugly. Roll away from you until sealed, seam side down.
- Wrap in parchment paper: Cut parchment paper into squares slightly larger than burritos. Wrap each burrito tightly in parchment, folding ends like a gift.
- Flash freeze: Place wrapped burritos on a baking sheet in a single layer, not touching. Freeze for 1 hour until solid.
- Transfer to freezer bags: Once frozen, transfer burritos to a gallon-sized freezer bag, squeeze out air, seal, and label with date and contents. Store for up to 3 months.
Notes
Don’t skip draining cooked ingredients to avoid soggy burritos. Let fillings cool completely before assembling. Do not overfill tortillas. Wrap tightly to prevent freezer burn. For best reheating, unwrap, wrap in a damp paper towel, and microwave for 2-3 minutes, flipping halfway. Burritos taste better after a week in the freezer as flavors meld.
Nutrition
- Serving Size: 1 burrito
- Calories: 380
- Sugar: 4
- Sodium: 680
- Fat: 18
- Saturated Fat: 8
- Carbohydrates: 28
- Fiber: 3
- Protein: 22
Keywords: breakfast burritos, freezer-friendly, meal prep, college meals, easy breakfast, make-ahead, freezer burritos