Gina wasn’t trying to make a point. I’d stopped by to borrow a cup of sugar—cliché, I know—and the smell hit me before I even got through the screen door. It was August, and her kitchen felt like a sauna, steam fogging up every window. She was standing over a pot, stirring slowly, wearing a faded t-shirt and looking completely unfazed by the magic happening on her stove.
“What is that?” I asked, probably sounding a little too desperate.
“Oh, just tomatoes,” she said, like it was nothing. “My garden got away from me.”
That was the moment I realized you don’t need a fancy canner or a pantry full of special equipment to put up summer’s best flavor. She was using a big stockpot, a few clean jars, and a whole lot of patience. Honestly, I felt a little embarrassed for overcomplicating it in my own head for years. Maybe you’ve been there, too—intimidated by the idea of canning, sure you’d mess it up or give yourself botulism or something dramatic.
That afternoon, Gina walked me through her process while we drank iced tea and let the tomatoes bubble away. It was simple. It was forgiving. And the sauce we ended up with? Pure gold. I’ve been making this easy small-batch canned tomato sauce every summer since, and I never look back. It’s the kind of recipe that makes you feel like you actually know what you’re doing in the kitchen, even when you’re just getting started.
Why You’ll Love This Recipe
Let me tell you, this small-batch canned tomato sauce has completely changed my relationship with summer produce. I used to watch tomatoes pile up on my counter and panic, but now I get genuinely excited. Here is why this recipe is a total game-changer:
- No Special Equipment Needed — You do not need a pressure canner or a water bath canner. Just a big pot and some glass jars. That is it.
- Perfect for Small Batches — This recipe is designed for 4 to 6 jars, not 20. It fits your fridge and your freezer without taking over your whole kitchen.
- Simple, Real Ingredients — Tomatoes, a little salt, maybe some herbs. No preservatives, no weird additives, just pure summer flavor.
- Beginner-Friendly — If you have never canned anything before, this is the perfect place to start. It is forgiving, straightforward, and hard to mess up.
- Incredible Flavor — Store-bought sauce has nothing on this. The depth of flavor from slow-simmered garden tomatoes is something you have to taste to believe.
This isn’t just another tomato sauce recipe. It is the one that makes you feel capable. It is the one that turns a mountain of tomatoes into a winter’s worth of pasta nights, pizza nights, and lazy Sunday soups. And honestly, it is the one that makes you look forward to tomato season even more.
What Ingredients You Will Need
This recipe uses simple, honest ingredients to create a sauce that tastes like it simmered all day—because it kind of did. Here is what you will need to gather before you start:
- Fresh tomatoes — About 5 to 6 pounds. Roma or plum tomatoes are ideal because they are meaty and have less water. But honestly, any ripe garden tomato works beautifully.
- Kosher salt — 1 to 2 teaspoons per batch, adjusted to taste. I prefer Diamond Crystal for its clean flavor.
- Extra-virgin olive oil — 2 tablespoons. This adds richness and helps preserve the sauce. Use a good quality one here.
- Garlic cloves — 4 to 6 cloves, smashed. You can leave them whole or slice them thin. I like them smashed so they infuse the sauce without being overpowering.
- Fresh basil — A handful of leaves, roughly torn. This is optional but highly recommended. It adds that classic Italian aroma.
- Fresh oregano — 2 to 3 sprigs, or 1 teaspoon dried. Another optional but lovely addition.
- Lemon juice or citric acid — 1 tablespoon of bottled lemon juice per pint jar, or 1/4 teaspoon citric acid. This is important for safe water bath canning to ensure proper acidity.
When picking tomatoes, look for ones that are fully ripe, deeply colored, and fragrant. If they smell like a tomato, you are on the right track. I personally love using San Marzano tomatoes from my local farmer’s market when I can get them. They are just so meaty and sweet.
For substitutions, you can swap fresh herbs for dried, or skip them entirely for a plain sauce that you can season later. If you are avoiding oil, you can omit it, though the texture might be slightly thinner. And if you do not have lemon juice, citric acid works perfectly—just be precise with the measurement.
Equipment Needed
The beauty of this recipe is that it does not require a closet full of specialized gear. Here is what you will actually need:
- Large stockpot or Dutch oven — At least 8 quarts. You need room for the tomatoes to bubble without splashing everywhere. I use my trusty enameled cast iron Dutch oven, and it works like a dream.
- Glass canning jars — 4 to 6 pint-sized jars with new lids and bands. I like Ball or Kerr jars. They are reliable and easy to find.
- Large pot for water bath — A deep pot that can hold your jars submerged by at least an inch of water. A stockpot works fine if you do not have a dedicated canner.
- Jar lifter — This is worth buying. It makes lifting hot jars out of boiling water so much safer. Trust me, tongs do not work as well.
- Canning funnel — Optional but very helpful for filling jars without spilling. A wide-mouth funnel works too.
- Clean kitchen towels — For drying jars and wiping rims. Paper towels work in a pinch.
- Wooden spoon or ladle — For stirring and filling jars. I prefer a long-handled wooden spoon to avoid burns.
If you do not have a jar lifter, you can use sturdy silicone-tipped tongs, but be very careful. And if you are skipping the water bath canning and just refrigerating or freezing your sauce, you only need the stockpot and jars. Simple as that.
Preparation Method
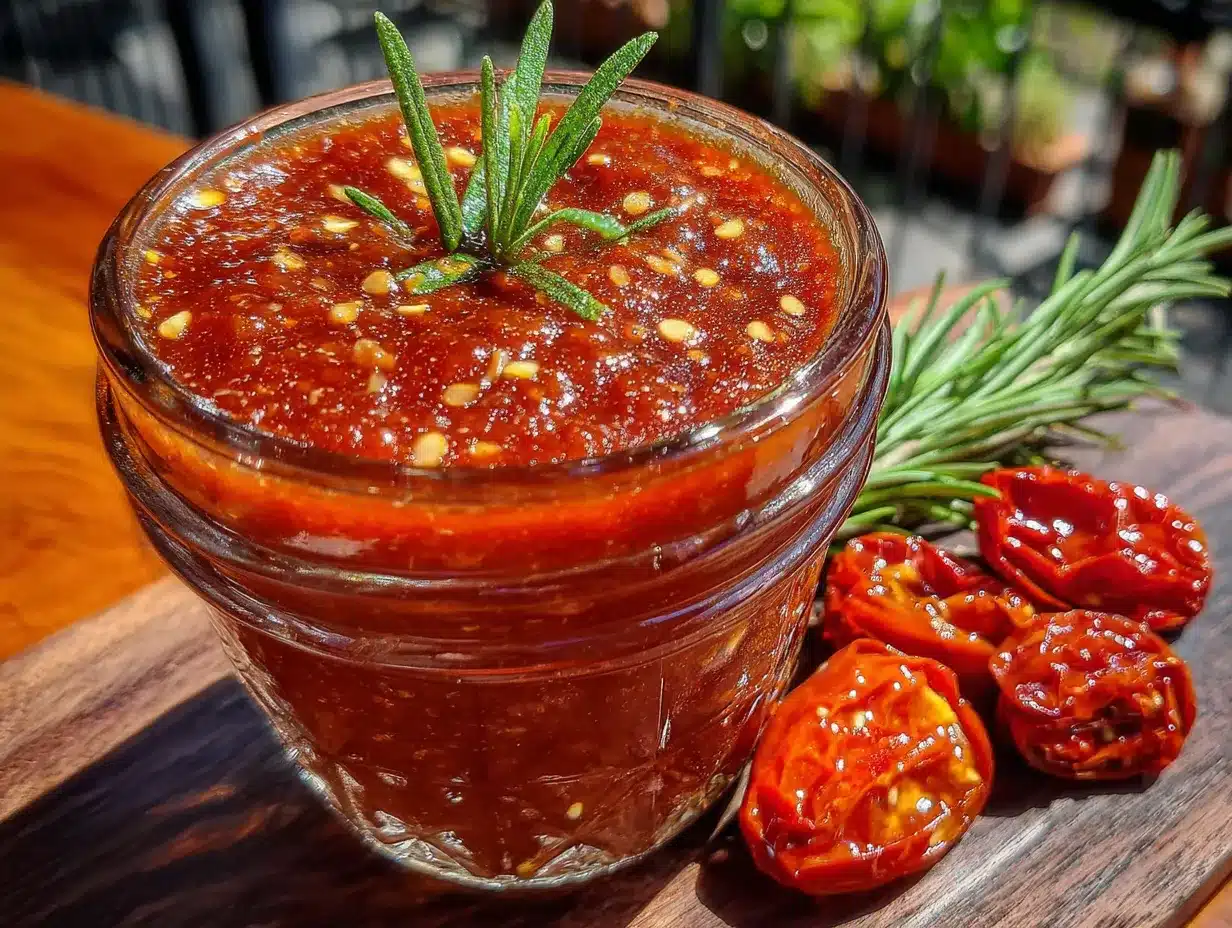
Alright, let’s get to the good part. Here is how to make this small-batch canned tomato sauce step by step. Take your time, and enjoy the process.
- Prepare your tomatoes. Start by washing your tomatoes thoroughly. Cut a small X on the bottom of each one with a paring knife. This will make peeling them so much easier.
- Blanch the tomatoes. Bring a large pot of water to a rolling boil. Carefully drop the tomatoes in, a few at a time, for about 30 to 60 seconds. You will see the skin start to peel back around the X. Use a slotted spoon to transfer them to a bowl of ice water. This stops the cooking and makes the skins slip right off.
- Peel and core. Once the tomatoes are cool enough to handle, peel off the skins. They should come off in big, satisfying strips. Then cut out the core and discard it. Roughly chop the tomatoes. You want them in chunks, not pureed yet.
- Start the sauce. In your large stockpot or Dutch oven, heat the olive oil over medium heat. Add the smashed garlic cloves and cook for about 1 minute until fragrant. Be careful not to burn the garlic—it gets bitter fast.
- Add the tomatoes. Pour in all the chopped tomatoes along with their juices. Stir in the salt, basil, and oregano if using. Bring everything to a gentle simmer, then reduce the heat to low. Let it cook uncovered for about 45 minutes to 1 hour, stirring occasionally. You want the sauce to thicken and reduce by about a third.
- Blend if desired. At this point, you can leave the sauce chunky or use an immersion blender to puree it until smooth. I like it somewhere in between—mostly smooth with a few little tomato bits for texture. If you do not have an immersion blender, carefully transfer the sauce to a regular blender in batches. Let it cool slightly first to avoid explosions.
- Prepare your jars. While the sauce simmers, wash your jars, lids, and bands in hot soapy water. Rinse well. Keep the jars hot by placing them in a 200°F oven or submerging them in hot water until ready to fill. This prevents them from cracking when you add hot sauce.
- Add acid to jars. Place 1 tablespoon of bottled lemon juice or 1/4 teaspoon of citric acid into each clean, hot pint jar. This is non-negotiable for safe water bath canning. It ensures the sauce is acidic enough to prevent bacterial growth.
- Fill the jars. Using your canning funnel and ladle, carefully fill each jar with hot sauce, leaving about 1/2 inch of headspace at the top. Run a clean knife or bubble remover tool around the inside of the jar to release any air bubbles. Wipe the rims clean with a damp towel—any residue can prevent a proper seal.
- Seal the jars. Place the lids on the jars and screw on the bands until they are fingertip-tight. Do not overtighten. The air needs to escape during processing.
- Process in a water bath. Place the filled jars in your large pot of boiling water. Make sure they are covered by at least 1 inch of water. Bring the water back to a full boil, then start your timer. Process pint jars for 35 minutes at altitudes up to 1,000 feet. Adjust for higher altitudes if needed.
- Cool and check seals. After processing, carefully lift the jars out with your jar lifter and place them on a clean towel. Let them cool undisturbed for 12 to 24 hours. You will hear the satisfying pop of the lids sealing. After cooling, press the center of each lid—if it does not flex, it is sealed. Refrigerate any unsealed jars and use them first.
Cooking Tips & Techniques
I have made this sauce more times than I can count, and I have definitely learned a few things the hard way. Here are my best tips to make your batch perfect:
- Do not skip the blanching step. I know it feels like extra work, but peeling tomatoes without blanching is a messy, frustrating experience. The X-cut and ice bath method is foolproof and honestly kind of satisfying.
- Simmer low and slow. Tomato sauce can burn easily if you rush it. Keep the heat low and stir occasionally. The sauce will thicken naturally without you hovering over it.
- Taste as you go. Salt levels can vary depending on your tomatoes and your personal preference. Add salt gradually and taste after 20 minutes of simmering. You can always add more, but you cannot take it out.
- Watch the headspace. Leaving too much air in the jar can prevent a proper seal. Use a ruler or just eyeball it—about the width of your thumb from the rim is perfect.
- Let jars cool completely before moving. I once tried to move a hot jar too soon and ended up with sauce all over my counter. Patience pays off here.
One mistake I made early on was using dried basil instead of fresh. It worked fine, but the flavor was noticeably less vibrant. Fresh herbs really shine in this recipe, so use them if you can. Also, do not be tempted to add onion or other low-acid vegetables if you plan to can this sauce. They can throw off the acidity balance and make the recipe unsafe for water bath canning. Save those additions for when you open a jar and cook with it.
Variations & Adaptations
This small-batch canned tomato sauce is incredibly versatile. Here are a few ways to change it up based on what you have or what you are craving:
- Herb-Infused Version — Add a few sprigs of fresh rosemary or thyme along with the basil. The flavors meld beautifully as the sauce simmers.
- Spicy Arrabbiata Style — Toss in 1/2 teaspoon of red pepper flakes with the garlic. It gives the sauce a gentle heat that is perfect for pasta or pizza.
- Roasted Tomato Version — For a deeper, smokier flavor, roast your tomatoes on a baking sheet at 400°F for 30 minutes before adding them to the pot. This caramelizes the natural sugars and adds incredible complexity.
- No-Salt Option — If you are watching your sodium, simply skip the salt. The sauce will still be delicious, especially if you use very ripe, flavorful tomatoes.
- Freezer-Friendly Method — If you do not want to water bath can, just cool the sauce completely, pour it into freezer-safe containers or bags, and freeze for up to 6 months. It is even easier and just as tasty.
I personally love the roasted tomato variation. One summer, I had a bumper crop of cherry tomatoes and decided to roast them all before making sauce. The result was so rich and sweet that I almost did not want to share it. Almost.
Serving & Storage Suggestions
This sauce is ready to shine whenever you are. Here is how to serve and store it:
- Serving temperature: Warm the sauce gently on the stovetop or in the microwave. It pairs beautifully with pasta, polenta, or as a base for homemade pizza.
- Presentation: Spoon it over al dente spaghetti, top with fresh basil and a drizzle of olive oil, and maybe a sprinkle of Parmesan. Simple and stunning.
- Complementary dishes: Serve with a crusty loaf of bread, a simple green salad, or alongside garlic herb meatballs for a hearty meal. It also works wonderfully in slow cooker lasagna soup.
- Storage: Sealed jars can be stored in a cool, dark place for up to 18 months. Once opened, refrigerate and use within 7 to 10 days. The flavor actually deepens after a few weeks in the jar.
- Freezing: If you choose to freeze the sauce, leave about an inch of headspace in your containers to allow for expansion. Thaw in the refrigerator overnight before using.
One thing I love about this sauce is how the flavors meld over time. A jar that has been sitting for a couple of months tastes noticeably more complex than one you just made. It is like the sauce keeps getting better while it waits for you.
Nutritional Information & Benefits
This homemade tomato sauce is not just delicious—it is also good for you. Here is a quick look at what you are getting in each serving:
- Calories: Approximately 60-80 per half-cup serving, depending on oil and salt content.
- Fat: 3-5 grams from the olive oil, which provides heart-healthy monounsaturated fats.
- Carbohydrates: 8-10 grams, mostly from natural sugars in the tomatoes.
- Fiber: 2-3 grams per serving, thanks to the tomato pulp.
- Vitamin C: Tomatoes are an excellent source, supporting immune health.
- Lycopene: A powerful antioxidant that is actually more bioavailable when tomatoes are cooked. This sauce is loaded with it.
This recipe is naturally gluten-free, dairy-free, and vegan. The only potential allergen is the olive oil, which you can substitute with another oil if needed. For those watching their sodium, the no-salt variation is a great option. I love that I can feel good about feeding this to my family, knowing exactly what went into every jar.
Conclusion
Honestly, this small-batch canned tomato sauce has become a summer ritual I look forward to every year. It is not just about preserving tomatoes—it is about capturing a moment. That steamy August afternoon in Gina’s kitchen taught me that good things do not have to be complicated. They just have to be made with care.
I hope you give this recipe a try. Let your tomatoes shine, adjust the herbs to your taste, and do not stress about perfection. The best sauce is the one you make yourself. If you end up with a pantry full of golden jars, you will thank yourself on a cold January night when you crack one open and taste summer again.
I would love to hear how your batch turns out. Drop a comment below and let me know what variations you tried, or tag me in your photos if you share them online. Happy canning, friends!
Frequently Asked Questions
Can I use canned tomatoes instead of fresh?
Yes, you can. However, the flavor and texture will be different. Canned tomatoes are already cooked, so you will want to adjust the simmering time. This recipe really shines with fresh, ripe tomatoes from your garden or farmer’s market.
Do I have to use a water bath canner?
No, you do not. You can skip the water bath and simply refrigerate the sauce for up to a week or freeze it for up to 6 months. The water bath method is only necessary if you want shelf-stable jars that do not need refrigeration.
How long will the sealed jars last?
Properly sealed jars stored in a cool, dark place can last up to 18 months. The flavor is best within the first year. Always check the seal before opening—if the lid flexes up and down, it is not sealed and should be refrigerated.
Can I add onions or carrots to the sauce?
You can, but only if you plan to refrigerate or freeze the sauce, not if you are water bath canning. Adding low-acid vegetables changes the acidity level and makes the sauce unsafe for shelf-stable canning. Save those additions for when you cook with the sauce later.
Why did my jars not seal?
Several reasons: the jar rims might not have been clean, the lids could be old or damaged, or you might not have left enough headspace. Make sure to wipe the rims thoroughly and use new lids each time. Also, ensure the jars are fully submerged during processing.
Pin This Recipe!
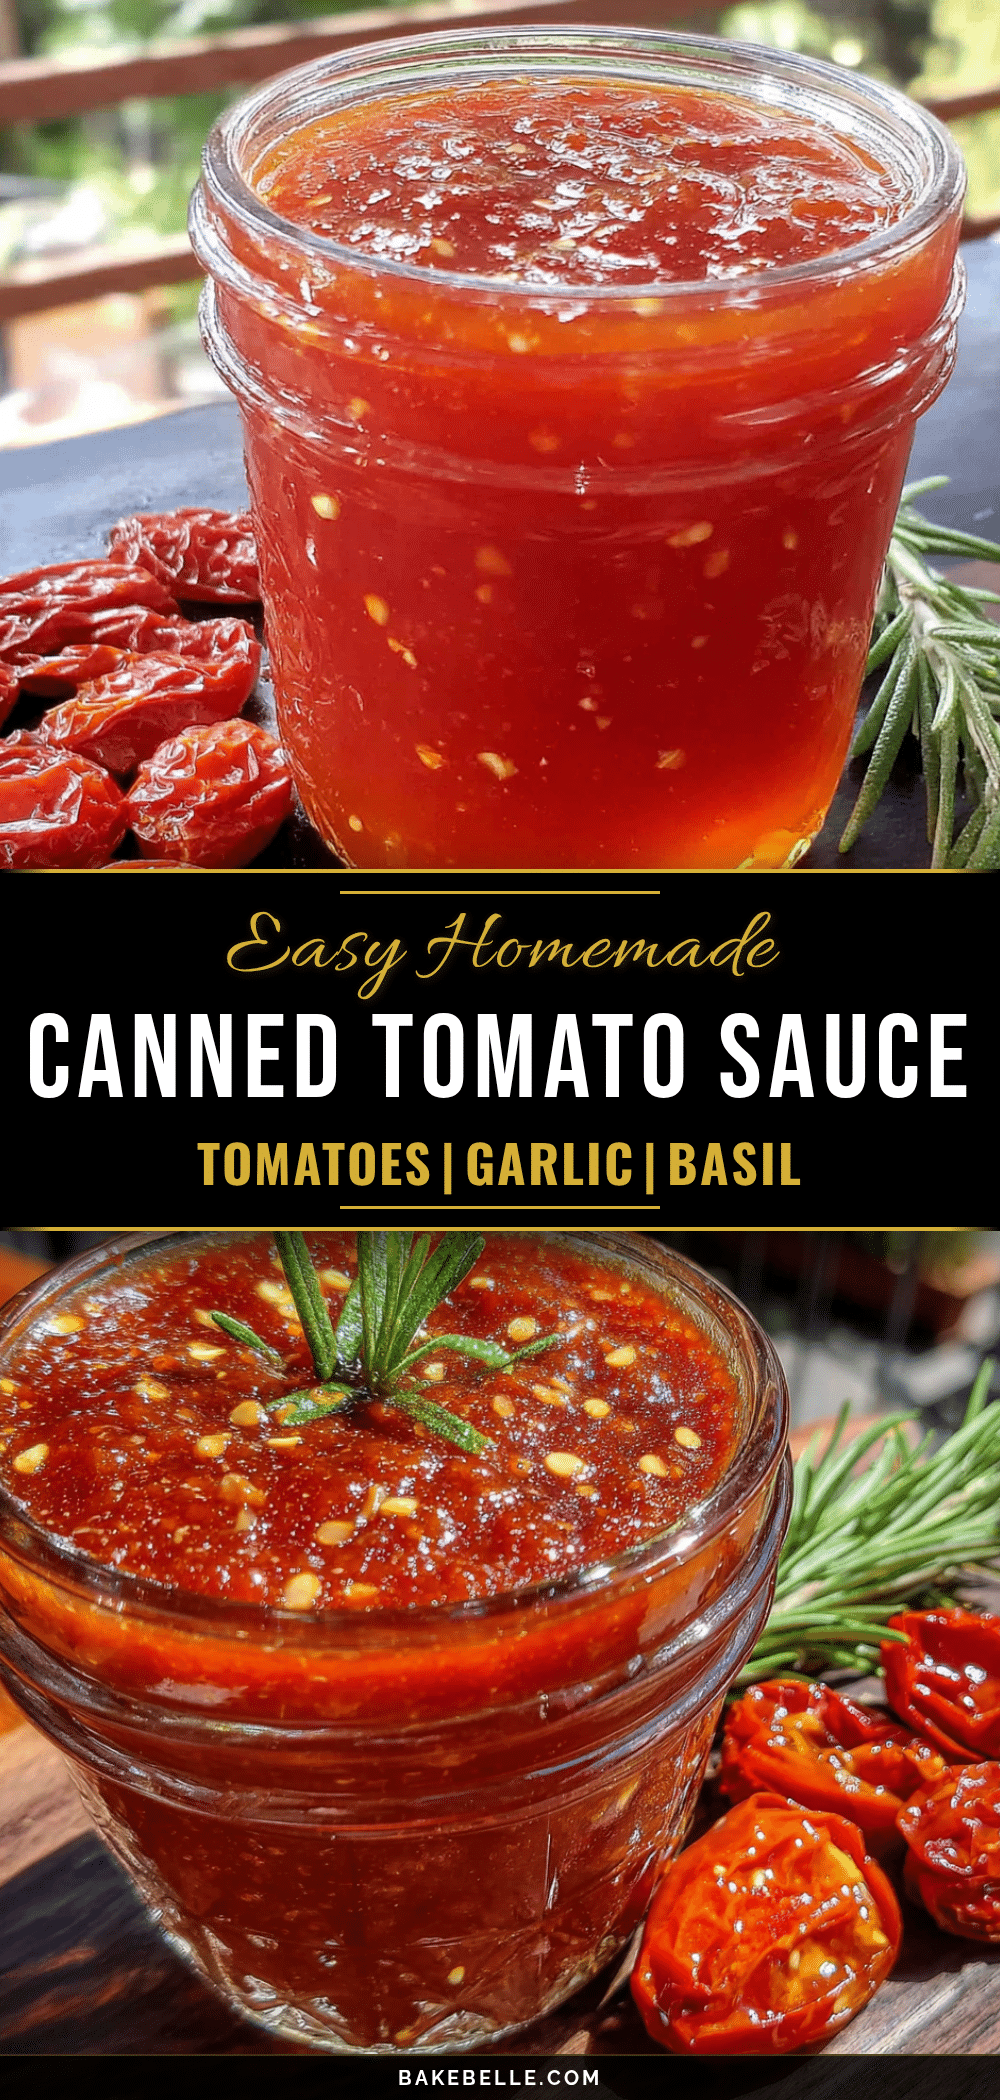
Easy Small-Batch Canned Tomato Sauce: No Canner Needed
This simple, beginner-friendly recipe lets you preserve summer’s best tomatoes without a fancy canner. Just a big pot, a few jars, and patience yield a rich, flavorful sauce perfect for pasta, pizza, and soups.
- Prep Time: 30 minutes
- Cook Time: 1 hour 35 minutes
- Total Time: 2 hours 5 minutes
- Yield: 4 to 6 pint jars 1x
- Category: Condiment
- Cuisine: Italian-American
Ingredients
- 5 to 6 pounds fresh tomatoes (Roma or plum preferred)
- 1 to 2 teaspoons kosher salt (Diamond Crystal recommended)
- 2 tablespoons extra-virgin olive oil
- 4 to 6 garlic cloves, smashed
- A handful of fresh basil leaves, roughly torn (optional)
- 2 to 3 sprigs fresh oregano or 1 teaspoon dried (optional)
- 1 tablespoon bottled lemon juice per pint jar, or 1/4 teaspoon citric acid per pint jar
Instructions
- Prepare your tomatoes: Wash thoroughly. Cut a small X on the bottom of each tomato.
- Blanch the tomatoes: Bring a large pot of water to a rolling boil. Drop tomatoes in, a few at a time, for 30 to 60 seconds until skin peels back. Transfer to a bowl of ice water.
- Peel and core: Once cool, peel off skins, cut out cores, and roughly chop tomatoes.
- Start the sauce: In a large stockpot or Dutch oven, heat olive oil over medium heat. Add smashed garlic and cook for 1 minute until fragrant.
- Add the tomatoes: Pour in chopped tomatoes and their juices. Stir in salt, basil, and oregano if using. Bring to a gentle simmer, then reduce heat to low. Cook uncovered for 45 minutes to 1 hour, stirring occasionally, until thickened by about a third.
- Blend if desired: Use an immersion blender to puree until smooth, or leave chunky. If using a regular blender, let sauce cool slightly first.
- Prepare your jars: Wash jars, lids, and bands in hot soapy water. Keep jars hot in a 200°F oven or hot water until ready to fill.
- Add acid to jars: Place 1 tablespoon bottled lemon juice or 1/4 teaspoon citric acid into each clean, hot pint jar.
- Fill the jars: Using a canning funnel and ladle, fill each jar with hot sauce, leaving 1/2 inch headspace. Run a clean knife around inside to release air bubbles. Wipe rims clean.
- Seal the jars: Place lids on jars and screw bands fingertip-tight.
- Process in a water bath: Place jars in a large pot of boiling water, covered by at least 1 inch of water. Bring to a full boil, then process pint jars for 35 minutes (adjust for altitude above 1,000 feet).
- Cool and check seals: Carefully lift jars out and place on a clean towel. Cool undisturbed for 12 to 24 hours. Press center of each lid—if it doesn’t flex, it’s sealed. Refrigerate any unsealed jars.
Notes
Do not skip the blanching step—it makes peeling easy. Simmer low and slow to avoid burning. Taste as you go and adjust salt gradually. For water bath canning, adding lemon juice or citric acid is non-negotiable for safety. If you add onions or other low-acid vegetables, do not water bath can—refrigerate or freeze instead. Sealed jars can be stored in a cool, dark place for up to 18 months. Once opened, refrigerate and use within 7 to 10 days.
Nutrition
- Serving Size: 1/2 cup
- Calories: 6080
- Sugar: 68
- Sodium: 200400
- Fat: 35
- Saturated Fat: 0.51
- Carbohydrates: 810
- Fiber: 23
- Protein: 12
Keywords: small-batch tomato sauce, canned tomato sauce, no canner, homemade tomato sauce, garden tomatoes, water bath canning, beginner canning, summer preserve