I was hunched over a gas pump last November, the kind of Tuesday that felt like a Monday, when the wind shifted and carried the smell of someone’s dinner across the parking lot. It wasn’t a fancy smell—just browned beef, cumin, maybe a little garlic. But it hit me like a freight train, and suddenly I was nine years old, standing on a step stool in my Aunt Cora’s tiny kitchen, watching her stir a big pot on the stove. She had this chipped wooden spoon she refused to throw away, and she’d let me hold it sometimes, even though my arms got tired. She passed away five years ago, and I haven’t thought about that spoon in forever. But that smell, right there by the gas pump, brought it all back—the way her kitchen always had a pot of something going, the way she’d hum off-key, the way that chili tasted like the best kind of warmth on a cold night. I drove home and immediately started digging through my old recipe box, trying to remember her exact combination of spices. This is my best attempt at getting that feeling back, and honestly, I think I got pretty close.
I know a lot of people have strong feelings about beans in chili. Some folks swear by them, and that’s fine—more power to you. But for me, the chili I remember from childhood was always about the meat, the slow-cooked depth, the rich, almost gravy-like texture that wraps around every spoonful. This cozy homemade chili is my tribute to those no-bean days, a stovetop version that fills your whole house with that same soul-soothing aroma. Maybe you’ve been there too, chasing a taste from your past. Let me tell you, this recipe is the one that finally scratched that itch for me.
Why You’ll Love This Recipe
I’ve made a lot of chili in my time. I’ve tried versions with dark beer, versions with chocolate, versions that simmered for six hours and still felt like something was missing. This recipe, though? This is the one I keep coming back to. It’s the result of trial and error, a few burnt pans, and one particularly memorable evening where I forgot the chili powder entirely. (Don’t ask. It was a long night.)
- Quick & Easy: This chili comes together in about 45 minutes from start to finish. No all-day simmering required, though it tastes even better the next day if you have the patience for leftovers.
- Simple Ingredients: You probably have most of these in your pantry right now. No trips to a specialty store, no hunting down obscure spices. Just good, honest ingredients.
- Perfect for Cozy Nights: This is the chili you make when the weather turns cold, when you’ve had a rough day, or when you just need something warm and comforting in a bowl.
- Crowd-Pleaser: I’ve served this at game day gatherings, family dinners, and casual get-togethers. It always gets that quiet, appreciative “mmm” sound from people after the first bite.
- Unbelievably Delicious: The secret here is a technique I picked up from watching my aunt—letting the meat develop a deep, dark crust before adding any liquid. That browning step is what gives this chili its next-level flavor.
This isn’t just another chili recipe. It’s the one that makes you close your eyes after that first spoonful, the one that warms you from the inside out. It’s comfort food at its finest—no beans, no fuss, just pure, soul-soothing satisfaction.
What Ingredients You Will Need
This recipe uses simple, wholesome ingredients that come together to create something truly special. The magic is in the technique, not in a long list of exotic items.
- Ground Beef (2 lbs / 900g): I recommend using 80/20 ground chuck. The fat content adds flavor and richness. You can use leaner beef if you prefer, but the chili won’t be quite as luxurious. I usually buy from my local butcher, but any good-quality ground beef works.
- Yellow Onion (1 large, diced): This forms the aromatic base. A sweet or white onion works too, but yellow has the best balance of flavor for chili.
- Green Bell Pepper (1 medium, diced): Adds a subtle sweetness and texture. Red bell pepper works in a pinch, but green has that classic chili taste.
- Garlic (4 cloves, minced): Fresh garlic is non-negotiable here. The pre-minced stuff in a jar just doesn’t have the same punch. I mince mine by hand—it takes an extra minute but makes a real difference.
- Tomato Paste (6 oz / 170g, one small can): This is the secret to that deep, concentrated tomato flavor. Don’t skip it. I prefer the Contadina brand for its smooth texture.
- Canned Diced Tomatoes (14.5 oz / 411g, undrained): Use fire-roasted if you can find them—they add a lovely smoky note. Regular diced tomatoes work just fine too.
- Beef Broth (2 cups / 480ml): Low-sodium is best so you can control the salt level. Swanson or Kitchen Basics are my go-to brands.
- Chili Powder (3 tablespoons): This is the backbone of your chili. I use Gebhardt for its deep, earthy flavor, but any good-quality chili powder will work. Store your chili powder in a cool, dark place—it loses potency over time.
- Ground Cumin (2 teaspoons): Adds that warm, slightly nutty undertone that makes chili taste like chili. Toast whole cumin seeds and grind them yourself for an even bigger flavor punch.
- Smoked Paprika (1 teaspoon): This is my little addition. It gives the chili a subtle smokiness that mimics the flavor of a long, slow simmer. Regular paprika works, but smoked is better.
- Dried Oregano (1 teaspoon): A tiny amount, but it adds a background herbaceous note that rounds everything out.
- Salt and Black Pepper (to taste): Season as you go, not just at the end. I usually add about 1 teaspoon of salt and ½ teaspoon of pepper during cooking, then adjust at the end.
- Olive Oil (2 tablespoons): For browning the meat and sautéing the vegetables. Any neutral cooking oil works.
- Optional Toppings: Shredded cheddar cheese, sour cream, sliced green onions, diced jalapeños, or crushed tortilla chips. These are entirely up to you.
Equipment Needed
You don’t need a fancy kitchen to make this chili. Here’s what you’ll need:
- Large Heavy-Bottomed Pot or Dutch Oven (6-8 quart): A Le Creuset or Lodge enameled cast iron pot is ideal for even heat distribution. If you don’t have one, any heavy-bottomed stockpot will work. I’ve used my Calphalon stainless steel pot many times with great results.
- Wooden Spoon or Spatula: For breaking up the meat and scraping up those delicious browned bits from the bottom of the pot.
- Sharp Chef’s Knife: For dicing onions and peppers. A dull knife makes this job miserable.
- Cutting Board: Any sturdy board will do.
- Measuring Spoons and Cups: For accuracy, though I’ve made this so many times I just eyeball the spices now.
- Can Opener: You’d be surprised how many times I’ve forgotten this.
- Ladle: For serving. A ½-cup ladle is perfect.
That’s it. No immersion blender, no slow cooker, no pressure cooker required. Just a pot and a spoon and a little bit of patience.
Preparation Method
Alright, let’s get cooking. This is the part where the magic happens.
- Brown the beef (10 minutes): Place your large pot over medium-high heat and add the olive oil. Let it heat up for about 30 seconds until it shimmers. Add the ground beef, breaking it up with your wooden spoon. Don’t touch it for the first 3-4 minutes—let it develop a deep, dark crust on one side. This is where the flavor lives. Then break it apart and continue cooking until it’s deeply browned all over, about 6-8 minutes total. If there’s a lot of fat, spoon off all but about 2 tablespoons. Leave the browned bits on the bottom of the pot—that’s pure gold.
- Sauté the aromatics (5 minutes): Reduce the heat to medium. Add the diced onion and green pepper to the pot with the beef. Cook, stirring occasionally, until the vegetables have softened, about 4 minutes. The onion should look translucent, not browned. Add the minced garlic and cook for another 30 seconds until fragrant. If the pot looks dry, add another splash of olive oil.
- Bloom the spices (1 minute): Push the vegetables to one side of the pot. Add the chili powder, cumin, smoked paprika, and oregano directly to the hot surface. Stir them for about 30 seconds until they become fragrant—your kitchen will smell incredible at this point. Then stir everything together. This blooming step wakes up the spices and makes them more flavorful.
- Add the tomato paste (2 minutes): Add the entire can of tomato paste to the pot. Stir it into the meat and vegetable mixture, cooking for about 2 minutes. The paste will darken slightly and start to stick to the bottom of the pot a little—that’s good. It caramelizes and adds depth.
- Deglaze and simmer (25-30 minutes): Pour in the beef broth and use your wooden spoon to scrape up all those browned bits from the bottom of the pot. Add the undrained diced tomatoes. Stir everything together until well combined. Bring the chili to a gentle boil, then reduce the heat to low. Cover the pot and let it simmer for 25-30 minutes, stirring occasionally. The chili should be bubbling gently, not furiously. If it looks too thick, add a splash more broth or water. If it looks too thin, simmer uncovered for the last 10 minutes.
- Season and rest (5 minutes): Taste the chili and add salt and pepper as needed. Remember that the flavors will continue to meld as it rests. Remove the pot from the heat and let it sit, covered, for 5 minutes before serving. This resting period allows the flavors to settle and the chili to thicken slightly.
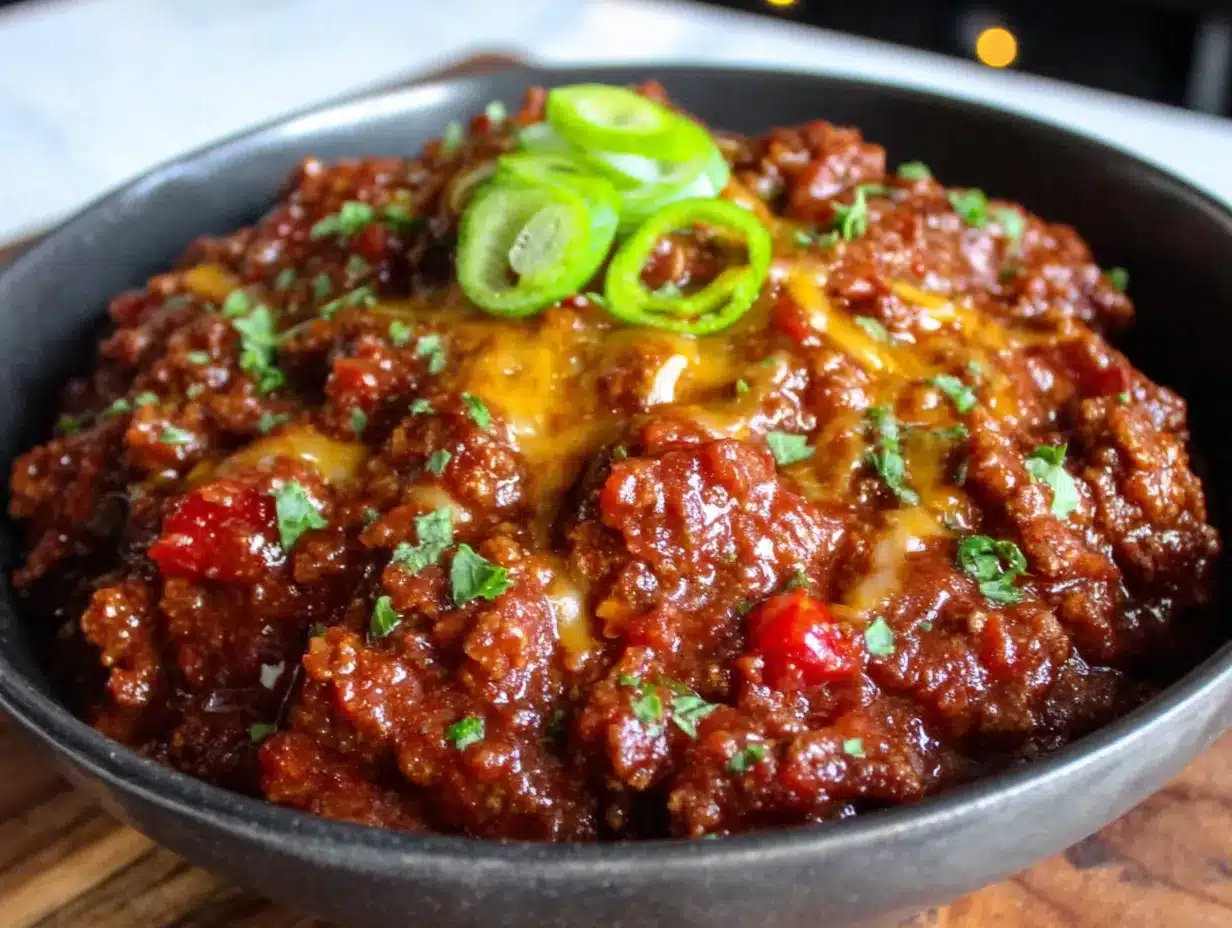
Your chili should be thick, rich, and deeply flavorful. The meat should be tender, the sauce should coat the back of a spoon, and the aroma should make everyone in the house wander into the kitchen asking what’s for dinner.
Cooking Tips & Techniques
I’ve made this chili more times than I can count, and I’ve learned a few things along the way. Here are my best tips:
- Don’t rush the browning: This is the single most important step. If you crowd the pan or stir the meat too early, it will steam instead of brown. Patience here pays off in flavor. I once tried to speed through this step because I was hungry, and the chili ended up tasting flat and one-dimensional.
- Season in layers: Add salt at each stage—a little with the meat, a little with the vegetables, a little at the end. This builds complexity. If you only season at the end, the flavors sit on top of each other instead of blending together.
- Taste as you go: I taste my chili at least three times during cooking. This helps me catch mistakes early and adjust seasonings. One time I realized I’d added too much cumin halfway through, and I was able to balance it with a splash of vinegar.
- Let it rest: Chili always tastes better after it’s had time to sit. The flavors meld and deepen. If you can, make this chili a day ahead and reheat it. The difference is remarkable. I’ve had people ask me what I did differently, and the answer is just time.
- Skim the fat if needed: If you’re using 80/20 beef, there might be a layer of fat on top after cooking. You can skim it off with a spoon, or if you’re making it ahead, refrigerate it and lift off the solidified fat the next day.
Variations & Adaptations
This chili is a great base recipe, but don’t be afraid to make it your own. Here are some ways I’ve adapted it over the years:
- Spicier Version: Add 1-2 diced jalapeños with the onions, or stir in 1-2 teaspoons of cayenne pepper with the other spices. For serious heat, add a chopped chipotle pepper in adobo sauce along with the tomatoes. I did this once for a Super Bowl party and it was a hit with the spice lovers.
- Smokier Version: Use 1-2 teaspoons of liquid smoke along with the broth. This gives the chili a deep, campfire-like flavor that’s perfect for winter nights. I also like to use smoked salt instead of regular salt when I’m going for this variation.
- Dairy-Free Version: This recipe is naturally dairy-free as written. Just skip the cheese and sour cream toppings, or use dairy-free alternatives. I’ve used coconut yogurt as a substitute for sour cream, and it adds a nice tang.
- Lower-Fat Version: Use ground turkey or lean ground beef (93/7). Add an extra tablespoon of olive oil to compensate for the lack of fat. The chili won’t be quite as rich, but it’s still satisfying. I make this version when I’m trying to eat lighter during the week.
- Add Veggies: Diced carrots, celery, or zucchini can be added with the onions for extra nutrition. I’ve even added a handful of finely chopped mushrooms, which add an earthy depth without being noticeable.
Serving & Storage Suggestions
This chili is incredibly versatile when it comes to serving. Here’s how I like to enjoy it:
Serving: Ladle the chili into warm bowls. I like to serve it piping hot with a dollop of sour cream, a generous sprinkle of shredded cheddar cheese, and some sliced green onions on top. Crushed tortilla chips add a wonderful crunch. For a complete meal, serve it with a side of cornbread or a simple green salad. The chili also makes an amazing topping for hot dogs or baked potatoes—trust me on this one.
Storage: Let the chili cool completely before storing. Transfer it to an airtight container and refrigerate for up to 4 days. The flavors actually improve after a day in the fridge, so don’t be afraid to make it ahead. I often double the recipe and freeze half for busy weeks.
Freezing: This chili freezes beautifully. Portion it into freezer-safe containers or zip-top bags, leaving about an inch of headspace for expansion. It will keep for up to 3 months. Thaw overnight in the refrigerator before reheating.
Reheating: Reheat the chili in a pot over medium-low heat, stirring occasionally. Add a splash of broth or water if it has thickened too much. You can also reheat individual portions in the microwave for 2-3 minutes, stirring halfway through. The chili tastes just as good reheated as it does fresh—maybe even better.
Nutritional Information & Benefits
Here’s the approximate nutritional breakdown for one serving (about 1½ cups, without toppings):
- Calories: 420
- Protein: 35g
- Fat: 24g
- Carbohydrates: 12g
- Fiber: 3g
- Sugar: 6g
- Sodium: 680mg
This chili is packed with protein from the beef, which helps keep you full and satisfied. The tomatoes provide a good dose of vitamin C and lycopene, a powerful antioxidant. The onions and garlic offer prebiotic fiber that supports gut health. While this isn’t a low-fat dish, the fat from the beef provides satiety and helps your body absorb the fat-soluble vitamins from the vegetables. If you’re watching your sodium, use low-sodium broth and go easy on the added salt. This recipe is naturally gluten-free and dairy-free (without toppings), making it accessible for many dietary needs.
Conclusion
This cozy homemade chili is more than just a recipe—it’s a return to something simple and good. It’s the kind of meal that doesn’t try to impress you with fancy techniques or exotic ingredients. It just delivers, spoonful after spoonful, exactly what you need. Whether you’re making it for a crowd on game day or just for yourself on a quiet Tuesday night, this chili has a way of making everything feel a little bit warmer.
I love this recipe because it reminds me of my aunt, but also because it’s become my own. I’ve tweaked it, tested it, and made it my go-to for cold nights and long days. Now I want you to make it yours too. Don’t be afraid to adjust the spices, add your own toppings, or experiment with different meats. That’s the beauty of chili—it’s forgiving, adaptable, and always delicious.
So go ahead, grab that pot and that wooden spoon. Make a mess, taste as you go, and don’t forget to close your eyes when you take that first bite. And when you do, come back and tell me how it turned out. I’d love to hear about your version of this cozy bowl of comfort.
Frequently Asked Questions
Can I make this chili in a slow cooker instead of on the stovetop?
Yes, you can. Brown the beef and sauté the vegetables on the stovetop first, then transfer everything to a slow cooker. Cook on low for 6-8 hours or on high for 3-4 hours. The stovetop version is faster, but the slow cooker version is great for busy days.
Why no beans? Can I add them?
This recipe is designed to be a meat-forward, no-bean chili. But if you love beans, feel free to add a can of drained and rinsed kidney beans or black beans during the last 15 minutes of simmering. Just note that it will change the texture and flavor profile.
How can I thicken my chili if it’s too thin?
If your chili is thinner than you’d like, simmer it uncovered for an additional 10-15 minutes to allow some of the liquid to evaporate. You can also mash a few of the meat pieces against the side of the pot to release their starches, which will help thicken the sauce.
Can I use ground turkey or chicken instead of beef?
Absolutely. Ground turkey or chicken works well, though the flavor will be milder. I recommend using dark meat turkey for more moisture, and adding a little extra olive oil to compensate for the lower fat content. You might also want to increase the spices slightly for more flavor.
How long does this chili keep in the refrigerator?
This chili will keep in an airtight container in the refrigerator for up to 4 days. It actually tastes better on the second day as the flavors continue to meld. You can also freeze it for up to 3 months. Just thaw overnight in the fridge and reheat gently on the stovetop.
Pin This Recipe!
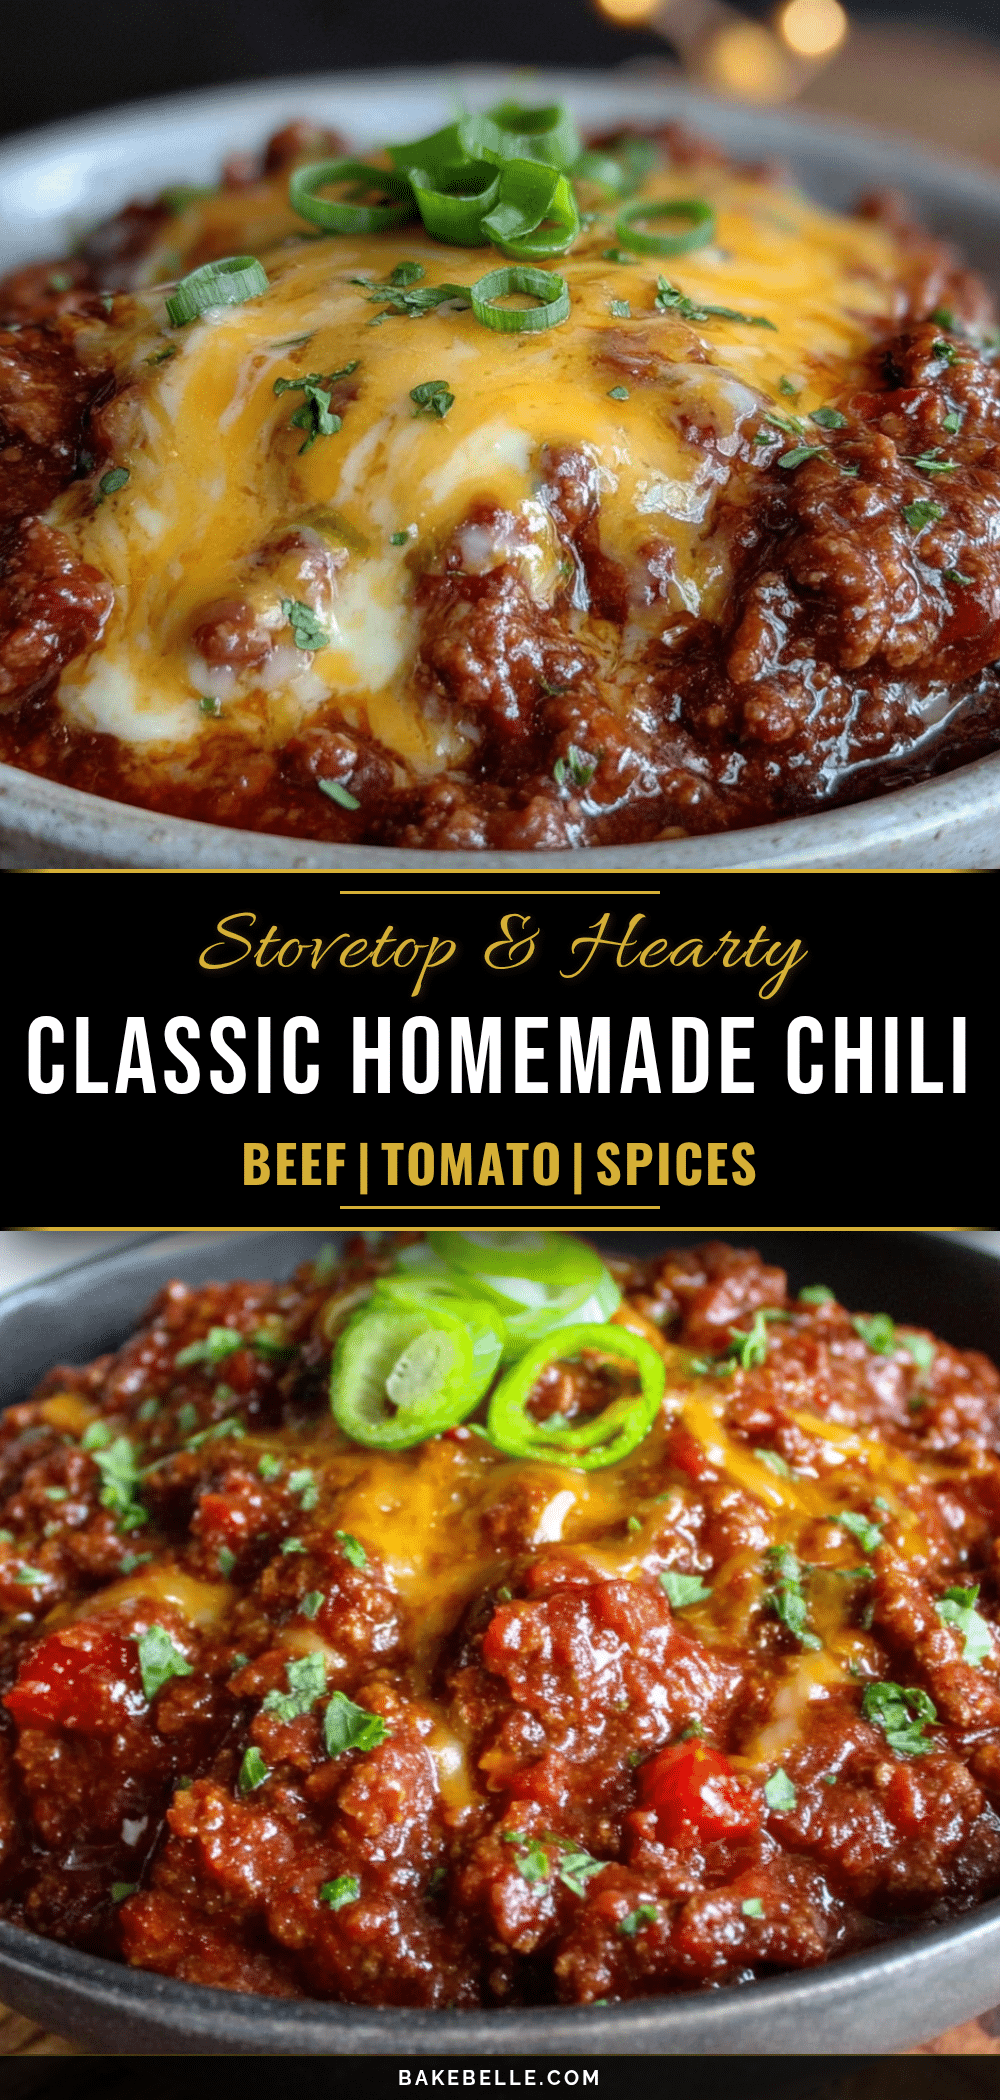
Best Easy Homemade Chili (No Beans Stovetop Recipe)

This cozy homemade chili is a meat-forward, no-bean stovetop version that fills your house with a soul-soothing aroma. It’s the result of trial and error, a tribute to childhood memories, and the perfect comfort food for cold nights.
- Prep Time: 15 minutes
- Cook Time: 30 minutes
- Total Time: 45 minutes
- Yield: 6 servings 1x
- Category: Main Course
- Cuisine: American
Ingredients
- 2 lbs (900g) ground beef (80/20 ground chuck recommended)
- 1 large yellow onion, diced
- 1 medium green bell pepper, diced
- 4 cloves garlic, minced
- 6 oz (170g) tomato paste (one small can)
- 14.5 oz (411g) canned diced tomatoes, undrained (fire-roasted preferred)
- 2 cups (480ml) beef broth (low-sodium recommended)
- 3 tablespoons chili powder
- 2 teaspoons ground cumin
- 1 teaspoon smoked paprika
- 1 teaspoon dried oregano
- Salt and black pepper to taste (about 1 teaspoon salt and ½ teaspoon pepper during cooking)
- 2 tablespoons olive oil
- Optional toppings: shredded cheddar cheese, sour cream, sliced green onions, diced jalapeños, crushed tortilla chips
Instructions
- Brown the beef (10 minutes): Place your large pot over medium-high heat and add the olive oil. Let it heat up for about 30 seconds until it shimmers. Add the ground beef, breaking it up with your wooden spoon. Don’t touch it for the first 3-4 minutes—let it develop a deep, dark crust on one side. Then break it apart and continue cooking until it’s deeply browned all over, about 6-8 minutes total. If there’s a lot of fat, spoon off all but about 2 tablespoons. Leave the browned bits on the bottom…
- Sauté the aromatics (5 minutes): Reduce the heat to medium. Add the diced onion and green pepper to the pot with the beef. Cook, stirring occasionally, until the vegetables have softened, about 4 minutes. The onion should look translucent, not browned. Add the minced garlic and cook for another 30 seconds until fragrant. If the pot looks dry, add another splash of olive oil.
- Bloom the spices (1 minute): Push the vegetables to one side of the pot. Add the chili powder, cumin, smoked paprika, and oregano directly to the hot surface. Stir them for about 30 seconds until they become fragrant. Then stir everything together.
- Add the tomato paste (2 minutes): Add the entire can of tomato paste to the pot. Stir it into the meat and vegetable mixture, cooking for about 2 minutes. The paste will darken slightly and start to stick to the bottom of the pot a little.
- Deglaze and simmer (25-30 minutes): Pour in the beef broth and use your wooden spoon to scrape up all those browned bits from the bottom of the pot. Add the undrained diced tomatoes. Stir everything together until well combined. Bring the chili to a gentle boil, then reduce the heat to low. Cover the pot and let it simmer for 25-30 minutes, stirring occasionally. If it looks too thick, add a splash more broth or water. If it looks too thin, simmer uncovered for the last 10 minutes.
- Season and rest (5 minutes): Taste the chili and add salt and pepper as needed. Remove the pot from the heat and let it sit, covered, for 5 minutes before serving.
Notes
Don’t rush the browning step—it’s crucial for flavor. Season in layers for best results. Chili tastes even better the next day. For a thicker chili, simmer uncovered for an additional 10-15 minutes. To freeze, portion into freezer-safe containers and store for up to 3 months.
Nutrition
- Serving Size: 1½ cups (without top
- Calories: 420
- Sugar: 6
- Sodium: 680
- Fat: 24
- Saturated Fat: 9
- Carbohydrates: 12
- Fiber: 3
- Protein: 35
Keywords: chili, no beans chili, stovetop chili, homemade chili, easy chili, beef chili, comfort food, game day chili