It was 11:47 PM on a random Wednesday, and I was starving. Not the polite kind of hungry where you could wait until morning—I mean the kind where your stomach is making noises that sound vaguely like a wounded animal. I had just finished a late workout (because apparently I make questionable life choices), and my body was screaming for protein. I opened the fridge, hoping for leftovers or maybe some prepped meals I’d forgotten about. Nope. Just a sad jar of pickles, some wilted spinach, and half a block of tofu that I was pretty sure had been there since the Bush administration.
I didn’t have the energy for a full meal. I didn’t have the patience for baking. But I did have peanut butter, old-fashioned oats, and a bag of chocolate chips that was calling my name from the pantry. Honestly, I was about to just eat spoonfuls of peanut butter straight from the jar (no judgment if you’ve been there), but then I remembered that I also had some protein powder collecting dust in the back of the cabinet. And that’s when the idea hit me—what if I just threw all of this stuff in a bowl and rolled it into balls? No oven, no mixer, no fuss. Just pure, desperate, midnight snack energy.
Let me tell you, those first no-bake peanut butter protein energy balls were a mess. Too dry, then too sticky, then I accidentally used crunchy peanut butter when I meant creamy, and they kept falling apart. But I kept tweaking, kept testing, and eventually I landed on a version that actually worked. The texture was perfect—chewy, not crumbly—and the flavor was like eating cookie dough without the guilt. Maybe you’ve been in that same spot, staring at your pantry at an unreasonable hour, wondering if you can make something edible without turning on the stove. These energy balls are the answer. They saved me that night, and honestly, they’ve been saving me ever since.
Why You’ll Love This Recipe
Look, I’ve tested a lot of energy ball recipes in my time. Some are too dry, some fall apart the second you look at them, and some taste like you’re eating a handful of sawdust with honey. These no-bake peanut butter protein energy balls are none of those things. They are the Goldilocks of energy bites—just right in every way.
- Quick & Easy: From start to finish, you’re looking at about 10 minutes of active time. No oven, no stove, no complicated techniques. Just mix, roll, and eat.
- Simple Ingredients: You probably already have most of these in your kitchen right now. Peanut butter, oats, honey, chocolate chips—pantry staples that come together like magic.
- Perfect for Busy Days: These are my go-to for hectic mornings, post-workout refueling, or when I need a snack that won’t slow me down. They’re portable, mess-free, and satisfying.
- Crowd-Pleaser: I brought these to a family gathering once, and my cousin’s kids ate a dozen before I could even explain what was in them. Adults love them too—they taste like dessert but pack a protein punch.
- Unbelievably Delicious: The combination of creamy peanut butter, sweet honey, and rich chocolate chips is basically comfort food in ball form. You won’t believe something this healthy can taste this good.
What makes this recipe different from all the other energy ball recipes out there? It’s the ratio. I spent weeks tweaking the measurements until I got that perfect balance—not too sticky, not too dry, with just the right amount of sweetness. Plus, I use a trick of letting the mixture chill for a few minutes before rolling, which makes everything come together without any fuss. This isn’t just another version of energy balls—it’s my best version, born from late-night kitchen experiments and a lot of taste-testing.
These energy balls are the kind of snack that makes you close your eyes after the first bite. They’re comfort food reimagined—healthier, faster, but with the same soul-soothing satisfaction. Perfect for impressing yourself on a busy Tuesday or turning a simple snack into something memorable.
What Ingredients You Will Need
This recipe uses simple, wholesome ingredients that work together to create a snack that’s both delicious and nutritious. No fancy grocery trips required—just honest, pantry-friendly staples that deliver big flavor and satisfying texture.
- 1 cup creamy peanut butter (use natural peanut butter for less sugar, or regular for a sweeter taste; I prefer Jif Natural for the perfect balance of creaminess and flavor)
- 1 cup old-fashioned rolled oats (not instant oats—they get too mushy; old-fashioned oats give the best chewy texture)
- 1/2 cup honey or maple syrup (honey adds a floral sweetness, while maple syrup gives a slightly earthier flavor; both work beautifully)
- 1/2 cup chocolate chips (semi-sweet or dark chocolate chips are my go-to, but milk chocolate works if you prefer a sweeter bite)
- 1/2 cup vanilla or chocolate protein powder (I recommend Orgain Simple or Vega for clean ingredients; if you’re using unflavored protein powder, add an extra tablespoon of honey)
- 1/4 cup ground flaxseed or chia seeds (adds fiber and omega-3s; also helps bind the mixture together—don’t skip this one)
- 1 teaspoon vanilla extract (pure vanilla extract makes a noticeable difference in flavor; imitation vanilla works in a pinch)
- Pinch of sea salt (optional, but it really makes the peanut butter and chocolate flavors pop)
Ingredient Selection Tips: For the best texture, use a peanut butter that isn’t too oily. If your natural peanut butter has separated oil on top, stir it well before measuring. Look for rolled oats that are plump and fresh—stale oats can make your energy balls taste flat. And for the chocolate chips, I always go with a brand like Enjoy Life if I’m serving these to anyone with dietary restrictions, since they’re free of common allergens.
Substitution Guidance: If you’re allergic to peanuts, swap the peanut butter for almond butter, cashew butter, or sunflower seed butter. For a gluten-free option, use certified gluten-free oats. You can also substitute the honey with agave nectar or date syrup for a vegan-friendly version. And if you don’t have protein powder on hand, just add an extra 1/4 cup of oats and 2 tablespoons of ground flaxseed—they’ll still be delicious, just slightly lower in protein.
Equipment Needed
One of the best things about this recipe is that you don’t need any fancy equipment. Seriously, if you have a bowl and a spoon, you’re basically already halfway there.
- Large mixing bowl (any size works, but bigger is better for stirring without making a mess)
- Rubber spatula or wooden spoon (a sturdy spoon is fine, but a rubber spatula makes scraping the sides so much easier)
- Measuring cups and spoons (I use a standard set, but honestly, I’ve eyeballed these ingredients before and it still worked out)
- Baking sheet or plate (for chilling the mixture before rolling—trust me, this step is worth it)
- Parchment paper or wax paper (optional, but it prevents sticking and makes cleanup a breeze)
- Small cookie scoop or tablespoon (for uniform-sized balls; you can use your hands, but a scoop makes it faster)
- Airtight container (for storing the finished energy balls; a glass container with a lid works perfectly)
If you don’t have a cookie scoop, just use your hands—I actually prefer the tactile experience of rolling them myself. And if you’re short on time, you can skip the chilling step, but the mixture will be stickier and harder to handle. A little patience goes a long way here.
Preparation Method
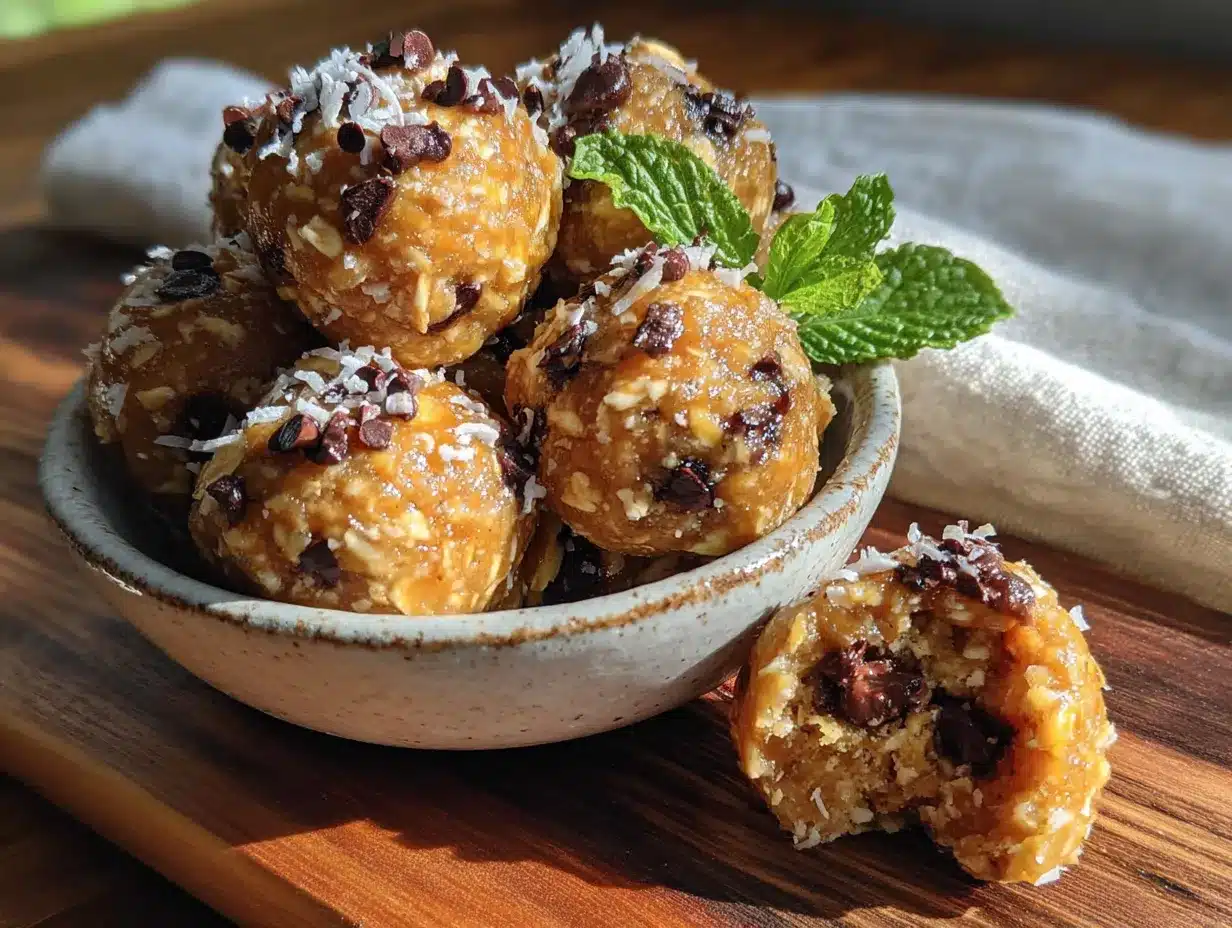
Get ready for the easiest recipe you’ll make all week. These no-bake peanut butter protein energy balls come together in about 10 minutes, and the hardest part is waiting for them to chill.
- Combine the dry ingredients. In a large mixing bowl, add 1 cup rolled oats, 1/2 cup protein powder, and 1/4 cup ground flaxseed. Whisk them together with a fork to break up any clumps. This step ensures the protein powder is evenly distributed instead of forming annoying little pockets of chalky powder.
- Add the wet ingredients. Scoop in 1 cup creamy peanut butter, 1/2 cup honey, and 1 teaspoon vanilla extract. If you’re using the pinch of sea salt, add it now. Don’t worry if it looks like a mess at first—that’s normal. Stir everything together with your rubber spatula or wooden spoon until it forms a thick, cohesive dough. This takes about 2 minutes of honest effort. If the mixture seems too dry, add a tablespoon of honey or a splash of milk. If it’s too wet, add another tablespoon of oats.
- Fold in the chocolate chips. Gently stir in 1/2 cup chocolate chips until they’re evenly distributed throughout the dough. Try not to overmix, or the chips might start melting from the warmth of your hands. You want them to stay intact for those little pockets of chocolatey goodness.
- Chill the mixture. Cover the bowl with plastic wrap or transfer the mixture to a plate lined with parchment paper. Pop it in the refrigerator for 15-20 minutes. I know it’s tempting to skip this step, but trust me—chilling makes the dough firmer and way easier to roll. Plus, it gives the flavors a chance to meld together. Use this time to clean up your workspace or pour yourself a glass of milk.
- Roll into balls. Once the mixture is chilled, scoop out about 1 tablespoon of dough (or use your cookie scoop) and roll it between your palms to form a smooth ball. Place each ball on a parchment-lined baking sheet or plate. You should get about 18-20 balls, depending on how big you make them. If the dough starts getting sticky again, pop it back in the fridge for a few minutes.
- Final chill. Place the rolled energy balls in the refrigerator for at least 30 minutes to firm up completely. This step is optional if you’re impatient (I’ve definitely eaten them right away), but they hold their shape much better after a proper chill.
- Store and enjoy. Transfer the energy balls to an airtight container and store them in the refrigerator. They’ll keep for up to two weeks—if they last that long. I usually make a double batch because they disappear faster than I expect.
Sensory Cues: The dough should feel like a thick, slightly sticky cookie dough—not wet, but not crumbly either. When you roll it between your palms, it should hold together without cracking. If it cracks, add a tiny bit more honey. If it sticks to your hands like glue, add a sprinkle of oats. The chocolate chips should be visible throughout, creating little dark specks against the golden-brown dough.
Prep Note: If you’re using a natural peanut butter that’s been sitting in the fridge, let it come to room temperature first. Cold peanut butter is harder to mix and can make the dough uneven. Also, make sure your honey is runny, not crystallized—if it’s thick, warm it up in the microwave for 10 seconds.
Cooking Tips & Techniques
After making these no-bake peanut butter protein energy balls at least fifty times (not exaggerating), I’ve picked up a few tricks that make the process smoother and the results better.
First lesson: temperature matters. The first time I made these, I used peanut butter straight from the fridge, and the mixture was a crumbly disaster. Let your peanut butter and honey come to room temperature before mixing. It seems like a small thing, but it makes the dough come together in half the time. I learned this the hard way after a particularly frustrating evening of trying to mash cold peanut butter into oats with my bare hands.
Second lesson: don’t overmix. Once you add the chocolate chips, stir just until they’re incorporated. Overmixing can cause the chips to melt slightly from the warmth of your hands and the friction of stirring. You want distinct chocolate pieces, not a uniform brown mess. I made this mistake once when I was distracted by a phone call, and my energy balls looked like muddy snowballs. Still tasted good, but not as pretty.
Third lesson: adjust for humidity. If you live in a humid climate (hello, fellow Southerners), your oats might absorb more moisture from the air, making the mixture drier than expected. In that case, add an extra tablespoon of honey or a splash of milk. Conversely, if you’re in a dry climate, the mixture might be stickier—just add a few extra oats. Cooking is about adapting, not following rules blindly.
Timing strategy: I like to make the dough, chill it, roll the balls, and then chill them again while I clean up. This way, by the time my kitchen is spotless, I have a batch of perfectly firm energy balls waiting for me. It’s a small victory, but it feels good.
Pro tip for consistency: Use a cookie scoop to ensure all your energy balls are the same size. This isn’t just about aesthetics—uniform balls chill at the same rate, so they’ll all have the same texture. Plus, it makes portion control easier if you’re tracking calories or macros.
Variations & Adaptations
One of the reasons I love this recipe is how flexible it is. You can change almost anything and still end up with something delicious. Here are some variations I’ve tried and loved.
Chocolate Peanut Butter Dream: Use chocolate protein powder instead of vanilla, and add 2 tablespoons of cocoa powder to the dry ingredients. The result is a double-chocolate energy ball that tastes like a brownie but is actually good for you. I made these for a friend who claimed she didn’t like “healthy snacks,” and she ate six in one sitting.
Vegan & Gluten-Free: Swap the honey for maple syrup or agave nectar, and use certified gluten-free oats. Make sure your chocolate chips are dairy-free (most dark chocolate chips are). I’ve served these at a vegan potluck, and they disappeared faster than the store-bought snacks. Nobody believed they were homemade.
Spiced Pumpkin Version: In the fall, I replace 1/4 cup of the oats with pumpkin puree, add 1 teaspoon of pumpkin pie spice, and use white chocolate chips instead of dark. The pumpkin adds moisture, so you might need an extra tablespoon of oats to balance it out. These taste like autumn in ball form, and they’re perfect for post-Thankscomma;giving snacking when you’re tired of turkey.
Nut-Free School-Safe: Substitute the peanut butter with sunflower seed butter or WowButter (a soy-based alternative). Use certified nut-free oats and check that your chocolate chips are processed in a nut-free facility. I made these for my nephew’s classroom, and the teacher asked for the recipe—always a good sign.
Protein Boost: Add an extra scoop of protein powder and reduce the oats by 1/4 cup. This makes the balls denser and higher in protein, perfect for post-workout recovery. Just be aware that they’ll be slightly drier, so you might need an extra tablespoon of honey to compensate.
Serving & Storage Suggestions
These no-bake peanut butter protein energy balls are best served cold, straight from the refrigerator. The chill keeps them firm and gives them that satisfying, fudgy texture that makes them so addictive. I like to grab one as a quick breakfast on my way out the door, or pack a couple in my bag for a mid-afternoon snack that won’t get squished.
Serving Ideas: Arrange them on a plate for a party or potluck—they look impressive without any effort. Serve them alongside a cup of coffee or tea for a cozy treat. For a fun twist, drizzle melted dark chocolate over the top and sprinkle with sea salt before serving. It turns them into an elegant dessert that looks like you spent hours on it.
Storage Instructions: Store the energy balls in an airtight container in the refrigerator for up to 2 weeks. I use a glass container with a tight-fitting lid, but any container will work. If you’re stacking them, place a piece of parchment paper between layers to prevent sticking. They also freeze beautifully—just pop them in a freezer-safe bag or container, and they’ll keep for up to 3 months. When you’re ready to eat, let them thaw in the refrigerator for about 30 minutes, or enjoy them frozen for a chewy, ice-cream-like treat.
Reheating Tips: These are meant to be eaten cold, but if you prefer a softer texture, let them sit at room temperature for 10-15 minutes before eating. I wouldn’t recommend microwaving them, as the chocolate chips can melt and make a mess. Trust me, I learned that one the hard way during a particularly impatient moment.
Flavor Development: The flavors actually get better after a day or two in the fridge. The oats absorb some of the moisture from the peanut butter and honey, creating a more uniform texture. So if you can resist eating them all on day one, you’ll be rewarded on day two.
Nutritional Information & Benefits
Let’s talk numbers. These no-bake peanut butter protein energy balls are not just delicious—they’re also packed with nutrients that actually fuel your body. Here’s a rough breakdown per ball (based on a batch of 20):
| Nutrient | Amount per Ball |
|---|---|
| Calories | 145 |
| Protein | 7g |
| Carbohydrates | 16g |
| Fiber | 3g |
| Sugar | 9g |
| Fat | 8g |
| Saturated Fat | 2g |
| Sodium | 85mg |
Health Benefits: The peanut butter provides healthy monounsaturated fats and protein, which keep you full and satisfied. The oats are a great source of complex carbohydrates and fiber, giving you steady energy without the crash. The flaxseed adds omega-3 fatty acids and lignans, which are great for heart health. And the protein powder helps with muscle recovery after exercise. Honestly, these little balls are a nutritional powerhouse disguised as a treat.
Dietary Considerations: This recipe is naturally vegetarian and can easily be made vegan and gluten-free with simple substitutions. It’s also free of refined sugar if you use maple syrup instead of honey. However, it does contain peanuts and may contain traces of other allergens depending on your ingredients. Always check labels if you’re serving to someone with food allergies.
Personal Wellness Perspective: I love that these energy balls let me satisfy my sweet tooth without derailing my healthy eating goals. They’re the perfect example of how you don’t have to choose between delicious and nutritious. Plus, knowing exactly what goes into them gives me peace of mind that I’m feeding my body well.
Conclusion
These no-bake peanut butter protein energy balls have become a staple in my kitchen for a reason. They’re quick, easy, and endlessly adaptable—the kind of recipe you’ll turn to again and again when you need something satisfying without the fuss. Whether you’re looking for a post-workout snack, a healthy treat for the kids, or just something to get you through a busy afternoon, these energy balls deliver every time.
I encourage you to make them your own. Swap in your favorite nut butter, experiment with different mix-ins, or adjust the sweetness to your liking. That’s the beauty of this recipe—it’s forgiving and flexible, just like good cooking should be. I’d love to hear how yours turn out! Drop a comment below and let me know what variations you tried, or tag me in your photos on social media. There’s nothing that makes me happier than seeing someone else fall in love with a recipe I created.
So go ahead—grab your ingredients, get your hands a little sticky, and make yourself a batch of these little bites of happiness. You deserve a snack that’s as good for your soul as it is for your body. Happy rolling, friends!
Frequently Asked Questions
Can I make these without protein powder?
Absolutely! Just replace the protein powder with an extra 1/4 cup of oats and 2 tablespoons of ground flaxseed or chia seeds. They’ll be slightly lower in protein but still delicious and satisfying. I’ve made them this way when I ran out of protein powder, and nobody noticed the difference.
Why are my energy balls too dry?
This usually happens if your peanut butter is too thick or if you’re using a very dry protein powder. Try adding an extra tablespoon of honey or a splash of milk (dairy or plant-based) to loosen the mixture. Also, make sure your oats aren’t stale—old oats can absorb more moisture and make everything drier.
Can I freeze these energy balls?
Yes! They freeze beautifully. Place them in a single layer on a baking sheet and freeze for about an hour, then transfer to a freezer-safe bag or container. They’ll keep for up to 3 months. I like to grab one straight from the freezer for a chewy, cold treat on hot days.
How long do they last at room temperature?
They’re best stored in the refrigerator, but they’ll be fine at room temperature for up to 24 hours. If you’re taking them on a road trip or packing them in a lunchbox, they’ll hold up well without refrigeration for a day. Just keep them out of direct sunlight and heat.
Can I use crunchy peanut butter instead of creamy?
You can, but it will change the texture. Crunchy peanut butter has less fat and more peanut pieces, which can make the balls a bit drier and crumblier. If you use crunchy, add an extra tablespoon of honey to compensate. I actually prefer creamy for this recipe because it gives a smoother, more uniform texture.
Pin This Recipe!
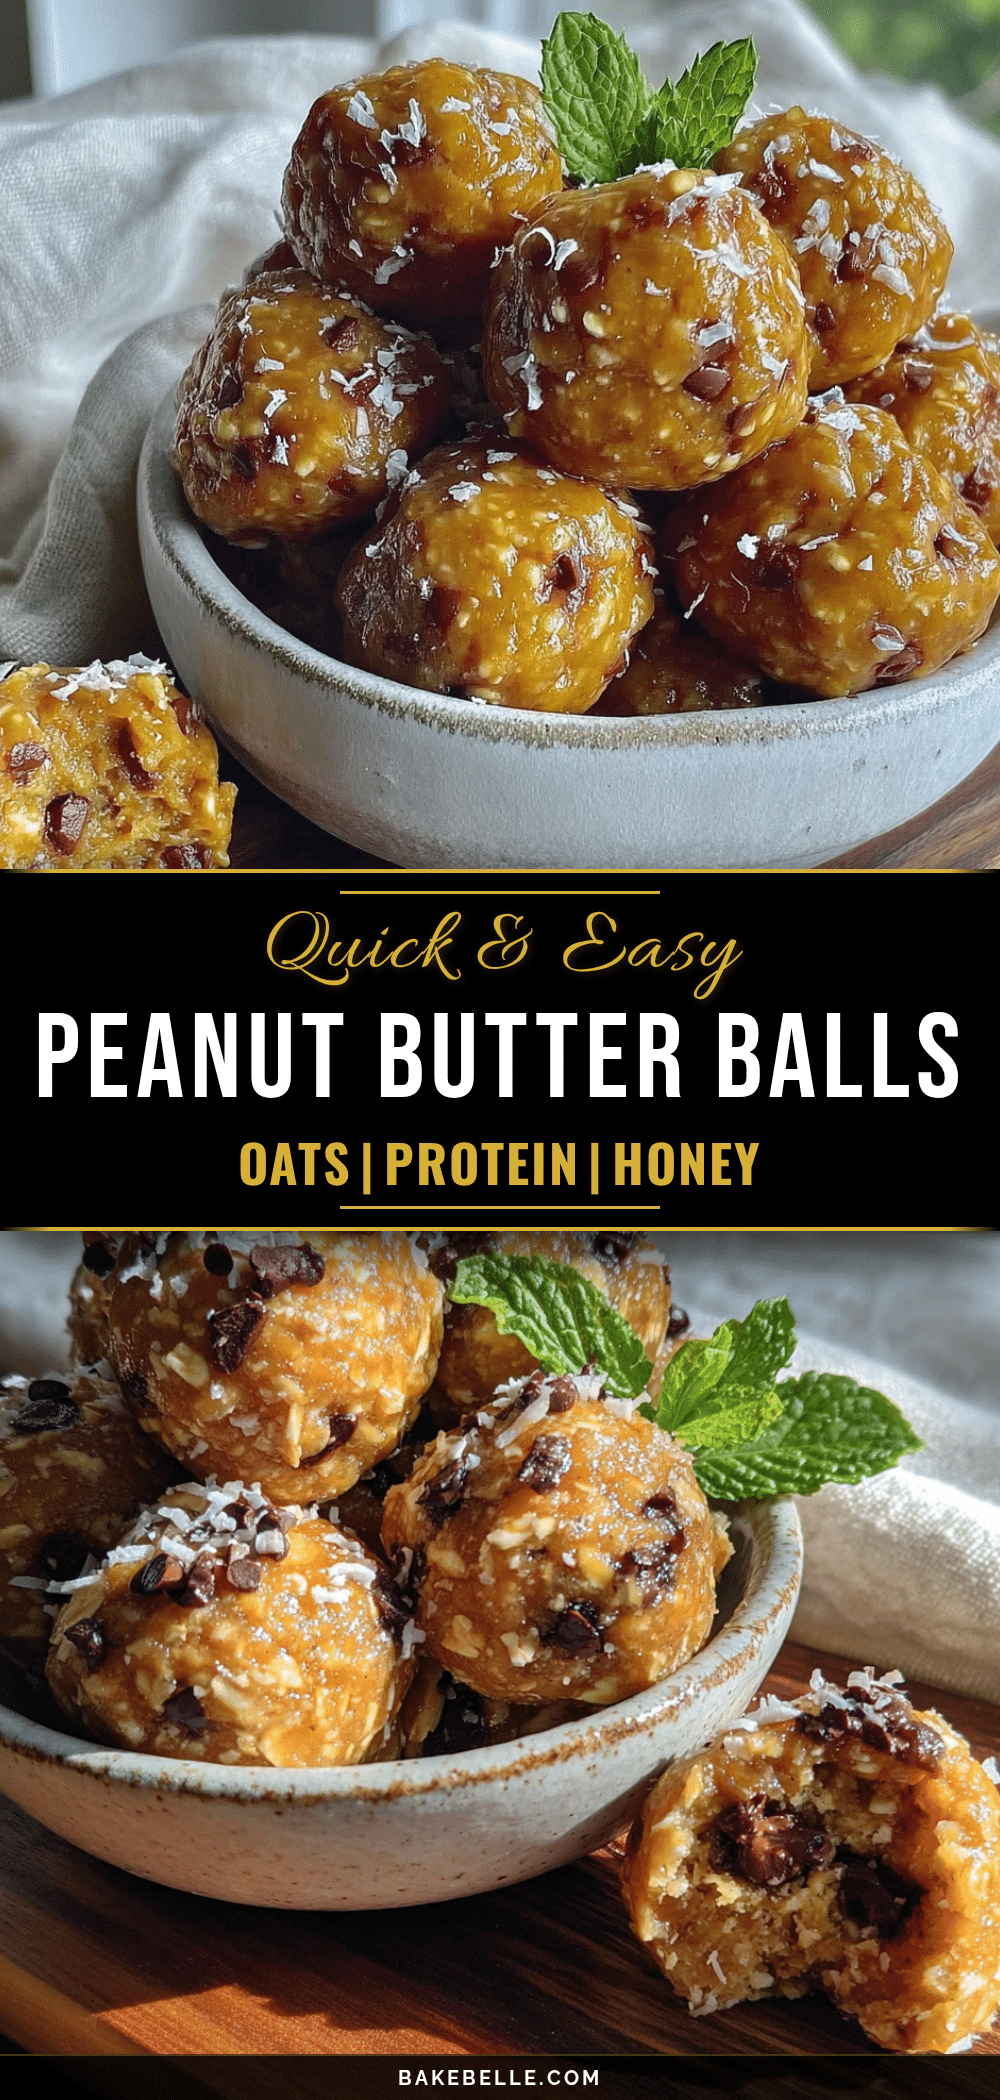
Easy No-Bake Peanut Butter Protein Energy Balls

Quick and easy no-bake peanut butter protein energy balls made with simple pantry ingredients. Perfect for a post-workout snack or a healthy treat.
- Prep Time: 10 minutes
- Cook Time: 0 minutes
- Total Time: 1 hour (including chilling)
- Yield: 18-20 balls 1x
- Category: Snack
- Cuisine: American
Ingredients
- 1 cup creamy peanut butter
- 1 cup old-fashioned rolled oats
- 1/2 cup honey or maple syrup
- 1/2 cup chocolate chips
- 1/2 cup vanilla or chocolate protein powder
- 1/4 cup ground flaxseed or chia seeds
- 1 teaspoon vanilla extract
- Pinch of sea salt (optional)
Instructions
- Combine the dry ingredients: In a large mixing bowl, add 1 cup rolled oats, 1/2 cup protein powder, and 1/4 cup ground flaxseed. Whisk together with a fork to break up any clumps.
- Add the wet ingredients: Scoop in 1 cup creamy peanut butter, 1/2 cup honey, and 1 teaspoon vanilla extract. If using, add the pinch of sea salt. Stir everything together until it forms a thick, cohesive dough (about 2 minutes). If too dry, add a tablespoon of honey or a splash of milk; if too wet, add another tablespoon of oats.
- Fold in the chocolate chips: Gently stir in 1/2 cup chocolate chips until evenly distributed. Do not overmix.
- Chill the mixture: Cover the bowl with plastic wrap or transfer the mixture to a plate lined with parchment paper. Refrigerate for 15-20 minutes.
- Roll into balls: Once chilled, scoop out about 1 tablespoon of dough and roll between your palms to form a smooth ball. Place on a parchment-lined baking sheet or plate. You should get about 18-20 balls.
- Final chill: Place the rolled energy balls in the refrigerator for at least 30 minutes to firm up completely.
- Store and enjoy: Transfer to an airtight container and store in the refrigerator for up to 2 weeks.
Notes
For best texture, use room temperature peanut butter and honey. Chilling the mixture before rolling makes it easier to handle. Adjust sweetness to taste. Store in refrigerator for up to 2 weeks or freeze for up to 3 months.
Nutrition
- Serving Size: 1 ball
- Calories: 145
- Sugar: 9
- Sodium: 85
- Fat: 8
- Saturated Fat: 2
- Carbohydrates: 16
- Fiber: 3
- Protein: 7
Keywords: no-bake, peanut butter, protein, energy balls, healthy snack, gluten-free option, vegan option