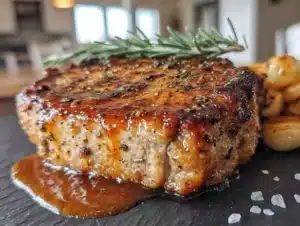
It was 11:47 PM on a random Wednesday, and I had a bone-deep craving for fried chicken. Not just any fried chicken—the kind with skin so shatteringly crisp it makes that perfect crunch sound when you bite into it, with meat so juicy it practically drips down your chin. The problem? I didn’t have a deep fryer, I definitely didn’t have the patience for the mess of stovetop frying at nearly midnight, and honestly, I wasn’t about to heat up a gallon of oil in my tiny apartment kitchen. But I had a new air fryer sitting on my counter, a pack of bone-in, skin-on chicken thighs in the fridge, and a wild idea that just might work.
I mean, I’d seen the air fryer chicken recipes floating around online, but they always looked a little… sad. Pale skin, dry meat, that weird rubbery texture that makes you wonder why you even bothered. But something about the late hour made me throw caution to the wind. I figured, what’s the worst that could happen? I’d have a mediocre chicken thigh and go to bed disappointed. Instead, what came out of that air fryer twenty-five minutes later was nothing short of a revelation. The skin was golden, blistered, and impossibly crispy. The meat was so tender it pulled apart with a fork. I stood there in my pajamas, eating straight off the cutting board, and I knew I’d never look at chicken the same way again.
Maybe you’ve been there too—wanting that deep-fried satisfaction without the guilt, the mess, or the vat of used oil sitting in your kitchen for days. These crispy air fryer chicken thighs are the answer. They give you everything you love about fried chicken: the crunch, the juiciness, the savory satisfaction. But they do it with way less fat, way less fuss, and in about half the time. Honestly, let me tell you, this recipe has become my go-to for busy weeknights, lazy Sundays, and yes, even those late-night cravings that just won’t quit. It’s the kind of recipe that makes you wonder why you ever bothered with the deep fryer in the first place.
Why You’ll Love This Recipe
Let’s be real for a second. There are a lot of air fryer chicken recipes out there, and not all of them deliver on their promises. I’ve tested more versions than I care to count, and I’ve learned exactly what works and what doesn’t. These crispy air fryer chicken thighs are the result of all that trial and error—the technique I’ve refined over dozens of batches to get that perfect balance of crunch and moisture every single time.
- Quick & Easy: From fridge to plate in under 30 minutes. No marinating overnight, no complicated steps, no standing over a hot stove. This is real-life cooking for real-life schedules.
- Simple Ingredients: You probably have everything you need in your pantry right now. Chicken thighs, salt, pepper, garlic powder, paprika—that’s it. No weird specialty ingredients or trips to three different stores.
- Perfect for Any Occasion: Weeknight dinner? Check. Meal prep Sunday? Absolutely. Game day snack? You bet. These thighs fit every scenario with zero fuss.
- Crowd-Pleaser: I’ve served these to picky kids, health-conscious friends, and serious foodies. Every single person goes back for seconds. The crispy skin wins everyone over.
- Unbelievably Delicious: Here’s the thing—these aren’t just “good for air fryer” chicken. They’re genuinely, objectively delicious. The skin gets that perfect crackly crunch, and the meat stays ridiculously juicy. It’s comfort food that actually delivers.
What makes this recipe different from all the others? It’s the technique. Most recipes tell you to just toss the chicken in the air fryer and hope for the best. I’ve figured out the exact temperature, timing, and prep method that gives you restaurant-quality crispy skin without drying out the meat. The secret is in how you dry the skin, how you season it, and how you arrange the pieces in the basket. Once you try it this way, you’ll never go back to soggy-skinned air fryer chicken again.
This isn’t just another recipe—it’s the one that makes you close your eyes after the first bite. It’s the kind of meal that feels indulgent but fits perfectly into a balanced, health-conscious lifestyle. You get all the satisfaction of fried chicken with a fraction of the fat and calories. Honestly, it’s a game-changer for anyone who loves good food but doesn’t want to compromise on their wellness goals.
What Ingredients You Will Need
This recipe uses simple, wholesome ingredients that work together to create that perfect crispy exterior and tender, juicy interior. The beauty of these crispy air fryer chicken thighs is that they don’t require a long list of fancy ingredients—just a few pantry staples and good-quality chicken.
- Bone-in, skin-on chicken thighs (4-6 pieces, about 1.5-2 lbs total): This is non-negotiable for the best results. The bone keeps the meat moist during cooking, and the skin is what gives you that incredible crunch. I prefer thighs over breasts because they’re more forgiving and stay juicier. Look for thighs that are roughly the same size so they cook evenly.
- 1 tablespoon olive oil or avocado oil: Just enough to help the seasoning stick and encourage browning. You don’t need much—too much oil will make the skin soggy instead of crispy. Avocado oil has a higher smoke point, which works beautifully here.
- 1 teaspoon salt: I use fine sea salt for even distribution. Don’t skimp on salt—it’s essential for drawing out moisture from the skin, which helps it crisp up. If you’re using kosher salt, you might need a bit more.
- 1/2 teaspoon black pepper: Freshly ground is always better. It adds a subtle warmth that complements the other spices without overpowering the chicken.
- 1 teaspoon garlic powder: Not garlic salt—pure garlic powder. It gives you that savory depth without adding extra sodium. I’ve tried granulated garlic too, but powder sticks better to the skin.
- 1 teaspoon paprika: This is your secret weapon for color and flavor. Regular paprika works great, but smoked paprika adds an incredible depth that makes these taste like they came off a grill. I’ve used both and honestly, smoked paprika is my personal favorite.
- 1/2 teaspoon onion powder (optional): Adds another layer of savory goodness. I add it when I want that extra something, but it’s not essential if you don’t have it on hand.
- 1/4 teaspoon cayenne pepper (optional): For those who like a little heat. I add a pinch when I’m cooking just for myself, but I leave it out when serving a crowd or kids.
That’s it. Seven ingredients, and most of them are probably already in your spice cabinet. The key is using bone-in, skin-on chicken thighs—this cut is more flavorful and forgiving than breasts, and the skin is what gives you that incredible crunch. I’ve tried this recipe with drumsticks too, and they work great; just adjust the cooking time slightly.
If you want to experiment with different seasonings, go for it. I’ve made these with everything from jerk seasoning to Italian herb blends, and they always turn out fantastic. Just keep the base of salt and oil the same, and swap out the other spices based on your mood. The technique stays the same regardless of the flavor profile you choose.
Equipment Needed
You don’t need much fancy equipment to make these crispy air fryer chicken thighs, which is part of what makes this recipe so accessible. Here’s what you’ll need:
- Air fryer: Obviously. I use a 5.8-quart basket-style air fryer, and it fits 4-6 chicken thighs comfortably without overcrowding. If you have a smaller model, you might need to cook in batches. Oven-style air fryers work too, but you’ll need to flip the chicken halfway through for even crisping.
- Paper towels: These are crucial for drying the chicken skin thoroughly. Don’t skip this step—moisture is the enemy of crispiness. I go through quite a few paper towels patting each thigh dry.
- Mixing bowl: For tossing the chicken with oil and seasonings. A medium-sized bowl works perfectly. I prefer glass or stainless steel because they don’t absorb odors.
- Tongs: For handling the chicken without piercing the skin. Silicone-tipped tongs are great because they won’t scratch your air fryer basket.
- Instant-read thermometer: This is worth its weight in gold for perfectly cooked chicken. You’re looking for an internal temperature of 175°F for thighs (they’re dark meat, so they can handle a bit more heat than breasts). I’ve used the same ThermoPro for years and it’s never let me down.
- Cutting board: For resting the chicken after cooking. Letting it rest for 5 minutes before serving helps the juices redistribute.
If you don’t have an air fryer, you can absolutely make these in a conventional oven. Preheat to 425°F, place the thighs on a wire rack set over a baking sheet, and bake for 35-40 minutes until the skin is crispy and the internal temperature reaches 175°F. The texture won’t be quite as crackly as the air fryer version, but it’s still delicious. I’ve done it both ways, and honestly, the air fryer wins every time for that perfect crunch.
Preparation Method
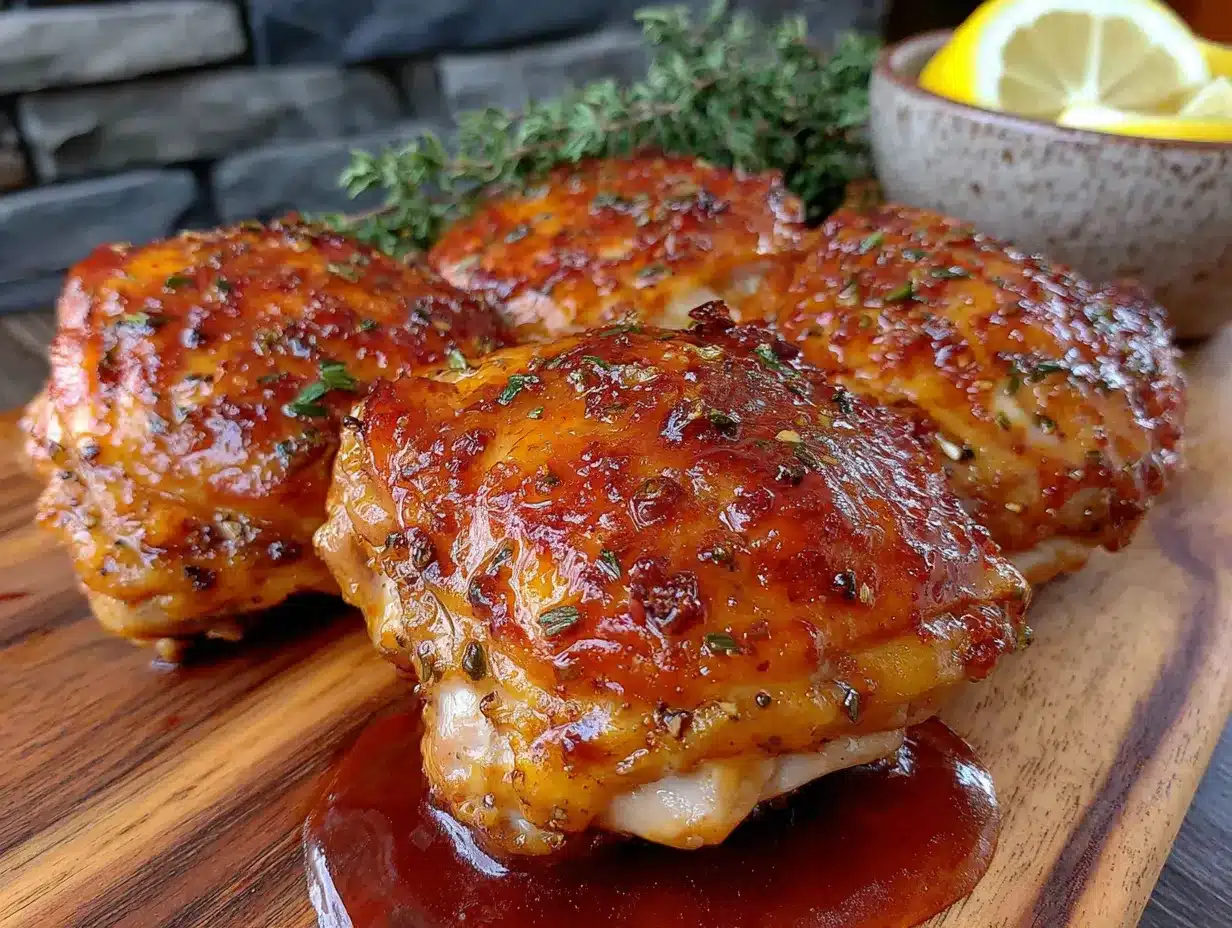
Let me walk you through this step by step. I’ve made these crispy air fryer chicken thighs more times than I can count, and I’ve learned every little trick along the way. Follow these steps exactly, and you’ll get perfect results every single time.
- Pat the chicken thighs completely dry. This is the most important step, and I cannot emphasize it enough. Take your chicken thighs out of the package and lay them on a plate lined with paper towels. Use more paper towels to press firmly on both sides of each thigh until the skin feels dry to the touch. Don’t be shy—really get in there. Any moisture left on the skin will steam instead of crisp, and you’ll end up with sad, rubbery skin. I usually go through at least 4-5 paper towels for a full batch. Let the chicken sit at room temperature for about 10 minutes after drying to take the chill off.
- Season generously. In a medium mixing bowl, combine the olive oil, salt, pepper, garlic powder, paprika, and any other spices you’re using. Whisk them together until they form a paste-like consistency. Add the dried chicken thighs and toss with your hands (yes, get in there—it’s the best way to ensure even coating) until every piece is completely coated in the seasoning mixture. Make sure you get the seasoning under the skin too—gently lift the skin and rub some of the mixture directly onto the meat. This is a game-changer for flavor.
- Preheat your air fryer. Most air fryers need about 3-5 minutes to preheat. I set mine to 400°F and let it run empty while I’m seasoning the chicken. This ensures the basket is hot when the chicken goes in, which helps kickstart the crisping process. If your air fryer doesn’t have a preheat function, just run it at temperature for 3 minutes before adding the chicken.
- Arrange the chicken in the basket. Place the seasoned chicken thighs in the air fryer basket skin-side down. This is crucial—starting skin-side down allows the fat to render and the skin to start crisping immediately. Make sure there’s space between each piece. Overcrowding is the enemy of crispiness because it traps steam. If your thighs are touching, cook in batches. I can fit 4-5 average-sized thighs in my 5.8-quart basket without overcrowding.
- Cook at 400°F for 12 minutes. Set your timer and let the air fryer do its magic. Don’t be tempted to open the basket during this time—you’ll let out all the hot air and disrupt the cooking process. Trust the process. The chicken will sizzle and pop, and your kitchen will start smelling incredible.
- Flip and cook for another 10-12 minutes. After 12 minutes, carefully flip each thigh using your tongs. The skin should already be golden and starting to crisp. Cook for another 10-12 minutes, or until the internal temperature reaches 175°F when tested with an instant-read thermometer inserted into the thickest part of the thigh without touching the bone. The skin should be deep golden brown and incredibly crispy—you’ll be able to hear it crackle when you touch it.
- Rest before serving. Remove the chicken from the air fryer and transfer to a cutting board or plate. Let it rest for 5 minutes before serving. I know it’s tempting to dig in immediately, but this rest period allows the juices to redistribute throughout the meat. If you cut into it too soon, all those delicious juices will run out onto your plate instead of staying in the chicken. Trust me, I’ve learned this the hard way.
One thing I’ve learned through trial and error: if your chicken skin isn’t as crispy as you’d like after the cooking time, you can add an extra 2-3 minutes at 400°F. Just keep a close eye on it so it doesn’t burn. Every air fryer runs a little differently, so your first batch might need slight adjustments. That’s totally normal—you’ll get a feel for your specific machine after a couple of tries.
Cooking Tips & Techniques
After making these crispy air fryer chicken thighs more times than I can count, I’ve picked up some tricks that make a real difference. Let me share what I’ve learned so you can skip the trial and error.
The drying technique matters more than you think. I used to just give the chicken a quick pat with a paper towel and call it done. Big mistake. You need to really press firmly and use multiple paper towels until the skin feels almost tacky to the touch. I’ve found that letting the seasoned chicken sit uncovered in the fridge for 30 minutes (if you have the time) takes the drying to another level. The cold air helps the skin dry out even more, which means even crispier results.
Don’t overcrowd the basket. This is probably the most common mistake I see people make. If your chicken thighs are touching or overlapping, they’ll steam instead of crisp. The hot air needs to circulate around each piece to create that perfect crunchy exterior. If you’re cooking for a crowd, just do it in batches. The first batch will stay warm in a 200°F oven while you finish the rest. I’ve done this many times for dinner parties, and it works perfectly.
Season under the skin. This is a game-changer that most recipes don’t mention. Gently loosen the skin from the meat with your fingers (being careful not to tear it) and rub some of the seasoning mixture directly onto the meat. The skin will crisp up on top, and the meat underneath will be perfectly seasoned all the way through. It makes such a difference in flavor that I do it every single time now.
Use an instant-read thermometer. I know some people think they can tell when chicken is done by cutting into it, but that’s a surefire way to end up with dry meat. Chicken thighs are done at 175°F, which is higher than breasts because dark meat has more connective tissue that needs time to break down. The thermometer takes all the guesswork out of it. I’ve had batches that looked perfectly golden on the outside but were still undercooked inside—the thermometer saved me every time.
Let the chicken come to room temperature. If you put cold chicken straight from the fridge into the air fryer, the outside will cook faster than the inside, and you might end up with uneven results. Letting the chicken sit at room temperature for 15-20 minutes before cooking helps everything cook more evenly. Just don’t leave it out longer than that for food safety reasons.
Variations & Adaptations
One of the best things about this recipe is how adaptable it is. I’ve experimented with all sorts of variations, and they’ve all turned out delicious. Here are some of my favorites:
Spicy Buffalo Style: After cooking, toss the crispy thighs in your favorite buffalo sauce mixed with a little melted butter. Serve with blue cheese or ranch dressing and celery sticks. I made these for a game day party and they disappeared in minutes. The air fryer keeps the skin crispy even after tossing in sauce, which is something deep-fried chicken can’t always do.
Herb and Lemon: Add 1 teaspoon dried thyme, 1 teaspoon dried rosemary, and the zest of one lemon to the seasoning mixture. Squeeze fresh lemon juice over the finished chicken before serving. This version feels lighter and brighter—perfect for spring and summer meals. I love serving it with a simple green salad and roasted potatoes.
Asian-Inspired Glaze: Mix 2 tablespoons soy sauce, 1 tablespoon honey, 1 teaspoon sesame oil, and a minced garlic clove. Brush this glaze onto the chicken during the last 5 minutes of cooking. Sprinkle with sesame seeds and sliced green onions before serving. The sweet and savory combination is absolutely addictive. I stumbled onto this combination one night when I was craving takeout but didn’t want to wait for delivery.
Keto-Friendly Version: This recipe is already pretty low-carb, but you can make it even more keto-friendly by adding a coating of crushed pork rinds or almond flour mixed with parmesan cheese. Just dip the seasoned chicken in beaten egg, then coat with the pork rind mixture before air frying. The crunch factor goes through the roof. My keto friends absolutely love this version.
Oven-Baked Alternative: If you don’t have an air fryer, preheat your oven to 425°F. Place the seasoned thighs on a wire rack set over a baking sheet (this allows air to circulate underneath). Bake for 35-40 minutes, flipping halfway through, until the internal temperature reaches 175°F. The skin won’t be quite as crispy as the air fryer version, but it’s still really good. I’ve done this when cooking for a larger group and it works well.
Serving & Storage Suggestions
These crispy air fryer chicken thighs are incredibly versatile when it comes to serving. Here’s how I like to enjoy them and how to store any leftovers (though honestly, leftovers are rare in my house).
Serving Suggestions: Serve the chicken hot, straight from the air fryer, for the crispiest skin. I like to arrange them on a platter with lemon wedges and fresh herbs for a beautiful presentation. They pair beautifully with almost any side dish—mashed potatoes, roasted vegetables, coleslaw, rice pilaf, or a simple green salad. For a complete meal, I often serve them with roasted asparagus or green beans and a side of garlic bread. The possibilities are endless.
Make-Ahead Tips: You can season the chicken up to 24 hours in advance and keep it covered in the refrigerator. This actually improves the flavor because the seasoning has time to penetrate the meat. Just bring the chicken to room temperature for 15-20 minutes before air frying. I do this often when I’m planning a dinner party or a busy weeknight meal.
Storage Instructions: Store leftover chicken in an airtight container in the refrigerator for up to 4 days. The skin will lose some of its crispiness in the fridge, but don’t worry—you can bring it back to life. I’ve found that storing the chicken uncovered in the fridge for the first hour helps keep the skin from getting too soggy.
Reheating Methods: The air fryer is your best friend for reheating. Preheat to 375°F and reheat the thighs for 3-4 minutes until the skin is crispy again and the internal temperature reaches 165°F. The oven works too—350°F for about 10 minutes on a wire rack. Avoid the microwave at all costs—it will turn your crispy skin into sad, rubbery mess. Trust me, I’ve made that mistake more than once.
Freezer Instructions: These freeze beautifully. Let the cooked chicken cool completely, then wrap each thigh individually in plastic wrap and place in a freezer bag. They’ll keep for up to 3 months. To reheat, thaw overnight in the refrigerator, then reheat in the air fryer at 375°F for 5-6 minutes. The texture is almost as good as fresh. I always keep a batch in my freezer for those nights when I just don’t feel like cooking.
Nutritional Information & Benefits
These crispy air fryer chicken thighs are a fantastic option for anyone looking to enjoy delicious food without compromising on their health goals. Here’s the estimated nutritional breakdown per serving (based on 4 servings):
- Calories: Approximately 350-400 per serving
- Protein: 28-32g
- Fat: 24-28g (mostly from the skin, which you can remove if desired)
- Carbohydrates: 1-2g
- Fiber: 0g
- Sugar: 0g
Health Benefits: Chicken thighs are an excellent source of high-quality protein, which is essential for muscle repair and overall health. They’re also rich in B vitamins, particularly B6 and B12, which support energy metabolism and brain function. The skin contains healthy fats that help with nutrient absorption and keep you feeling satisfied. By using an air fryer instead of deep frying, you’re significantly reducing the fat and calorie content while still getting that satisfying crunch.
Dietary Considerations: This recipe is naturally gluten-free, low-carb, and keto-friendly. It’s also Whole30-compliant if you use a compliant oil and skip any non-compliant seasonings. For dairy-free diets, this recipe is naturally dairy-free. If you’re watching your sodium intake, you can reduce the salt or use a salt-free seasoning blend.
Potential Allergens: This recipe contains no common allergens, but always check your specific seasonings for any hidden ingredients. If you’re serving someone with allergies, it’s always best to ask about their specific needs.
Conclusion
These crispy air fryer chicken thighs have honestly changed the way I think about weeknight dinners. They’re proof that you don’t need a deep fryer, a complicated recipe, or hours of prep time to get that perfect, satisfying crunch. With just a handful of ingredients and about 25 minutes, you can have restaurant-quality chicken that’s juicy on the inside and impossibly crispy on the outside.
What I love most about this recipe is how forgiving it is. Whether you’re a seasoned cook or someone who’s just getting comfortable in the kitchen, these thighs turn out great every time. The technique is simple, the ingredients are accessible, and the results are consistently amazing. It’s the kind of recipe that makes you feel like a pro, even on a busy Tuesday night when you’re just trying to get dinner on the table.
I’d love to hear how these turn out for you! Did you try any fun variations? Did you discover a new favorite seasoning blend? Drop a comment below and let me know. And if you’re looking for more easy, delicious recipes that fit into a balanced lifestyle, be sure to check out my crispy garlic chicken and air fryer chicken breasts recipes. Happy cooking, friends—I promise you’re going to love these!
Frequently Asked Questions
Can I use boneless, skinless chicken thighs for this recipe?
You can, but the results won’t be the same. Boneless, skinless thighs cook much faster (about 15-18 minutes total) and won’t develop that crispy skin we’re going for. If you’re using them, reduce the cooking time and check for doneness at 165°F. They’ll still be tasty, just not as crispy.
Why is my chicken skin not getting crispy?
This usually happens for one of three reasons: the chicken wasn’t dried thoroughly enough, the basket was overcrowded, or the temperature wasn’t hot enough. Make sure you’re patting the skin completely dry, leaving space between each piece, and cooking at 400°F. If you’re still having trouble, try adding an extra 2-3 minutes at the end.
Can I cook frozen chicken thighs in the air fryer?
I don’t recommend it for this recipe. Frozen chicken will release too much moisture as it thaws, which will prevent the skin from crisping. If you’re in a pinch, thaw the chicken completely in the refrigerator, pat it dry, and then proceed with the recipe. The results will be much better.
How do I know when the chicken is fully cooked?
The most reliable method is using an instant-read thermometer. Insert it into the thickest part of the thigh without touching the bone. Chicken thighs are done at 175°F. If you don’t have a thermometer, you can check that the juices run clear when you pierce the thickest part, but a thermometer is much more accurate.
Can I use this recipe for chicken drumsticks or wings?
Absolutely! The same technique works beautifully for drumsticks and wings. For drumsticks, cook at 400°F for about 20-25 minutes, flipping halfway. For wings, cook at 400°F for about 20-24 minutes, shaking the basket halfway through. The cooking time will vary slightly depending on the size of the pieces, so always check with a thermometer.
Pin This Recipe!
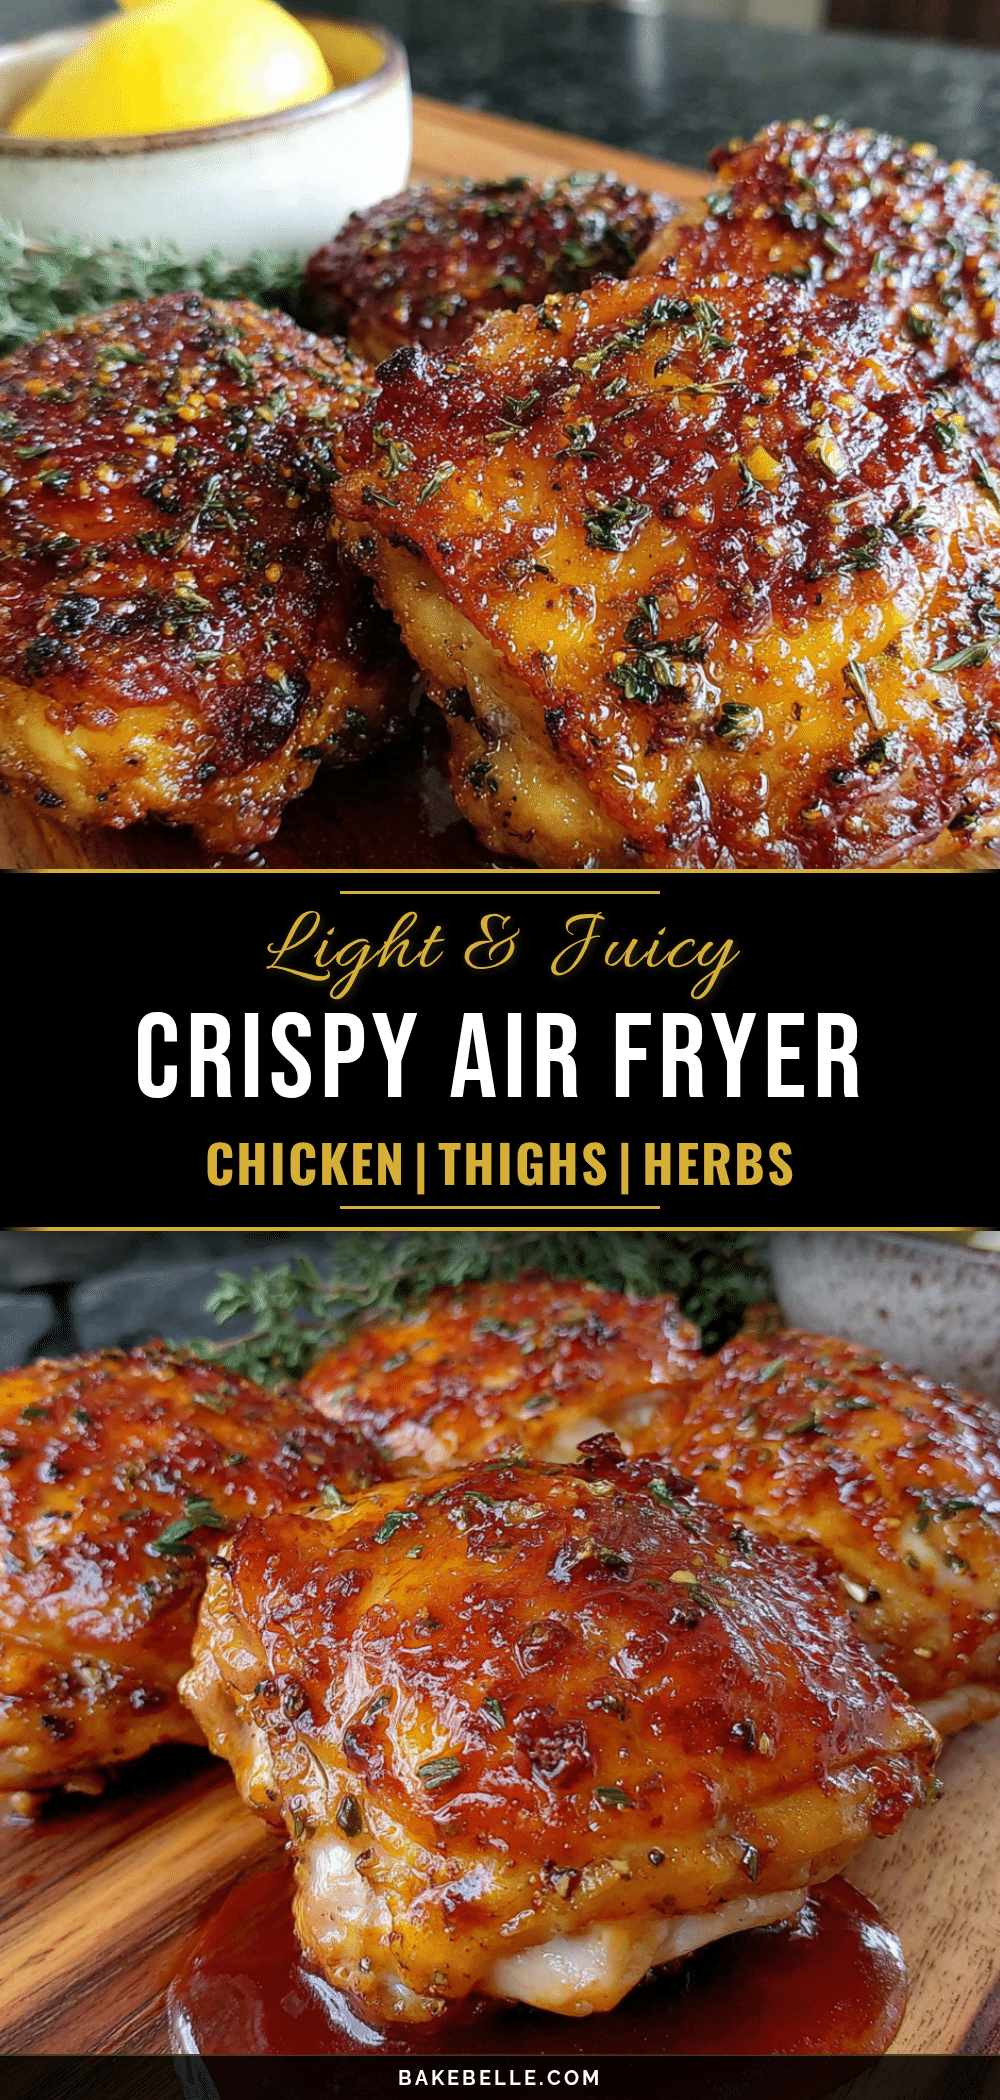
Crispy Air Fryer Chicken Thighs – Easy & Juicy Recipe

These crispy air fryer chicken thighs are the answer to your fried chicken cravings without the guilt or mess. With a handful of simple ingredients and about 25 minutes, you can have restaurant-quality chicken that’s juicy on the inside and impossibly crispy on the outside.
- Prep Time: 10 minutes
- Cook Time: 22-24 minutes
- Total Time: 32-34 minutes
- Yield: 4 servings 1x
- Category: Main Course
- Cuisine: American
Ingredients
- 4–6 bone-in, skin-on chicken thighs (about 1.5–2 lbs total)
- 1 tablespoon olive oil or avocado oil
- 1 teaspoon salt
- 1/2 teaspoon black pepper
- 1 teaspoon garlic powder
- 1 teaspoon paprika (regular or smoked)
- 1/2 teaspoon onion powder (optional)
- 1/4 teaspoon cayenne pepper (optional)
Instructions
- Pat the chicken thighs completely dry with paper towels. Press firmly on both sides until the skin feels dry to the touch. Let sit at room temperature for about 10 minutes.
- In a medium mixing bowl, combine olive oil, salt, pepper, garlic powder, paprika, and any optional spices. Whisk together until paste-like.
- Add dried chicken thighs to the bowl and toss with your hands until every piece is completely coated. Gently lift the skin and rub some seasoning directly onto the meat.
- Preheat air fryer to 400°F for 3-5 minutes.
- Arrange chicken thighs in the air fryer basket skin-side down, leaving space between each piece. Do not overcrowd.
- Cook at 400°F for 12 minutes without opening the basket.
- Flip each thigh using tongs and cook for another 10-12 minutes, until internal temperature reaches 175°F when tested with an instant-read thermometer.
- Remove chicken from air fryer and let rest on a cutting board for 5 minutes before serving.
Notes
For extra crispy skin, let seasoned chicken sit uncovered in the fridge for 30 minutes before cooking. If skin isn’t crispy enough after cooking time, add 2-3 more minutes at 400°F. Every air fryer runs differently, so adjust timing as needed. For oven-baked alternative: preheat oven to 425°F, place thighs on a wire rack over a baking sheet, bake 35-40 minutes flipping halfway.
Nutrition
- Serving Size: 1 chicken thigh
- Calories: 375
- Sodium: 620
- Fat: 26
- Saturated Fat: 7
- Carbohydrates: 1.5
- Protein: 30
Keywords: air fryer chicken thighs, crispy chicken thighs, air fryer chicken, easy chicken recipe, weeknight dinner, gluten-free chicken, low-carb chicken