Introduction
The pan was scraped clean before I could even grab a fork. Twice that afternoon, friends circled back, texting for the recipe like it was some secret they’d stumbled upon. Honestly, it caught me a bit off guard—these creamy huckleberry cream cheese bars with buttery shortbread crust weren’t meant to be a showstopper, just a casual bake to use up some huckleberries from a weekend market haul. The tang of the cream cheese paired with the tart burst of those wild berries, all cradled by a crust that felt like the richest shortbread you’d find at a bakery, made something unexpectedly memorable.
It started as a simple idea: combine a smooth, luscious filling with a crisp, crumbly base that could hold its own against the juicy fruit topping. The huckleberries, with their wild sweetness and occasional pop of tartness, felt like an invitation to make something a little different from the usual berry bars. I didn’t expect the way the flavors would linger, or how often people would mention them in the days that followed. It’s funny how a recipe can sneak up on you, isn’t it?
There’s a quiet satisfaction in knowing that this bar isn’t just another dessert on the table. It’s the one that disappears first, the one that prompts a second helping, the one you find yourself thinking about when you need a little comfort. It sticks around not because it’s flashy, but because it’s honest and just right.
Why You’ll Love This Recipe
Having made these bars more times than I can count, I’ve learned a few things that make this recipe stand out from the crowd. Here’s why it’s become a favorite in many kitchens:
- Quick & Easy: You can whip these up in under an hour, making them perfect for last-minute gatherings or when you want a homemade treat without fuss.
- Simple Ingredients: No need to hunt down exotic items—most are pantry staples or easy to find, including the star, fresh or frozen huckleberries.
- Perfect for Any Occasion: Whether it’s a weekend brunch, a casual potluck, or a cozy afternoon coffee break, these bars fit right in.
- Crowd-Pleaser: Kids and adults alike find the creamy texture and buttery crust irresistible. They’re a guaranteed hit.
- Unbelievably Delicious: The balance of tart huckleberries with smooth cream cheese and that buttery shortbread crust hits all the right notes for comfort food.
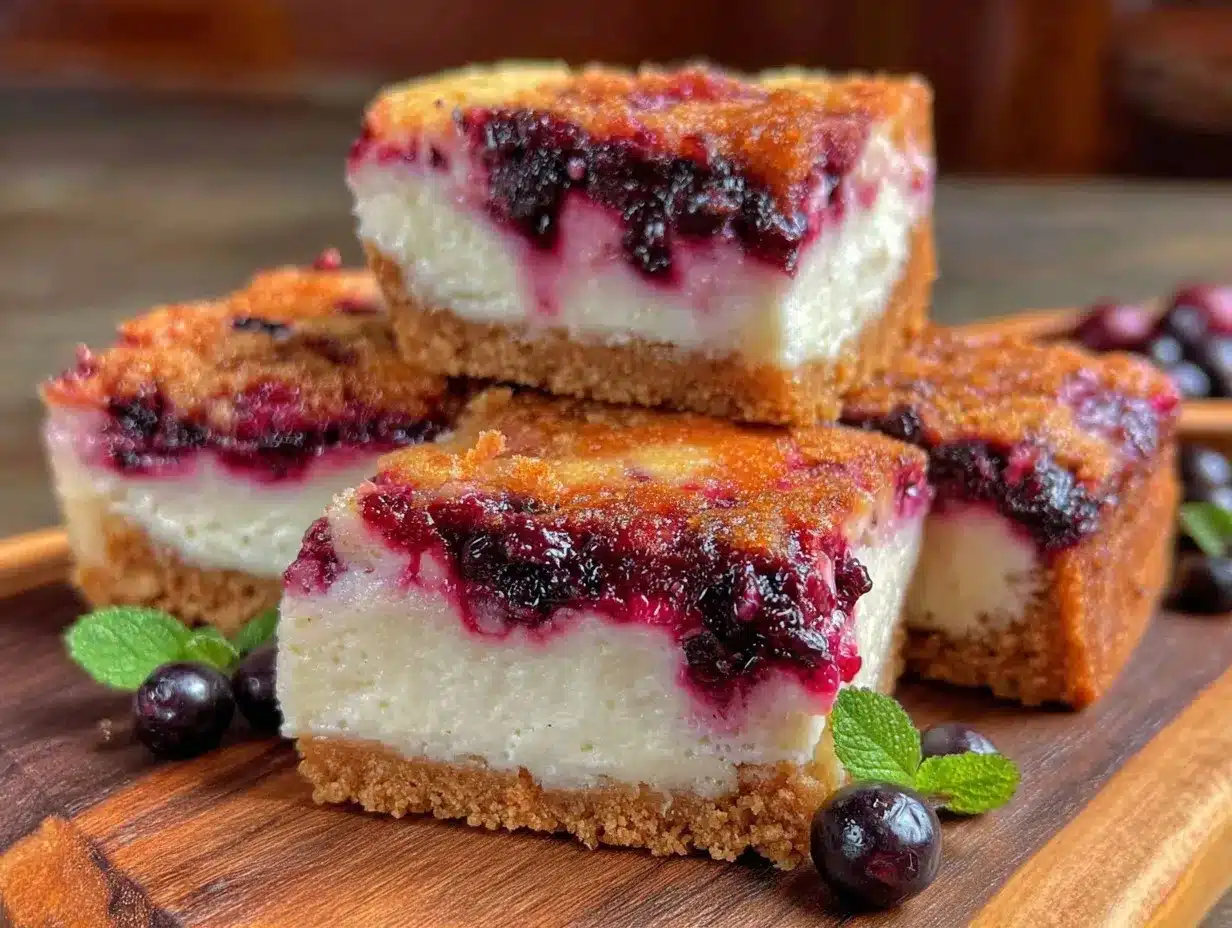
This isn’t just a run-of-the-mill cream cheese bar, either. The buttery shortbread crust brings a delicate crispness that contrasts the creamy layer perfectly, and the huckleberries add a wild, fresh twist most bars don’t dare to offer. The filling is silky smooth because I blend the cream cheese just right, avoiding lumps but keeping it rich and inviting. Honestly, it’s the kind of dessert that makes you pause between bites, just to savor the harmony of flavors.
Plus, it’s one of those recipes that’s forgiving. Even if you’re not a pro baker, it holds up well. I love how it makes me feel like I’m sharing something special, without the stress.
What Ingredients You Will Need
This recipe uses simple, wholesome ingredients to deliver bold flavor and satisfying texture without the fuss. Most of these are pantry staples, but the huckleberries are the star, and if you can’t find fresh, frozen works just fine.
- For the Buttery Shortbread Crust:
- All-purpose flour, 1 1/2 cups (190g)
- Unsalted butter, 1/2 cup (113g), softened (I prefer using European-style butter for richness)
- Granulated sugar, 1/4 cup (50g)
- Salt, 1/4 teaspoon (balances sweetness)
- For the Cream Cheese Filling:
- Cream cheese, 8 oz (225g), softened (room temperature is key for smoothness)
- Granulated sugar, 1/2 cup (100g)
- Vanilla extract, 1 teaspoon (use pure for best flavor)
- Large eggs, 2 (room temperature)
- All-purpose flour, 2 tablespoons (optional, for stability)
- For the Huckleberry Topping:
- Fresh or frozen huckleberries, 1 cup (150g) (I recommend fresh if available, but frozen berries thawed and drained work well)
- Granulated sugar, 2 tablespoons (adjust based on berry sweetness)
- Lemon juice, 1 teaspoon (brightens the berry flavor)
- Cornstarch, 1 teaspoon (to thicken the topping slightly)
If you’re thinking about substitutions—go ahead. Almond flour can replace some of the all-purpose flour in the crust for a nuttier touch, or swap Greek yogurt for part of the cream cheese if you want a tangier, lighter filling. If dairy is an issue, coconut cream cheese works in a pinch, though the texture shifts a bit.
Equipment Needed
- 8×8-inch (20×20 cm) square baking pan – I like using a metal pan for even heat distribution, but glass works too.
- Mixing bowls – at least two, one for crust and one for filling.
- Hand mixer or stand mixer – essential for getting that ultra-smooth cream cheese filling.
- Measuring cups and spoons – accuracy matters, especially with baking.
- Spatula – for scraping the sides and spreading the layers evenly.
- Fine mesh sieve (optional) – helps sift flour for a lighter crust.
For a budget-friendly option, a sturdy wooden spoon works instead of a mixer if you’re patient with blending cream cheese. I’ve also used silicone baking mats under parchment paper in the pan to make removal easier, though greasing the pan well is usually enough. Keeping your butter softened but not melting is a personal trick I learned the hard way—too warm, and the crust gets greasy; too cold, and it won’t bind properly.
Preparation Method
- Prepare the crust: Preheat your oven to 350°F (175°C). In a bowl, cream together the softened butter, sugar, and salt until the mixture looks fluffy and pale. This usually takes about 3-4 minutes with a mixer. Slowly add the flour and mix just until combined. The dough will be crumbly but should hold together when pressed.
- Press the crust into the pan: Transfer the dough to your greased or parchment-lined 8×8-inch pan. Using your fingers or a flat-bottomed glass, press the dough evenly into the bottom. It should form a compact layer about 1/4-inch thick. Bake this for 15 minutes or until it’s a light golden brown around the edges. The smell at this stage is already tempting—rich, buttery, and warm.
- Make the cream cheese filling: While the crust bakes, beat the softened cream cheese in a clean bowl until smooth and creamy, about 2 minutes. Gradually add sugar and beat until fully incorporated. Add the vanilla and eggs one at a time, mixing well after each addition. If using, sift in the 2 tablespoons of flour and fold gently to prevent lumps. The filling should be silky and pourable but not runny.
- Prepare the huckleberry topping: In a small bowl, toss the huckleberries with sugar, lemon juice, and cornstarch. This will help the berries hold together and prevent them from sinking into the cream cheese layer. Let it sit for 5-10 minutes while the crust finishes baking.
- Assemble the bars: Once the crust is baked, remove it from the oven and reduce the oven heat to 325°F (160°C). Pour the cream cheese filling evenly over the crust. Carefully spoon the huckleberry mixture over the filling, distributing it evenly. You can lightly press the berries into the filling but avoid mixing them in — the contrast looks beautiful and keeps the texture distinct.
- Bake the assembled bars: Bake for 35-40 minutes, or until the filling is mostly set but still has a slight jiggle in the center. The edges will puff a bit and turn a gentle golden shade. Resist the urge to overbake; you want creamy, not dry.
- Cool and chill: Let the bars cool at room temperature for at least an hour, then refrigerate for 2-3 hours or overnight. This resting time lets the flavors meld and the bars firm up for clean slicing.
- Serve: Use a sharp knife to cut into squares, wiping the blade between cuts for neat edges. Enjoy the contrast between the crumbly crust, velvety filling, and juicy berries.
From experience, don’t skip chilling—it makes all the difference. Also, if berries release too much liquid during baking, blotting them lightly beforehand helps maintain the bar’s structure.
Cooking Tips & Techniques
Getting this recipe just right takes a few practical pointers I’ve picked up over time. For one, patience with the cream cheese is key. If it’s too cold, you’ll end up with lumps, and no one wants that texture in a smooth bar. Let it sit out for at least 30 minutes before mixing. Also, don’t overmix the filling once you add the eggs—it can cause cracks or a grainy texture.
When pressing the crust, make sure it’s evenly packed to prevent cracks or crumbling when slicing. Using the bottom of a glass gives great control. Baking the crust partially before adding the filling helps it hold up against the moisture from the berries and cream cheese.
Watch your oven temperature closely—too hot and the crust burns before the filling sets; too low and the bars won’t bake through properly. It’s better to err on the side of a slightly lower temperature if you’re unsure.
And honestly, I learned the hard way that letting the bars cool completely before cutting avoids a gooey mess. It’s tempting to dig in right away, but a little waiting turns these bars from good to perfect.
Variations & Adaptations
This recipe is surprisingly versatile, so feel free to make it your own. Here are some variations I’ve enjoyed:
- Berry Mix: Swap huckleberries for blueberries, blackberries, or a berry medley. For example, the blueberry lemonade icebox cake inspired me to try blueberries here, which adds a nice citrusy brightness.
- Gluten-Free: Use almond flour or a gluten-free baking blend in the crust. It changes the texture slightly but keeps the buttery richness.
- Flavor Twists: Add a teaspoon of lemon zest to the cream cheese filling for a fresh zing, or a pinch of cinnamon in the crust for warmth. I once tried a spiced version inspired by the cozy spiced apple cider sangria, and it worked surprisingly well.
- Dairy-Free: Substitute cream cheese with a plant-based alternative, and use vegan butter for the crust. The texture shifts but it’s still satisfying.
- Size & Shape: Make mini bars or use a rectangular pan for longer slices. Great for parties or gifting.
Serving & Storage Suggestions
These bars are best served chilled or at room temperature. The cream cheese filling is cool and creamy, while the crust stays firm but tender. A light dusting of powdered sugar or a drizzle of honey on top adds a lovely touch.
Pair them with a cup of strong coffee or a refreshing iced tea for an afternoon treat. They also make a sweet finish to brunch alongside dishes like quiche or your favorite cream cheese fruit pizza.
Store leftovers in an airtight container in the refrigerator for up to 4 days. For longer storage, freeze the bars wrapped tightly in plastic wrap and foil for up to 2 months. Thaw in the fridge overnight before serving. Flavors tend to mellow and deepen after resting, so a day-old bar can be even better than fresh.
Nutritional Information & Benefits
Each creamy huckleberry cream cheese bar contains approximately 220 calories, with 12 grams of fat, 25 grams of carbohydrates, and 4 grams of protein. The huckleberries provide antioxidants and vitamin C, adding a subtle health boost amidst the indulgence.
The recipe can be adapted to be gluten-free or lower in sugar depending on your needs. Cream cheese adds calcium and protein, making it a satisfying dessert that feels like a treat but with some nutritional value.
While these bars aren’t exactly health food, I appreciate that they bring a little wholesome fruit and quality ingredients to the table — a nice balance when you want to enjoy dessert without going overboard.
Conclusion
These creamy huckleberry cream cheese bars with buttery shortbread crust have quietly become one of my go-to recipes when I want something that feels special but isn’t complicated. The way the tartness of the berries plays against the smooth filling and crumbly crust—it’s a combo that invites you to linger a little longer at the table.
What I like most is how easy it is to tweak this recipe to fit the moment or mood. Whether you’re baking for friends, family, or just yourself, it promises something comfortable and satisfying. I still find myself surprised by how often someone asks for the recipe after just one bite.
Give it a try and see how it fits into your baking rotation—you might find it becomes a quiet favorite, too.
FAQs
- Can I use frozen huckleberries for this recipe? Yes, frozen huckleberries work well—just thaw and drain any excess liquid before using to avoid sogginess.
- How do I prevent the crust from getting soggy? Partially baking the crust before adding the filling helps it stay crisp. Also, avoid over-saturating the berry topping.
- Can I substitute cream cheese with another type of cheese? Cream cheese is best for texture and flavor, but mascarpone can be used for a richer, softer filling.
- How should I store leftover bars? Store them in an airtight container in the fridge for up to 4 days, or freeze for longer storage.
- Is it possible to make these bars dairy-free? Yes, using vegan cream cheese and dairy-free butter works, though texture may vary slightly.
Pin This Recipe!
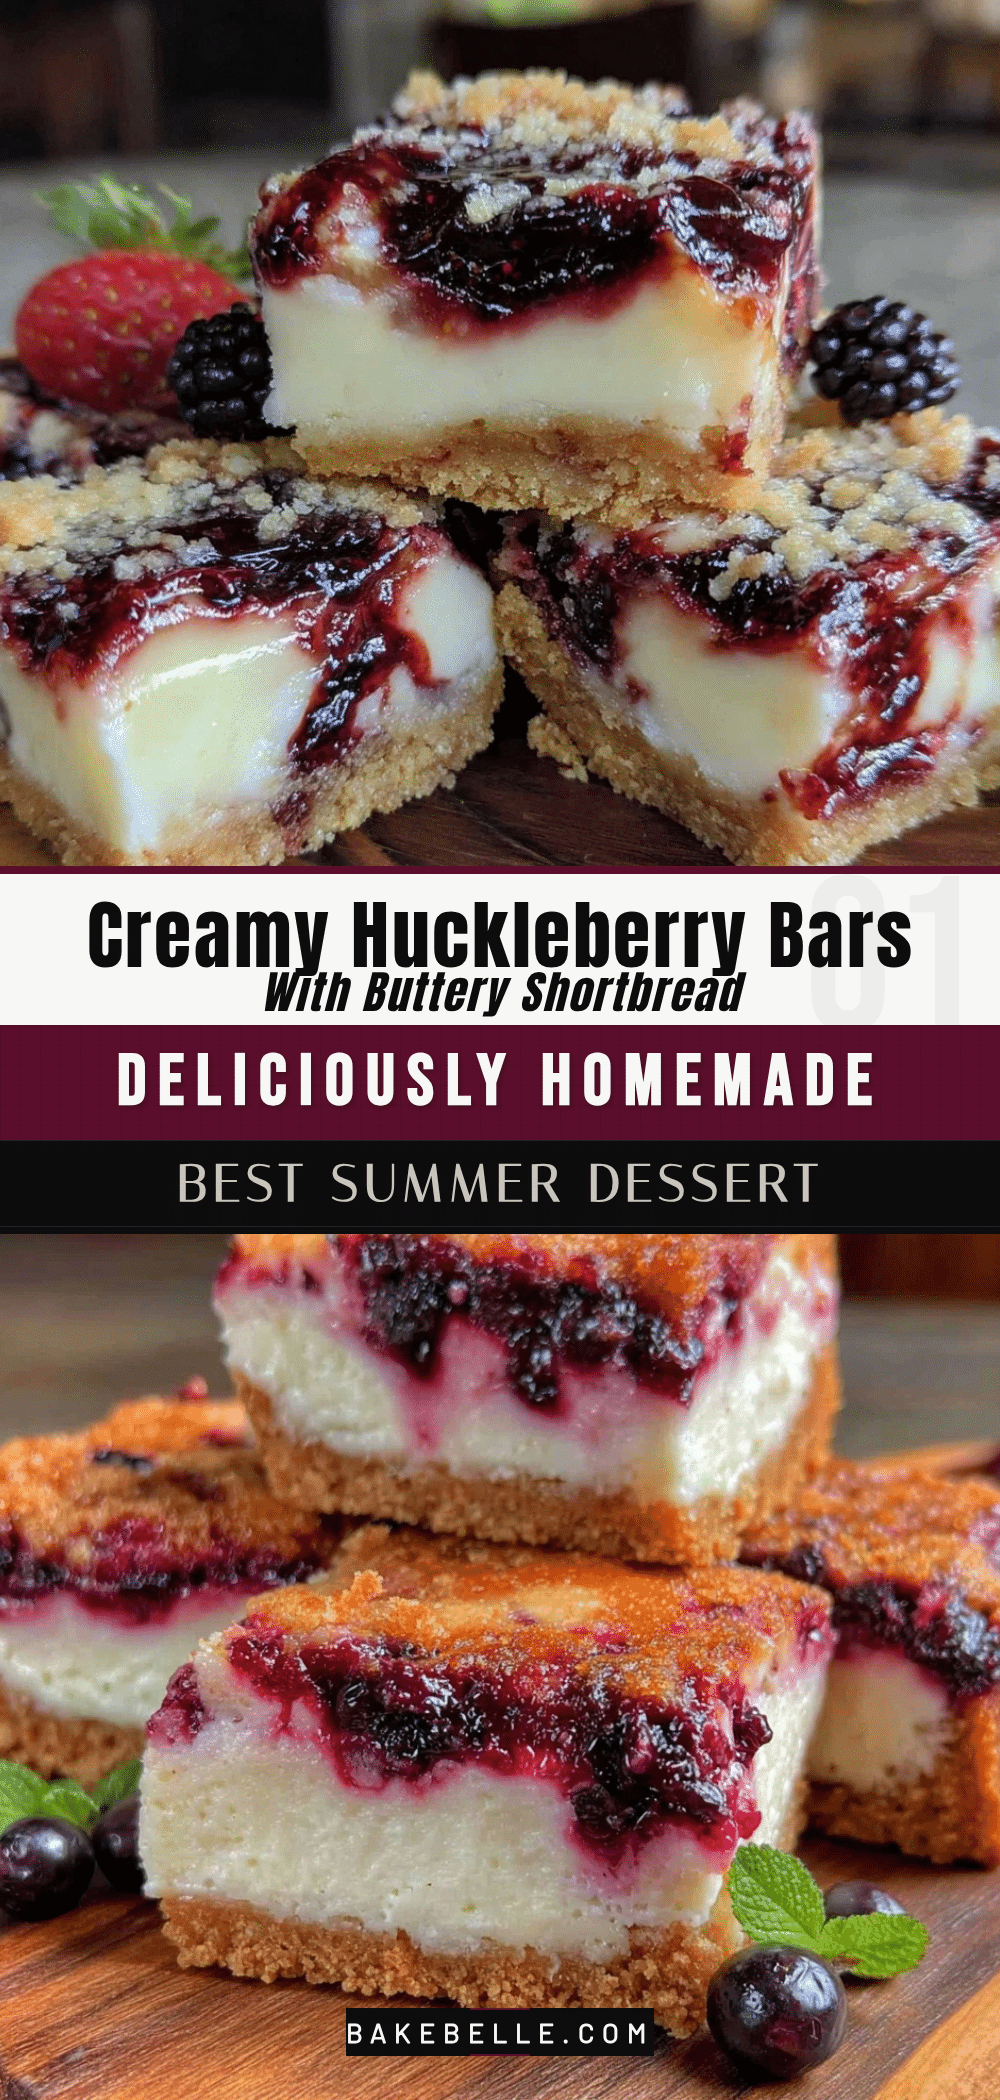
Creamy Huckleberry Cream Cheese Bars

These creamy huckleberry cream cheese bars feature a buttery shortbread crust, a smooth cream cheese filling, and a tart huckleberry topping. Perfect for any occasion, they are easy to make and irresistibly delicious.
- Prep Time: 15 minutes
- Cook Time: 50 minutes
- Total Time: 3 hours 15 minutes
- Yield: 16 bars 1x
- Category: Dessert
- Cuisine: American
Ingredients
- 1 1/2 cups all-purpose flour (190g)
- 1/2 cup unsalted butter (113g), softened (preferably European-style butter)
- 1/4 cup granulated sugar (50g)
- 1/4 teaspoon salt
- 8 oz cream cheese (225g), softened (room temperature)
- 1/2 cup granulated sugar (100g)
- 1 teaspoon vanilla extract
- 2 large eggs (room temperature)
- 2 tablespoons all-purpose flour (optional, for stability)
- 1 cup fresh or frozen huckleberries (150g), thawed and drained if frozen
- 2 tablespoons granulated sugar (adjust based on berry sweetness)
- 1 teaspoon lemon juice
- 1 teaspoon cornstarch
Instructions
- Preheat oven to 350°F (175°C). In a bowl, cream together softened butter, sugar, and salt until fluffy and pale, about 3-4 minutes.
- Slowly add flour and mix just until combined. Dough will be crumbly but should hold together when pressed.
- Press dough evenly into a greased or parchment-lined 8×8-inch pan to form a 1/4-inch thick layer.
- Bake crust for 15 minutes or until light golden brown around edges.
- While crust bakes, beat softened cream cheese until smooth, about 2 minutes.
- Gradually add sugar and beat until incorporated. Add vanilla and eggs one at a time, mixing well after each addition.
- If using, sift in 2 tablespoons flour and fold gently to prevent lumps. Filling should be silky and pourable but not runny.
- In a small bowl, toss huckleberries with sugar, lemon juice, and cornstarch. Let sit 5-10 minutes.
- Reduce oven temperature to 325°F (160°C). Pour cream cheese filling evenly over baked crust.
- Spoon huckleberry mixture evenly over filling, lightly pressing berries into filling without mixing.
- Bake for 35-40 minutes until filling is mostly set but slightly jiggly in center and edges are gently golden.
- Cool bars at room temperature for at least 1 hour, then refrigerate for 2-3 hours or overnight.
- Cut into squares with a sharp knife, wiping blade between cuts for neat edges. Serve chilled or at room temperature.
Notes
Let cream cheese soften to room temperature before mixing to avoid lumps. Partially bake crust to prevent sogginess. Chill bars thoroughly before cutting for clean slices. If using frozen berries, thaw and drain excess liquid to maintain bar structure. Avoid overbaking to keep filling creamy.
Nutrition
- Serving Size: 1 bar (1/16th of rec
- Calories: 220
- Sugar: 18
- Sodium: 150
- Fat: 12
- Saturated Fat: 7
- Carbohydrates: 25
- Fiber: 1
- Protein: 4
Keywords: huckleberry bars, cream cheese bars, shortbread crust, berry dessert, easy dessert, homemade bars, creamy dessert