The office Halloween party was in less than two hours and I’d completely forgotten about bringing a dessert. Everyone else was showing up with multi-step, spooky-themed treats—ghostly meringues, pumpkin-shaped sugar cookies, you name it. Meanwhile, I had only a half-empty pantry, a sad bag of cocoa powder, and a vague idea that black velvet cupcakes might just pull me through. Honestly, I was panicking, pacing around my tiny kitchen, and wondering if I should just run out for something pre-made.
But then, something clicked. I thought, why not turn the classic red velvet into a black velvet surprise? I grabbed what I had—dark cocoa, buttermilk, a few eggs—and whipped up a batch. The frosting? Simple white buttercream with a quick spiderweb drawn on top using melted chocolate. No fancy piping, no complicated decorations—just a little playful swirl to give it that Halloween vibe. Despite the mad rush and my makeshift setup, those cupcakes ended up stealing the show.
Maybe you’ve been there—when time is tight and expectations are high, and you just want something that tastes amazing without the fuss. That’s why this recipe stuck with me. It’s a little indulgent, a little spooky, and surprisingly easy to pull off, even if you’re juggling a million things. Plus, there’s something about that deep black crumb paired with the sweet spiderweb frosting that keeps me coming back every October. Let me tell you, these Decadent Black Velvet Halloween Cupcakes with Spiderweb Frosting are my go-to when I want to impress without stress.
Why You’ll Love This Recipe
Honestly, I’ve tested a bunch of Halloween treats over the years, but these cupcakes hit a sweet spot that’s tough to beat. Here’s why this recipe deserves a spot in your festive baking lineup:
- Quick & Easy: Ready in under an hour, perfect when you’re short on time but still want an impressive dessert.
- Simple Ingredients: No need to hunt down exotic spices or specialty items — everything is stuff you probably have or can easily grab.
- Perfect for Halloween Parties: The black velvet base looks dramatic and the spiderweb frosting adds the perfect spooky touch without going overboard.
- Crowd-Pleaser: Kids and adults alike rave about the moist crumb and creamy frosting combo.
- Unbelievably Delicious: The cocoa lends just the right depth of flavor, and the texture is wonderfully tender — not dry or dense.
This recipe isn’t just another chocolate cupcake with black food coloring. The secret is in balancing the dark cocoa with buttermilk and a touch of vinegar for that classic velvet tang. And the spiderweb frosting? It’s easy to do but looks like you spent hours piping intricate designs. I’ve made these cupcakes for potlucks, neighborhood gatherings, and even last-minute office parties, and they always get compliments.
Honestly, this recipe feels like comfort food with a Halloween twist—fun, festive, and totally satisfying. If you want to impress guests without sweating over complicated decorations or unfamiliar ingredients, these cupcakes will be your new best friend.
What Ingredients You Will Need
This recipe uses straightforward, pantry-friendly ingredients to create bold flavor and a delightful texture. Most of these are staples, making it easy to whip up a batch anytime you’re in a pinch.
- All-purpose flour – 1 ½ cups (190g), sifted for a light crumb
- Unsweetened dark cocoa powder – ¾ cup (75g), choose a rich, high-quality brand like Valrhona or Ghirardelli for best results
- Baking soda – 1 teaspoon, helps with leavening
- Salt – ½ teaspoon, balances sweetness
- Granulated sugar – 1 ¼ cups (250g), the classic sweetener
- Large eggs – 2, at room temperature for better mixing
- Buttermilk – 1 cup (240ml), gives the cupcakes that tender, velvety texture (can substitute with 1 cup milk + 1 tablespoon lemon juice if needed)
- Vegetable oil – ½ cup (120ml), adds moistness
- Vanilla extract – 1 teaspoon, pure, for subtle sweetness
- White vinegar – 1 teaspoon, reacts with cocoa and buttermilk for lift and tang
- Black gel food coloring – 1 tablespoon, optional but recommended for that deep, true black velvet color
For the frosting and decoration:
- Unsalted butter – 1 cup (227g), softened to room temperature
- Powdered sugar – 4 cups (480g), sifted to avoid lumps
- Vanilla extract – 1 teaspoon, for flavor
- Milk or heavy cream – 2-3 tablespoons, to adjust frosting consistency
- Dark chocolate or chocolate chips – 2 ounces (60g), melted for drawing spiderwebs
If you want to make this recipe gluten-free, swapping in a 1:1 gluten-free baking flour blend works well. And if dairy’s a no-go, you can substitute the buttermilk and butter with plant-based alternatives like coconut yogurt and vegan butter respectively.
Equipment Needed
You’ll want a few basic kitchen tools to get this recipe done smoothly. Here’s what I used and recommend:
- Standard 12-cup muffin tin: Essential for evenly sized cupcakes. If you don’t have one, silicone muffin molds work too but baking times may vary slightly.
- Mixer: A hand mixer or stand mixer speeds up the frosting prep and helps get a fluffy batter. I’ve made these by hand, but it’s more effort and less smooth.
- Mixing bowls: At least two—a larger bowl for dry ingredients and one for wet.
- Sifter or fine mesh sieve: To get that light, airy texture by sifting flour and cocoa powder.
- Small piping bag or zip-top bag: For creating the spiderweb design with melted chocolate. No fancy tips needed—just snip a tiny corner.
- Cooling rack: Helps cupcakes cool evenly and keeps bottoms from getting soggy.
For budget-friendly baking, you can skip the stand mixer and use a sturdy whisk and elbow grease. Also, keeping your butter at room temperature is key for silky frosting, so plan ahead or soften it gently in the microwave for a few seconds.
Preparation Method
- Preheat your oven to 350°F (175°C). Line your muffin tin with cupcake liners or grease the cups lightly. This takes about 5 minutes and sets the stage for perfect baking.
- Mix the dry ingredients: In a large bowl, sift together 1 ½ cups all-purpose flour, ¾ cup dark cocoa powder, 1 teaspoon baking soda, and ½ teaspoon salt. This ensures there are no lumps and the cocoa is evenly distributed. Tossing in the cocoa last helps avoid clumps too.
- Combine the wet ingredients: In a separate bowl, whisk together 1 ¼ cups sugar, 2 large eggs, 1 cup buttermilk, ½ cup vegetable oil, 1 teaspoon vanilla extract, 1 teaspoon white vinegar, and 1 tablespoon black gel food coloring if using. The batter will be dark and glossy—don’t worry if it looks a bit liquidy.
- Slowly add dry to wet: Pour the dry ingredients into the wet mixture in batches, gently folding with a spatula until just combined. Overmixing can make cupcakes dense, so be gentle here. The batter should be smooth and thick but pourable.
- Fill the cupcake liners: Spoon batter evenly into each cup, about ⅔ full to leave room for rising. I use a cookie scoop for quick, uniform portions.
- Bake: Place the tray in the oven and bake for 18-22 minutes. Start checking at 18 minutes by inserting a toothpick into the center; if it comes out clean or with a few moist crumbs, you’re good. The cupcakes will spring back lightly when touched.
- Cool completely: Let cupcakes rest in the pan for 5 minutes, then transfer to a wire rack. This prevents sogginess and helps the frosting stick better later.
- Make the frosting: Beat 1 cup softened unsalted butter on medium speed until creamy (about 2 minutes). Gradually add 4 cups powdered sugar, alternating with 2-3 tablespoons milk or cream, and 1 teaspoon vanilla extract. Beat until light and fluffy, scraping down the sides as needed. If too thick, add a splash more milk; if too thin, add powdered sugar.
- Frost the cupcakes: Use a spatula or piping bag to swirl the white buttercream on top. Keep it simple—smooth or with gentle peaks.
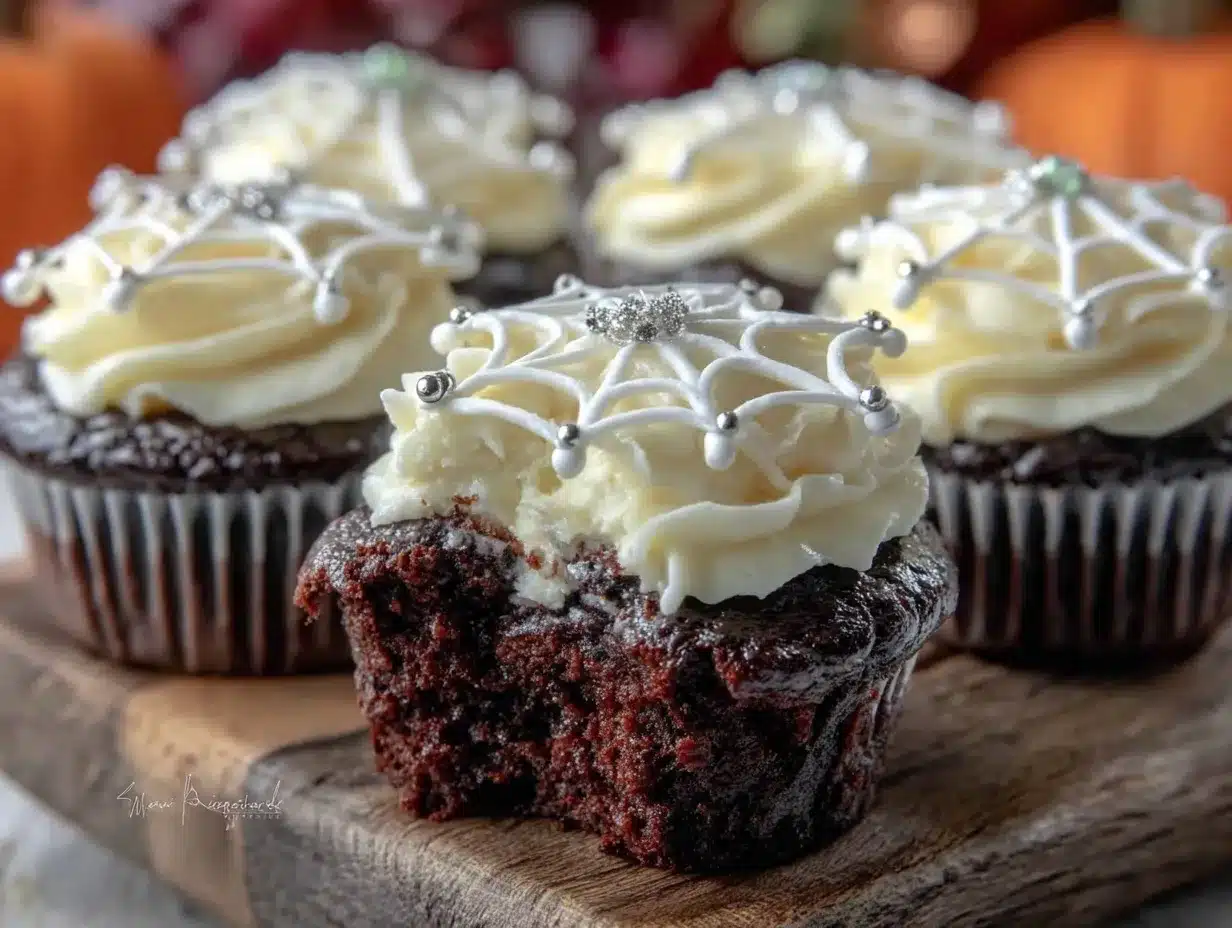
- Create the spiderweb design: Melt 2 ounces dark chocolate gently in the microwave or a double boiler. Pour melted chocolate into a small piping bag or zip-top bag and snip a tiny corner. Starting from the center of each cupcake, pipe concentric circles. Then, using a toothpick or skewer, drag lines from the center outward through the chocolate rings to form a spiderweb pattern. Don’t worry if it’s not perfect—it adds to the charm!
Pro tip: If your kitchen is warm, chill the cupcakes briefly before piping the spiderweb to prevent chocolate from melting too fast. Also, I found that adding the vinegar and buttermilk last really helps get that classic velvet crumb every time.
Cooking Tips & Techniques
Making cupcakes might seem straightforward, but a few tricks can make a big difference:
- Measure precisely: Baking is science, so spooning flour into your measuring cup and leveling it off with a knife is more reliable than scooping directly from the bag.
- Room temperature ingredients: Eggs and butter mix more evenly when they’re not cold, preventing lumps and curdling in your batter or frosting.
- Don’t overmix: When combining wet and dry, mix just until the flour disappears. Overmixing develops gluten, making cupcakes tough.
- Check oven temperature: Ovens can run hot or cold. Use an oven thermometer to confirm 350°F (175°C) for consistent results.
- Frosting consistency: Beat the butter long enough before adding sugar for fluffy frosting. Add liquids slowly to avoid runny icing.
- Spiderweb design: Practice the chocolate piping on parchment paper first if you’re nervous. It’s easier than it looks and adds such a wow factor.
I once tried rushing the frosting step and ended up with a grainy texture—lesson learned! Taking my time and letting the mixer do the work really pays off. Also, multitasking by cooling cupcakes on a wire rack while prepping the frosting saves valuable minutes.
Variations & Adaptations
The beauty of these Decadent Black Velvet Halloween Cupcakes lies in their flexibility. Here are some ways to switch things up:
- Flavor twists: Add a teaspoon of espresso powder to the batter for a mocha undertone that amps up the chocolate flavor.
- Seasonal adaptations: Swap the dark cocoa for pumpkin pie spice and cinnamon during fall for a cozy pumpkin velvet cupcake.
- Dietary swaps: Use almond flour and coconut oil for a gluten-free, dairy-free version. You’ll want to add an extra egg or flax egg for structure.
- Frosting alternatives: Cream cheese frosting pairs wonderfully with black velvet, adding tang and richness. Just swap butter for cream cheese in the frosting recipe.
- Decoration ideas: Instead of a spiderweb, try orange-tinted frosting with candy eyeballs or edible glitter for a different spooky vibe.
Personally, I’ve made a batch with a dash of cayenne in the batter—spicy chocolate is surprisingly good and unexpected for Halloween! If you’re feeling adventurous, experimenting with flavors can turn this classic into your signature seasonal treat.
Serving & Storage Suggestions
Serve these cupcakes chilled or at room temperature—both work beautifully. The contrast between the cool frosting and moist crumb is especially nice on a crisp fall evening.
For presentation, line a platter with black lace doilies or scatter some plastic spiders around for a fun Halloween touch. Pair with a cup of spiced tea, hot chocolate, or even a glass of cold milk to balance the richness.
Store cupcakes in an airtight container in the refrigerator for up to 3 days. Because of the buttercream, refrigeration helps keep the frosting firm and fresh. If you want to keep them longer, freeze unfrosted cupcakes wrapped tightly for up to 2 months, then thaw and frost before serving.
Reheating is not usually necessary, but if you prefer a slightly warm cupcake, microwave for 10-15 seconds (frosting off) and then add frosting after warming. The flavors actually deepen after a day or two, so if you can resist, letting them rest overnight is a game-changer.
Nutritional Information & Benefits
Each cupcake (without frosting) roughly contains:
| Nutrient | Amount |
|---|---|
| Calories | 220 |
| Fat | 10g |
| Saturated Fat | 3g |
| Carbohydrates | 30g |
| Sugar | 22g |
| Protein | 3g |
Key ingredients like cocoa powder provide antioxidants and a small caffeine boost. Using buttermilk adds calcium and tangy flavor without extra fat. The recipe is vegetarian-friendly but contains gluten, dairy, and eggs, so adjust accordingly if you have allergies.
From a wellness perspective, this recipe balances indulgence with real ingredients and no artificial preservatives, making it a treat you can feel better about sharing with friends and family.
Conclusion
If you’re looking for a Halloween treat that’s quick, fuss-free, and truly delicious, these Decadent Black Velvet Halloween Cupcakes with Spiderweb Frosting have you covered. They combine a dramatic look with a tender crumb and creamy frosting that’s just sweet enough. Plus, they’re versatile enough to customize however you like.
I keep making these cupcakes every season because they remind me that impressive baking doesn’t have to be complicated. Whether you’re throwing a big party or just want a special treat to celebrate, these cupcakes are a winner. Give them a try, tweak them to your taste, and let me know how your spooky baking adventure goes!
Don’t forget to share your photos and any creative twists you try—I love hearing from fellow bakers who bring a little magic to their kitchens.
FAQs
What makes black velvet different from red velvet cupcakes?
Black velvet cupcakes use dark cocoa and black food coloring to create a deep black color instead of the reddish hue typical of red velvet. The flavor is richer and more chocolate-forward with a similar tender texture.
Can I make these cupcakes vegan?
Yes! Substitute eggs with flax eggs or a commercial egg replacer, use plant-based milk like almond or oat milk with a splash of vinegar, and swap butter for vegan butter. Adjust baking times slightly as needed.
How do I prevent the chocolate spiderweb from melting on the frosting?
Make sure the frosting is cold and firm before piping the spiderweb. Working in a cooler room or chilling cupcakes briefly helps keep the chocolate solidify quickly without melting.
Can I prepare these cupcakes ahead of time?
Absolutely! You can bake the cupcakes a day in advance and frost them on the day you plan to serve. Store unfrosted cupcakes in an airtight container at room temperature or freeze for longer storage.
What’s the best way to store frosted cupcakes?
Keep frosted cupcakes in an airtight container in the refrigerator for up to 3 days. Bring to room temperature before serving for best flavor and texture.
Pin This Recipe!
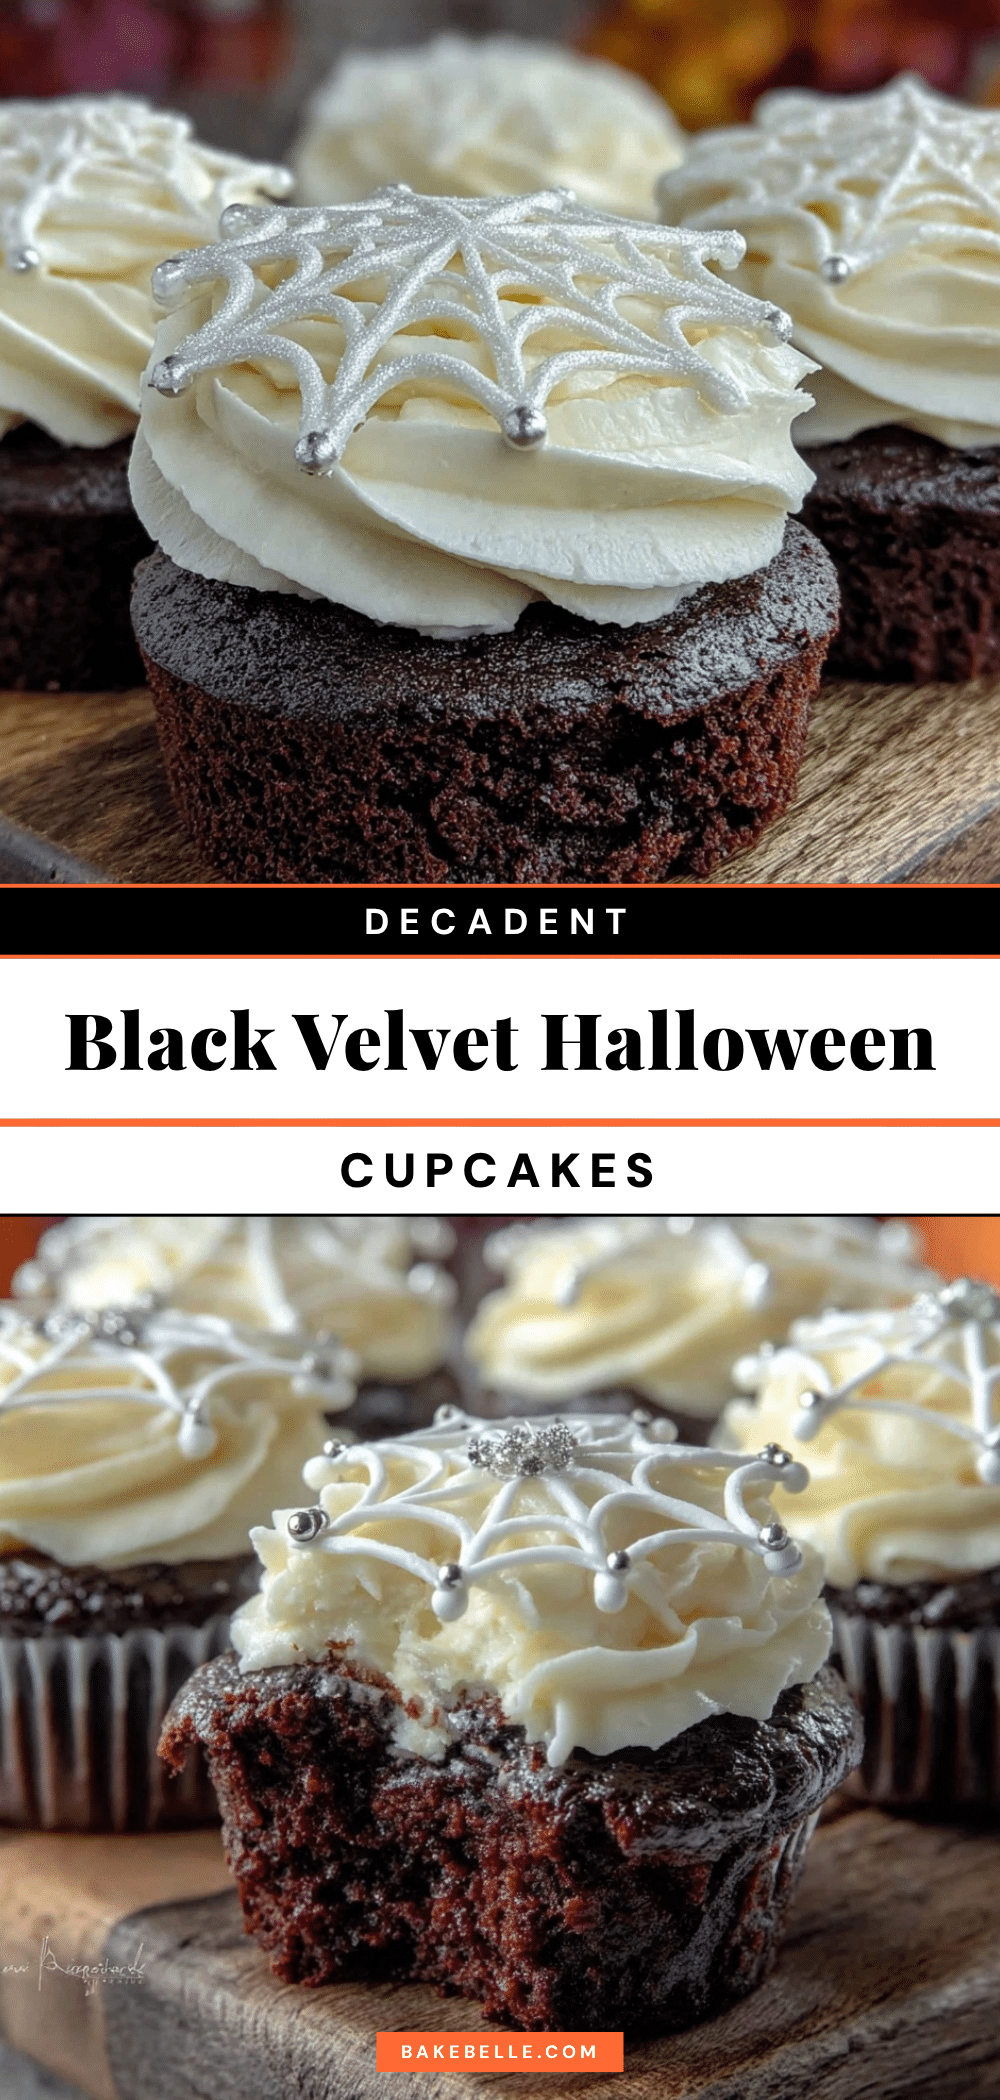
Decadent Black Velvet Halloween Cupcakes with Easy Spiderweb Frosting
These black velvet cupcakes feature a deep black cocoa base with a tender crumb, topped with simple white buttercream frosting decorated with a spooky spiderweb design made from melted chocolate. Perfect for Halloween parties, they are quick, easy, and crowd-pleasing.
- Prep Time: 15 minutes
- Cook Time: 22 minutes
- Total Time: 37 minutes
- Yield: 12 cupcakes 1x
- Category: Dessert
- Cuisine: American
Ingredients
- 1 ½ cups (190g) all-purpose flour, sifted
- ¾ cup (75g) unsweetened dark cocoa powder
- 1 teaspoon baking soda
- ½ teaspoon salt
- 1 ¼ cups (250g) granulated sugar
- 2 large eggs, room temperature
- 1 cup (240ml) buttermilk (or 1 cup milk + 1 tablespoon lemon juice)
- ½ cup (120ml) vegetable oil
- 1 teaspoon vanilla extract
- 1 teaspoon white vinegar
- 1 tablespoon black gel food coloring (optional)
- 1 cup (227g) unsalted butter, softened
- 4 cups (480g) powdered sugar, sifted
- 2–3 tablespoons milk or heavy cream
- 1 teaspoon vanilla extract
- 2 ounces (60g) dark chocolate or chocolate chips, melted
Instructions
- Preheat oven to 350°F (175°C). Line a 12-cup muffin tin with cupcake liners or grease the cups lightly.
- In a large bowl, sift together flour, cocoa powder, baking soda, and salt.
- In a separate bowl, whisk together sugar, eggs, buttermilk, vegetable oil, vanilla extract, white vinegar, and black gel food coloring if using.
- Slowly add dry ingredients to wet ingredients in batches, folding gently with a spatula until just combined. Batter should be smooth and thick but pourable.
- Fill cupcake liners about ⅔ full with batter using a cookie scoop or spoon.
- Bake for 18-22 minutes, checking at 18 minutes with a toothpick. Cupcakes are done when toothpick comes out clean or with a few moist crumbs.
- Let cupcakes cool in the pan for 5 minutes, then transfer to a wire rack to cool completely.
- To make frosting, beat softened butter on medium speed until creamy (about 2 minutes). Gradually add powdered sugar, alternating with milk or cream and vanilla extract, beating until light and fluffy. Adjust consistency as needed.
- Frost cupcakes with a spatula or piping bag, creating smooth or gently peaked swirls.
- Melt dark chocolate gently. Pour into a small piping or zip-top bag and snip a tiny corner. Pipe concentric circles starting from the center of each cupcake, then drag a toothpick from center outward through the circles to form a spiderweb pattern.
- Chill cupcakes briefly before piping spiderweb if kitchen is warm to prevent chocolate from melting.
Notes
Use room temperature eggs and butter for best mixing results. Do not overmix batter to avoid dense cupcakes. Use an oven thermometer to ensure accurate baking temperature. Practice spiderweb piping on parchment paper first if needed. Chill cupcakes before piping spiderweb if kitchen is warm to prevent chocolate melting.
Nutrition
- Serving Size: 1 cupcake
- Calories: 220
- Sugar: 22
- Fat: 10
- Saturated Fat: 3
- Carbohydrates: 30
- Protein: 3
Keywords: black velvet cupcakes, Halloween cupcakes, spiderweb frosting, easy Halloween dessert, chocolate cupcakes, festive baking