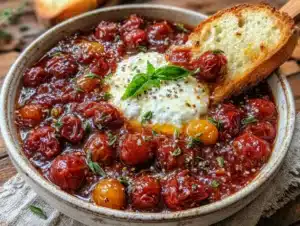
I wasn’t expecting lunchbox advice from the school librarian, but there I was, stuck in the carpool line during a freak thunderstorm, listening to Mrs. Patterson describe exactly how she packs lunches for her granddaughter who has celiac disease. The rain was pounding so hard on the roof that I had to lean toward her window to hear. She was holding a plastic container with what looked like a tiny pizza kit inside—gluten-free crackers, a little jar of sauce, and a bag of shredded cheese. She laughed and said, “It’s the only way I can get her to eat without feeling left out during lunch.” I mean, honestly, that moment stuck with me. Here was a woman who had figured out how to make lunchtime fun again for a kid who couldn’t eat what everyone else was eating. I scribbled down her method on a napkin from my glove compartment because, let me tell you, I had been struggling with the same problem for months.
My own kid had been coming home with half-eaten lunches, and I knew it was because the gluten-free options just weren’t hitting the same as the store-bought Lunchables the other kids had. You know that sinking feeling when your child says, “Mom, I wish I could have what they have”? Yeah, I had heard that more times than I cared to count. So when Mrs. Patterson casually dropped her little secret, I felt like I had won the parenting lottery. I went home that very afternoon, raided my pantry, and started testing her method. The first batch was a little messy—I forgot to pre-bake the crackers, so they got soggy—but by the third try, I had it down. This recipe for Easy Gluten-Free School Lunch Pizza Lunchables is the result of that rainy-day conversation, a few kitchen failures, and a whole lot of trial and error.
These homemade pizza Lunchables are a game-changer. They’re simple to put together, they stay fresh in the lunchbox until lunchtime, and they give kids the joy of assembling their own food. Plus, you control exactly what goes into them—no weird preservatives or mystery ingredients. Every time I pack these for my kid, I think about Mrs. Patterson and that rainy carpool line. It’s funny how the best ideas often come from the most unexpected places. So if you’ve been looking for a way to make gluten-free lunches feel special, this is it.
Why You’ll Love This Recipe
Let’s be real for a second—packing a gluten-free lunch that actually gets eaten is no small feat. I’ve been there, staring into the pantry, wondering if my kid will even touch what I pack. These Easy Gluten-Free School Lunch Pizza Lunchables solve that problem in the best way possible. They’re not just another lunch option; they’re an experience. Kids get to build their own mini pizzas right at their desk, and honestly, there’s something about that hands-on activity that makes lunchtime way more exciting.
- Quick & Easy: You can prep a whole week’s worth of these in under 20 minutes. Seriously, it’s faster than driving through the drive-thru.
- Simple Ingredients: No fancy gluten-free flours or hard-to-find items. You probably already have the components in your kitchen right now.
- Perfect for School Lunches: These are designed to travel well and stay fresh. No sogginess, no sad, wilted pizza.
- Crowd-Pleaser: I’ve packed these for playdates and birthday parties, and even kids without gluten issues ask for them.
- Unbelievably Delicious: The combination of crispy gluten-free crackers, rich tomato sauce, and melty cheese hits that comfort food spot every single time.
What makes this recipe different from all the other “copycat Lunchable” recipes out there? It’s the technique. Most recipes just tell you to throw crackers and cheese in a container and call it a day. But I’ve figured out the exact way to pack these so the crackers stay crunchy, the sauce doesn’t make everything mushy, and the cheese stays fresh. I tested this with four different brands of gluten-free crackers before I found the one that holds up best. It’s that kind of attention to detail that makes these Lunchables actually work for real life.
This recipe isn’t just good—it’s the kind that makes you feel like a superhero parent. You know that feeling when you pack a lunch and your kid comes home with an empty container? That’s what we’re going for here. It’s comfort food reimagined for the gluten-free world, and it’s faster, healthier, and way more satisfying than anything you can buy at the store. Perfect for busy school mornings when you need something reliable that you know will make your child smile.
What Ingredients You Will Need
This recipe uses simple, wholesome ingredients to deliver that classic pizza flavor without any of the gluten or fuss. Most of these are pantry staples if you already cook gluten-free, and the few specialty items are easy to find at any regular grocery store. Here’s what you’ll need to make these Easy Gluten-Free School Lunch Pizza Lunchables come to life.
- Gluten-free crackers or mini rice cakes: Look for sturdy, round crackers that won’t crumble easily. I personally prefer the Schär Entertainment Crackers or the Good Thins Simply Salt crackers—they hold up beautifully and have a nice crunch. Mini rice cakes also work great and add a lighter texture.
- Pizza sauce (gluten-free): You can use any jarred pizza sauce that’s labeled gluten-free. Rao’s Homemade Marinara is my go-to because it’s thick and doesn’t make the crackers soggy. If you’re feeling ambitious, you can make your own with canned tomatoes, garlic, and Italian seasoning.
- Shredded mozzarella cheese: Part-skim mozzarella melts beautifully and has a mild flavor that kids love. I recommend shredding it yourself from a block—it melts better and doesn’t have the anti-caking agents that pre-shredded cheese has. But honestly, in a pinch, the bagged stuff works fine too.
- Mini pepperoni slices (gluten-free): Not all pepperoni is gluten-free, so check the label carefully. Applegate Naturals makes a great gluten-free pepperoni that’s also nitrate-free. You can skip these if you want a vegetarian option.
- Small container for sauce: You’ll need a small, leak-proof container to pack the sauce separately. I use these little 2-ounce silicone cups that come with lids—they’re reusable and perfect for lunchboxes.
- Ice pack or insulated lunch bag: To keep the cheese and pepperoni fresh until lunchtime, especially during warmer months. A good ice pack makes all the difference.
For the seasoning, you can add a pinch of dried oregano or Italian seasoning to the sauce if you want a more authentic pizza flavor. I sometimes toss a little packet of red pepper flakes in there for my older kid who likes heat, but that’s totally optional. The beauty of this recipe is how customizable it is—you can swap out ingredients based on what your family likes and what you have on hand.
When choosing your gluten-free crackers, avoid anything too thin or flaky. I learned this the hard way after a batch of crackers turned into crumbs before lunchtime even rolled around. You want something with a bit of heft that can hold up to the sauce and cheese without disintegrating. Also, if you’re using mini rice cakes, look for the plain or lightly salted variety—the flavored ones can clash with the pizza toppings.
Equipment Needed
You don’t need anything fancy to make these Easy Gluten-Free School Lunch Pizza Lunchables. In fact, you probably already have most of these items in your kitchen. Here’s what you’ll need to get started.
- Bento box or compartmentalized lunch container: These are perfect for keeping the components separate. I use a PlanetBox or a simple divided container from the dollar store. The key is having separate sections so the crackers don’t get soggy.
- Small sauce container: A 2-ounce container with a tight-sealing lid works best. I’ve used both silicone and plastic ones, and both work well as long as they’re leak-proof.
- Cutting board and knife: For slicing any larger pepperoni slices or cheese if you’re shredding your own.
- Measuring spoons: To portion out the sauce consistently. A tablespoon measure is perfect for this.
- Lunchbox with ice pack: An insulated lunch bag with a reusable ice pack will keep everything fresh and safe to eat until lunchtime.
- Small cookie cutters (optional): If you want to get fancy, you can use tiny star or heart-shaped cutters to cut the cheese into fun shapes. My kid loves this, but it’s totally unnecessary.
If you don’t have a bento box, you can use a regular container and just pack the sauce separately in a small jar or silicone pouch. I’ve done that plenty of times when my good lunchbox was in the dishwasher. The important thing is keeping the wet ingredients away from the dry ones until it’s time to eat.
Preparation Method
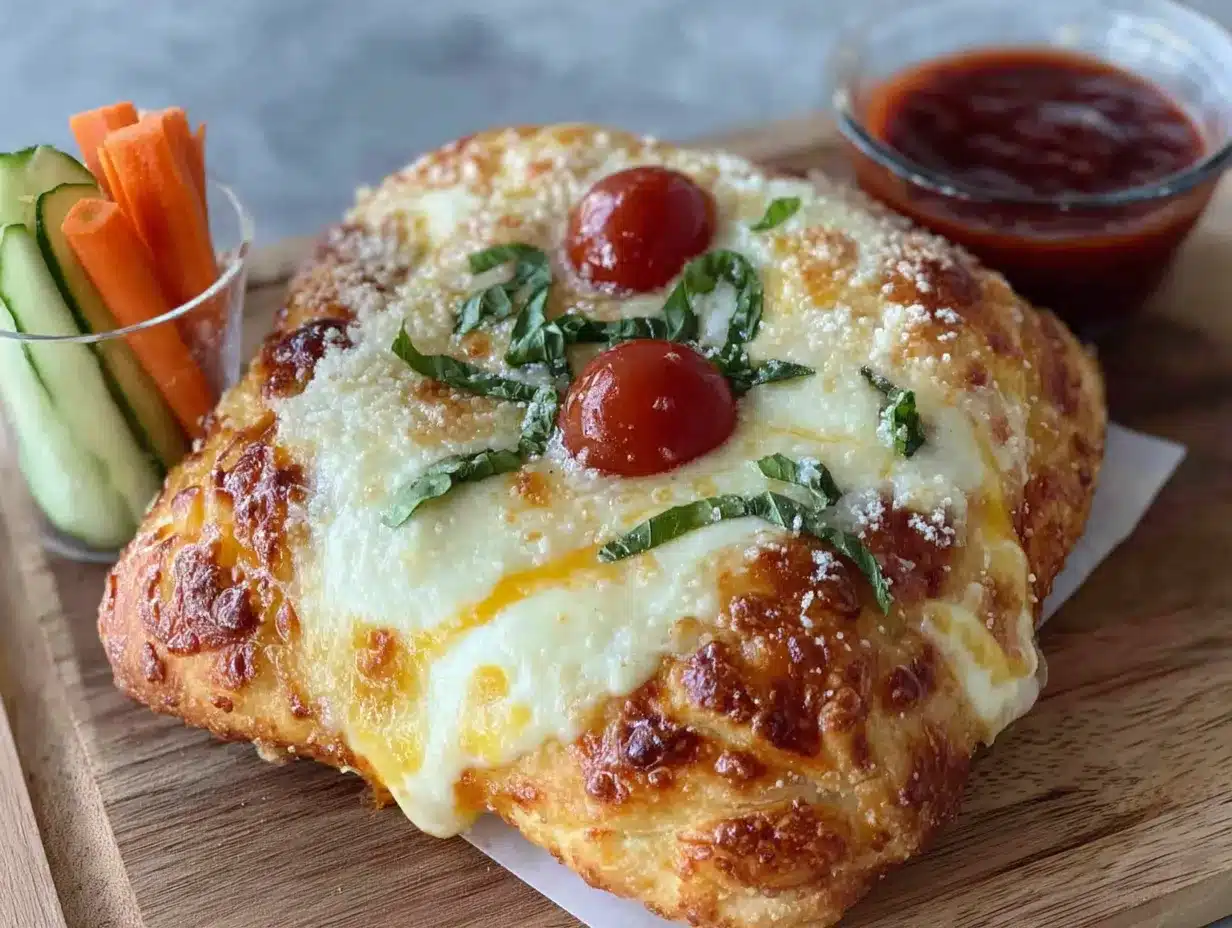
Alright, let’s get into the nitty-gritty of making these Easy Gluten-Free School Lunch Pizza Lunchables. I’ve broken this down into clear steps so you can follow along without any confusion. Trust me, after the first time you make these, you’ll be able to do it with your eyes closed.
- Prep your crackers (2 minutes): Open your package of gluten-free crackers and lay them out on a clean work surface. For a standard lunchbox portion, I use about 6 to 8 crackers per serving. If you’re using mini rice cakes, you’ll want about 4 to 6, depending on their size. Give them a quick inspection to make sure none are broken.
- Portion the sauce (3 minutes): Measure out about 2 tablespoons of pizza sauce per serving. Spoon it into your small sauce container and seal the lid tightly. I like to add a tiny pinch of dried oregano right into the sauce for extra flavor. If you’re making these for the week, you can batch-prep all your sauce containers at once and store them in the fridge.
- Prepare the cheese (2 minutes): If you’re shredding your own mozzarella, grate about 1/4 cup per serving. If you’re using pre-shredded cheese, just measure it out. I find that shredding my own gives a better melt, but the pre-shredded stuff is totally fine for these lunchables since they won’t be heated up anyway.
- Slice the pepperoni (1 minute): If your pepperoni slices are large, cut them into smaller, kid-friendly pieces. I usually quarter each slice so they fit nicely on the crackers. If you’re using mini pepperoni, you can skip this step.
- Assemble the lunchbox (5 minutes): Place the crackers in one compartment of your bento box. Put the shredded cheese in another compartment. Add the pepperoni pieces to a third compartment. Place the sealed sauce container in the largest section or in the center. If your lunchbox has room, you can add some fruit, veggie sticks, or a small treat on the side.
- Add an ice pack (30 seconds): Place a reusable ice pack on top of the lunchbox or in the insulated bag to keep everything cool. This is especially important if your child doesn’t have access to a refrigerator at school.
- Pack it up (1 minute): Put the assembled lunchbox into an insulated lunch bag with the ice pack. Make sure everything is secure before zipping it up. I like to put a napkin and a small fork or spoon in the side pocket just in case.
Here’s a little trick I learned after a few soggy disasters: don’t let the crackers touch the sauce container directly. If the container sweats or leaks even a little, you’ll end up with mushy crackers. I always put the sauce container in its own section or wrap it in a paper towel before placing it in the lunchbox. Also, if you’re making these the night before, keep the sauce container in the fridge separately and add it to the lunchbox in the morning. That extra step makes a huge difference in texture.
When you’re packing these for the first time, you might feel like you’re overcomplicating things. But I promise, after you do it once or twice, it becomes second nature. My kid now helps me pack her own lunchables on Sunday nights—she puts the crackers in the box, and I handle the sauce. It’s become a little ritual we both enjoy.
Cooking Tips & Techniques
Over the months I’ve been making these Easy Gluten-Free School Lunch Pizza Lunchables, I’ve picked up a few tricks that make the whole process smoother. Let me share some of the lessons I learned the hard way so you don’t have to repeat my mistakes.
The cracker dilemma: Not all gluten-free crackers are created equal. I tried a brand that was super thin and crispy, and by lunchtime, they were basically dust. The best crackers for this recipe are the ones that have a bit of density—think more like a table cracker than a wafer. If you’re unsure, do a test run: put a cracker in a container with a little moisture overnight and see if it holds up. I learned this after a particularly disappointing Monday morning when my kid’s lunch was full of crumbs.
Temperature matters: These lunchables are designed to be eaten cold or at room temperature. If your child prefers warm pizza, you can pack the components separately and have them assemble and microwave at school if a microwave is available. But honestly, I’ve found that most kids love the cold version just as much. The cheese is still flavorful, and the crackers stay perfectly crunchy.
Batch prep is your friend: I spend 20 minutes on Sunday evening prepping five days’ worth of these. I portion out all the sauce into little containers, shred all the cheese at once, and slice all the pepperoni. Then I just grab and assemble each morning. It saves so much time and stress during the school week.
Watch out for condensation: If you’re packing these the night before, the cold sauce container can sweat inside the lunchbox. To prevent this, I dry the outside of the sauce container thoroughly before putting it in the box. You can also pop the sauce container in the freezer for 10 minutes before packing to reduce condensation. It sounds a little extra, but it works.
My biggest failure: I once tried to make these with gluten-free pizza crust that I cut into small rounds and pre-baked. It was a disaster. The crusts took forever to make, they got stale by day two, and my kid said they tasted like cardboard. That’s when I realized the beauty of using crackers—they’re already perfect, and they save you so much time. Sometimes the simplest solution is the best one.
Variations & Adaptations
One of the best things about this recipe is how easily you can adapt it to fit different tastes and dietary needs. I’ve tried quite a few variations over the months, and here are some of my favorites.
Dairy-free version: Swap the mozzarella for a dairy-free shredded cheese alternative. I’ve used Daiya and Violife brands, and both work well. Just keep in mind that dairy-free cheese doesn’t melt the same way, but since these are eaten cold, it doesn’t really matter. You can also use dairy-free pepperoni or skip the meat altogether.
Veggie-packed version: Add some finely chopped bell peppers, mushrooms, or olives to the mix. I put these in a separate compartment so they don’t make the crackers wet. My kid actually loves having “pizza toppings” to choose from—it makes the whole lunch feel more like a DIY project.
Mini pizza bagel version: Instead of crackers, use gluten-free mini bagels or bagel thins. Slice them in half and toast them lightly before packing. They’re a bit more substantial and work great for older kids who need a heartier lunch. Just be careful with the toasting—you want them firm but not hard.
Breakfast lunchable: This is a fun twist I came up with for mornings when we’re running late. Use gluten-free graham crackers or mini pancakes as the base, spread a little cream cheese or peanut butter, and add some berries on the side. It’s not pizza, but it follows the same concept and my kid loves it.
Protein boost: Add some turkey pepperoni or even small cubes of cooked chicken breast to the mix. I’ve also used gluten-free meatballs that I cut into quarters. This is great for active kids who need extra protein to get through the afternoon.
The key to any variation is keeping the components separate until it’s time to eat. That’s the magic of the lunchable concept—it’s all about assembly. Let your child get creative with their combinations. I’ve seen my kid put cheese on first, then sauce, then pepperoni, and somehow it still tastes like pizza to her. The joy is in the making.
Serving & Storage Suggestions
These Easy Gluten-Free School Lunch Pizza Lunchables are designed to be served cold or at room temperature, right out of the lunchbox. The best part is watching your child open their lunch and see the little DIY pizza kit waiting for them. They can assemble the pizzas one at a time as they eat, or save the best part for last—it’s entirely up to them.
For a fun presentation, I sometimes arrange the crackers in a circle in the container, put the cheese in the center, and nestle the sauce container in the middle like a dip bowl. It looks cute and makes the whole lunch feel more special. You can also add a small note or sticker on the sauce container for an extra surprise.
Storage instructions: If you’re prepping these in advance, keep all the components in separate airtight containers in the refrigerator. The crackers should stay in their original packaging or a sealed bag to maintain freshness. The sauce can be made up to 5 days ahead and stored in the fridge. Shredded cheese keeps well for about a week. I don’t recommend freezing these, as the texture of the crackers and cheese will suffer.
Reheating tips: These are meant to be eaten cold, but if your child prefers warm pizza, pack the components separately and let them assemble and microwave at school for about 15-20 seconds. Just make sure the container is microwave-safe. I wouldn’t recommend reheating the whole assembled lunchable, as the crackers will get soft.
One thing I’ve noticed is that the flavors actually get better after the sauce sits in the fridge for a day or two. The herbs meld together, and the sauce thickens up nicely. So don’t worry if you’re making these a day ahead—they’ll still taste great. Just remember to keep everything dry and separate until lunchtime.
Nutritional Information & Benefits
I’m not a nutritionist, but I’ve done my best to estimate the nutritional values for a standard serving of these Easy Gluten-Free School Lunch Pizza Lunchables. Keep in mind that exact numbers will vary based on the specific brands and quantities you use.
| Nutrient | Amount per Serving |
|---|---|
| Calories | 280-320 |
| Protein | 12-15g |
| Carbohydrates | 28-32g |
| Fat | 14-18g |
| Fiber | 2-4g |
| Sugar | 3-5g |
| Sodium | 450-550mg |
These lunchables are a good source of protein from the cheese and pepperoni, which helps keep kids full and focused through the afternoon. The gluten-free crackers provide quick energy, and the tomato sauce offers a small dose of lycopene, an antioxidant found in tomatoes. If you use a dairy-free cheese, you can lower the saturated fat content, and if you add veggies, you’ll boost the fiber and vitamin content.
For families managing celiac disease or gluten sensitivity, these lunchables are completely safe when you use certified gluten-free ingredients. Just double-check all labels, especially on the pepperoni and sauce, as some brands add gluten as a thickener or filler. I always look for the “certified gluten-free” label to be extra safe.
From a wellness perspective, I love that these lunchables let me control exactly what goes into my child’s lunch. No artificial colors, no high-fructose corn syrup, no preservatives I can’t pronounce. It’s real food, packed with love, and that makes me feel good about what I’m sending to school.
Conclusion
I still think about that rainy carpool line and Mrs. Patterson’s little plastic container every time I pack these Easy Gluten-Free School Lunch Pizza Lunchables. It’s amazing how one small conversation can change your whole lunch-packing game. These lunchables are more than just a meal—they’re a way to make your child feel included, special, and excited about lunchtime. And honestly, isn’t that what we all want?
I encourage you to make this recipe your own. Experiment with different cracker brands, try new toppings, let your kids help with the assembly. The beauty of this recipe is its flexibility. You can make it as simple or as fancy as you want, and it will still be a hit. My kid now asks for “pizza lunch day” every week, and I’m happy to oblige because I know she’s eating something nutritious that she actually enjoys.
If you try these Easy Gluten-Free School Lunch Pizza Lunchables, I’d love to hear how they turned out. Drop a comment below and let me know what variations your family loved. Did your kids add any unexpected toppings? Did you find a new favorite cracker brand? Share your wins and your lessons learned—we’re all in this together. And hey, if you have a rainy-day story about how you discovered a recipe, I’d love to hear that too. Happy lunch packing!
Frequently Asked Questions
Can I use regular crackers instead of gluten-free ones?
Absolutely! If you don’t need the recipe to be gluten-free, you can use any round cracker you like. Ritz crackers, saltines, or even mini bagel chips work great. Just keep in mind that the texture and crunch will vary depending on the cracker you choose.
How far in advance can I prep these lunchables?
You can prep all the components up to 5 days in advance. Store the crackers in a sealed bag, the sauce in an airtight container in the fridge, and the cheese and pepperoni in separate bags. Assemble the lunchbox the night before or the morning of for best results.
My child doesn’t like pepperoni. What can I use instead?
You can skip the pepperoni entirely, or swap it for other toppings like cooked sausage crumbles, diced ham, or even small pieces of cooked bacon. For a vegetarian option, try chopped olives, mushrooms, or bell peppers. The possibilities are endless!
Do these need to be kept cold in the lunchbox?
Yes, I recommend using an ice pack, especially if your child doesn’t have access to a refrigerator at school. The cheese and pepperoni are perishable and should stay cold until lunchtime. An insulated lunch bag with a reusable ice pack works perfectly.
Can I make these nut-free for school?
This recipe is naturally nut-free as written, but always check the labels on your specific ingredients to be sure. Some gluten-free crackers are made in facilities that also process nuts, so look for brands that are certified nut-free if that’s a concern for your school’s allergy policy.
Pin This Recipe!
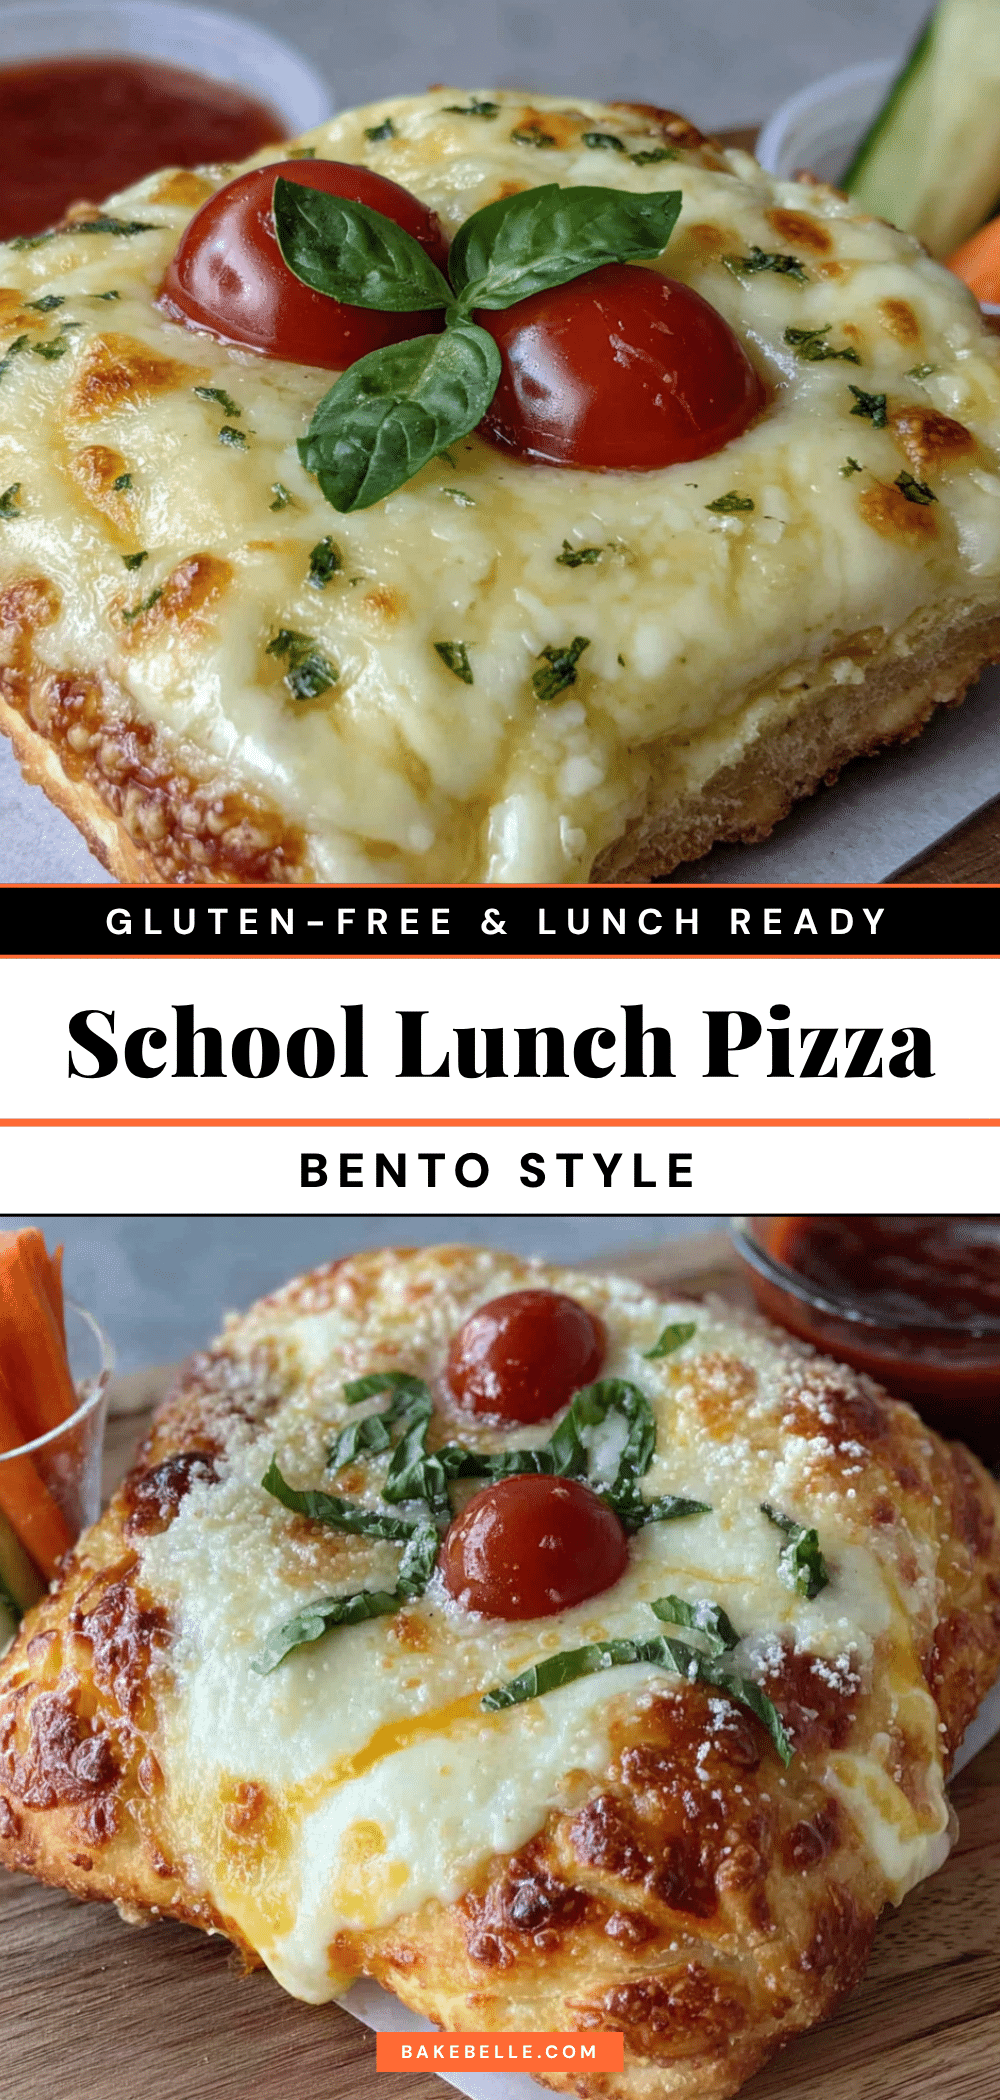
Easy Gluten-Free School Lunch Pizza Lunchables for Kids

These homemade gluten-free pizza Lunchables are a game-changer for school lunches. They’re simple to put together, stay fresh in the lunchbox, and give kids the joy of assembling their own food without any weird preservatives.
- Prep Time: 15 minutes
- Cook Time: 0 minutes
- Total Time: 15 minutes
- Yield: 1 serving 1x
- Category: Lunch
- Cuisine: American
Ingredients
- 6–8 gluten-free crackers or mini rice cakes (e.g., Schär Entertainment Crackers or Good Thins Simply Salt)
- 2 tablespoons pizza sauce (gluten-free, e.g., Rao’s Homemade Marinara)
- 1/4 cup shredded mozzarella cheese (preferably freshly shredded)
- 4–6 mini pepperoni slices (gluten-free, e.g., Applegate Naturals)
- Optional: dried oregano or Italian seasoning for sauce
- Optional: red pepper flakes for heat
Instructions
- Prep your crackers: Open the package of gluten-free crackers and lay out 6-8 per serving. Inspect to ensure none are broken.
- Portion the sauce: Measure about 2 tablespoons of pizza sauce per serving into a small, leak-proof container. Add a pinch of dried oregano if desired. Seal tightly.
- Prepare the cheese: Shred about 1/4 cup of mozzarella cheese per serving (or use pre-shredded).
- Slice the pepperoni: If pepperoni slices are large, cut them into smaller, kid-friendly pieces (e.g., quarters).
- Assemble the lunchbox: Place crackers in one compartment of a bento box, shredded cheese in another, pepperoni in a third, and the sealed sauce container in the largest section. Add optional fruit or veggie sticks on the side.
- Add an ice pack: Place a reusable ice pack on top of the lunchbox or in the insulated bag to keep everything cool.
- Pack it up: Put the assembled lunchbox into an insulated lunch bag with the ice pack. Include a napkin and small fork or spoon if needed.
Notes
Keep crackers and sauce separate until eating to prevent sogginess. For best texture, pack sauce container separately and add to lunchbox in the morning. Batch prep components on Sunday for the week. If using mini rice cakes, choose plain or lightly salted varieties.
Nutrition
- Serving Size: 1 lunchable kit
- Calories: 300
- Sugar: 4
- Sodium: 500
- Fat: 16
- Saturated Fat: 6
- Carbohydrates: 30
- Fiber: 3
- Protein: 13
Keywords: gluten-free lunch, pizza lunchables, school lunch, kid-friendly, gluten-free crackers, DIY pizza, easy lunch