I was standing in my kitchen last Tuesday, staring at a soggy, sad-looking sandwich I’d just pulled out of my son’s lunchbox. The bread was practically translucent in spots, the lettuce was wilted, and the whole thing had that depressing, damp smell that makes you wonder why we even bother. And honestly? I was so over it. You know that feeling when you’ve tried every trick in the book, and nothing works? That was me. I mean, I’d tried toasting the bread, I’d tried patting the fillings dry, I’d even tried those fancy paper towel separators. But by lunchtime, it was always the same story: a soggy mess. Then, on a random Tuesday, while I was making a quick wrap for myself, it hit me. The tortilla. It doesn’t absorb moisture the same way bread does. And if you layer it right, it stays perfectly intact for hours. That first bite of a wrap that was still crisp and fresh hours later was a total game-changer. Maybe you’ve been there, too, staring at that sad lunchbox and wondering if there’s a better way. Let me tell you, these Easy No-Soggy-Bread School Sandwich Wraps are it. They’re the solution I wish I’d found years ago.
Why You’ll Love This Recipe
These wraps aren’t just another lunch idea — they’re a total lifesaver. I’ve tested this method more times than I can count, and it works every single time. No more soggy bottoms, no more sad lunches. Here’s why you’ll fall in love with them:
- Quick & Easy: These come together in under 10 minutes. Seriously. It’s faster than making a sandwich, and way less stressful.
- Simple Ingredients: You probably already have everything in your kitchen. No fancy grocery trips needed.
- Perfect for School Lunches: They hold up beautifully in a lunchbox for hours. No refrigeration drama.
- Crowd-Pleaser: Kids love them, adults love them. Even picky eaters gobble them up.
- Unbelievably Delicious: The texture is perfect — soft but not soggy, with all the flavors staying fresh and separate.
What makes these wraps different from every other wrap you’ve tried? It’s the layering technique. I spread a thin, even layer of cream cheese or hummus on the tortilla first. This creates a moisture barrier that keeps the fillings from soaking into the wrap. Then, I add the lettuce or spinach as a second barrier. It’s simple, but it works like magic. This isn’t just another version of a wrap — it’s the best version. The kind that makes you close your eyes after the first bite, because it tastes exactly like lunch should. It’s comfort food reimagined for busy mornings, with the same soul-soothing satisfaction but none of the stress.
What Ingredients You Will Need
This recipe uses simple, wholesome ingredients to deliver bold flavor and satisfying texture without the fuss. Most of these are pantry staples, but I’ve included some easy substitutions if you need them.
- Large flour tortillas (burrito-sized) — I prefer Mission or La Banderita for their flexibility. Look for ones that are pliable but not too thin. You can also use whole wheat or spinach tortillas for extra fiber.
- Cream cheese, softened — This is the moisture barrier hero. It spreads easily and keeps the wrap from getting soggy. Use dairy-free cream cheese if needed.
- Deli turkey or ham (sliced thin) — I like Boar’s Head or Applegate for quality. You can also use rotisserie chicken or even canned tuna for a different twist.
- Provolone or cheddar cheese (sliced) — Adds a creamy, savory element. Swiss or mozzarella work well too.
- Lettuce leaves (romaine or iceberg) — These add crunch and act as a second barrier. Use spinach or arugula for a peppery kick.
- Tomato, sliced thin — Pat them dry with a paper towel to remove excess moisture. This is key to avoiding sogginess.
- Salt and pepper to taste — Simple seasonings that make a big difference.
- Optional: avocado, cucumber, or bell peppers — These add freshness and texture. Just make sure to slice them thin and pat them dry.
I always keep a block of cream cheese in the fridge specifically for this recipe. It spreads so much better than the whipped kind. And for the tortillas, I warm them slightly in the microwave for about 10 seconds before assembling — it makes them more pliable and less likely to tear.
Equipment Needed
You don’t need much for these wraps, which is part of the beauty. Here’s what you’ll need:
- Large cutting board — A sturdy surface for assembling and rolling.
- Butter knife or offset spatula — For spreading the cream cheese evenly.
- Sharp knife — For slicing the wraps cleanly. A serrated knife works best.
- Paper towels — For patting dry the tomatoes and lettuce.
- Plastic wrap or beeswax wraps — For storing the wraps if you’re making them ahead.
- Lunchbox with a small ice pack — Optional but helpful for keeping things fresh.
If you don’t have an offset spatula, a regular butter knife works just fine. I’ve also used the back of a spoon in a pinch. Honestly, the most important tool is a sharp knife — a dull one will squish the wrap and make a mess.
Preparation Method
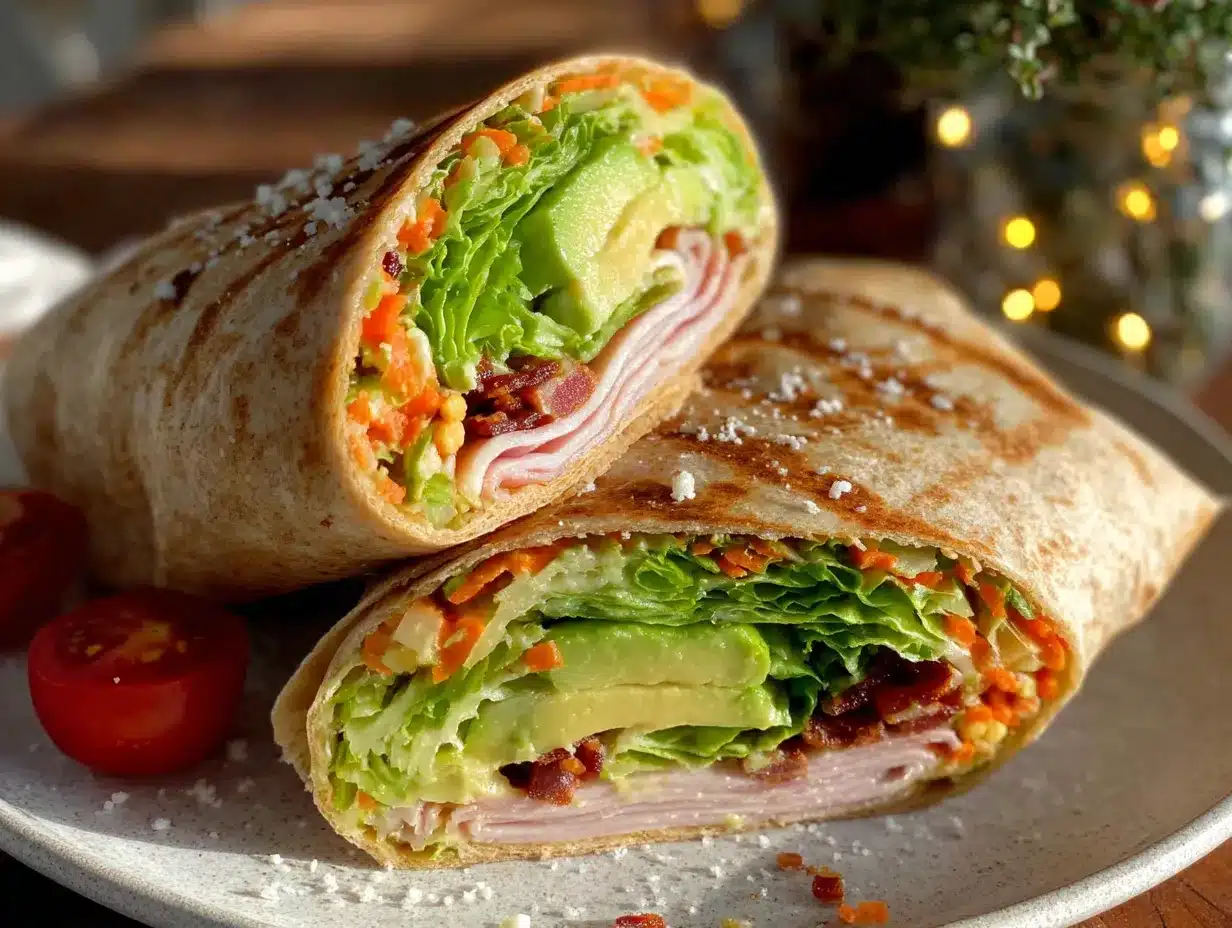
Let’s get rolling! This method is foolproof once you get the hang of it. Follow these steps, and you’ll have perfect wraps every time.
- Warm the tortilla — Place one large flour tortilla on a microwave-safe plate and heat for 10 seconds. This makes it more pliable and less likely to crack when rolling. If you don’t have a microwave, you can warm it in a dry skillet over medium heat for about 15 seconds per side.
- Spread the cream cheese — Using a butter knife or offset spatula, spread a thin, even layer of softened cream cheese over the entire surface of the tortilla, leaving about a 1-inch border around the edges. This is your moisture barrier. Don’t skip this step — it’s what keeps the wrap from getting soggy.
- Add the lettuce layer — Place 2-3 lettuce leaves (or a handful of spinach) in the center of the tortilla, covering about half the surface. This acts as a second barrier, keeping the fillings away from the wrap itself.
- Layer the fillings — Place 2-3 slices of deli turkey or ham on top of the lettuce, followed by 1-2 slices of cheese. Add a few thin slices of tomato (pat them dry first) and any optional veggies like avocado or cucumber. Season with a pinch of salt and pepper.
- Roll it up tight — Fold the bottom edge of the tortilla over the fillings, then fold in the sides. Roll it up tightly, keeping the fillings tucked in. The cream cheese helps seal the edges, so press gently to secure the seam.
- Slice and serve — Using a sharp knife, slice the wrap in half on a diagonal. This makes it easier to eat and looks prettier in a lunchbox. Serve immediately or wrap tightly in plastic wrap for later.
Here’s a tip I learned the hard way: don’t overstuff the wrap. It’s tempting to add a ton of fillings, but it makes rolling difficult and can cause the wrap to burst. Keep it moderate, and you’ll get a perfect roll every time.
Cooking Tips & Techniques
I’ve made a lot of mistakes with wraps over the years, so let me save you some trouble. Here are my best tips for getting it right every time.
The moisture barrier is non-negotiable. I once tried to skip the cream cheese because I was out, and the wrap was a soggy disaster by lunch. The cream cheese (or hummus, or even butter) creates a seal that keeps the tortilla dry. Don’t skip it.
Pat everything dry. Tomatoes, cucumbers, even lettuce if it’s washed — any excess moisture will ruin your wrap. I pat everything down with a paper towel before assembling. It takes 30 seconds and makes a huge difference.
Warm the tortilla. Cold tortillas crack and tear when you try to roll them. A quick 10-second zap in the microwave makes them flexible and easy to work with. If you’re making a batch, warm them one at a time.
Roll it tight, but not too tight. You want the wrap to hold together without squeezing the fillings out. I roll it like a burrito — fold the bottom, fold the sides, then roll forward, tucking the fillings in as I go.
Let it rest. If you’re making these ahead, wrap them tightly in plastic wrap and let them rest in the fridge for 10-15 minutes. This helps the cream cheese set and makes them easier to slice cleanly.
Variations & Adaptations
One of the best things about these wraps is how customizable they are. Here are some of my favorite variations:
- Veggie Lover’s Wrap: Swap the deli meat for roasted veggies like bell peppers, zucchini, and eggplant. Add a smear of pesto for extra flavor.
- Spicy Southwest Wrap: Use pepper jack cheese, add some black beans, corn, and a drizzle of chipotle mayo. It’s got a nice kick.
- Mediterranean Wrap: Replace the cream cheese with hummus, add falafel or grilled chicken, and top with cucumber, tomato, and a sprinkle of feta cheese.
- Breakfast Wrap: Scramble some eggs, add crispy bacon or sausage, and a slice of cheddar. Spread a little cream cheese on the tortilla, and you’ve got a breakfast that holds up all morning.
- Gluten-Free Option: Use gluten-free tortillas. They’re a bit more delicate, so warm them carefully and don’t overstuff.
I once tried a PB&J version for my daughter, using cream cheese as the barrier and adding sliced strawberries. It was surprisingly good, and it stayed fresh for hours. Don’t be afraid to get creative!
Serving & Storage Suggestions
These wraps are best served cold or at room temperature, straight from the lunchbox. I like to slice them on a diagonal for a nice presentation, but you can also leave them whole if you prefer.
For storage, wrap each wrap tightly in plastic wrap or beeswax wrap and keep them in the fridge for up to 2 days. If you’re packing them for lunch, place them in a lunchbox with a small ice pack to keep everything fresh. The flavors actually meld together nicely after a few hours, so they’re even better the next day.
To reheat, I don’t recommend it — these are meant to be eaten cold. But if you must, you can pop them in a dry skillet over medium heat for 1-2 minutes per side. Just be aware that the lettuce will wilt.
Nutritional Information & Benefits
Each wrap (using turkey, provolone, and cream cheese) contains approximately 350-400 calories, 20g protein, 30g carbs, and 18g fat. It’s a balanced meal that will keep you full for hours.
The cream cheese adds a dose of calcium, while the turkey provides lean protein. The lettuce and tomato offer fiber and vitamins A and C. If you use whole wheat tortillas, you’ll get extra fiber and B vitamins.
This recipe is naturally low in sugar and can be made gluten-free or dairy-free with simple substitutions. It’s a great option for anyone looking for a quick, nutritious lunch that doesn’t sacrifice flavor.
Conclusion
These Easy No-Soggy-Bread School Sandwich Wraps are the lunchbox solution you didn’t know you needed. They’re quick, simple, and absolutely delicious — no more soggy sandwiches, no more wasted food. I love how versatile they are, and I honestly look forward to making them every week.
I’d love to hear how yours turn out! Did you try a fun variation? Share your creations in the comments below, or tag me on Pinterest. And if you’re looking for more lunchbox ideas, don’t forget to check out my other recipes. Happy wrapping!
Frequently Asked Questions
Can I use whole wheat tortillas?
Absolutely! Whole wheat tortillas work great. Just make sure to warm them slightly before rolling, as they can be a bit more brittle than white flour tortillas.
How long do these wraps stay fresh?
Wrapped tightly in plastic wrap, they’ll stay fresh in the fridge for up to 2 days. The cream cheese barrier helps keep the tortilla from getting soggy, even after 24 hours.
Can I make these wraps ahead of time?
Yes! I often make a batch on Sunday night and pack them for the week. Just wrap each one individually and store them in the fridge. They’re perfect for grab-and-go lunches.
What can I use instead of cream cheese?
Hummus, butter, or even a thin layer of mayonnaise work well as a moisture barrier. Just make sure to spread it evenly to cover the entire tortilla surface.
How do I keep the wraps from unrolling?
Make sure to roll them tightly and let them rest in the fridge for 10-15 minutes. The cream cheese will set and help hold the seam. You can also secure them with a toothpick if needed.
Pin This Recipe!
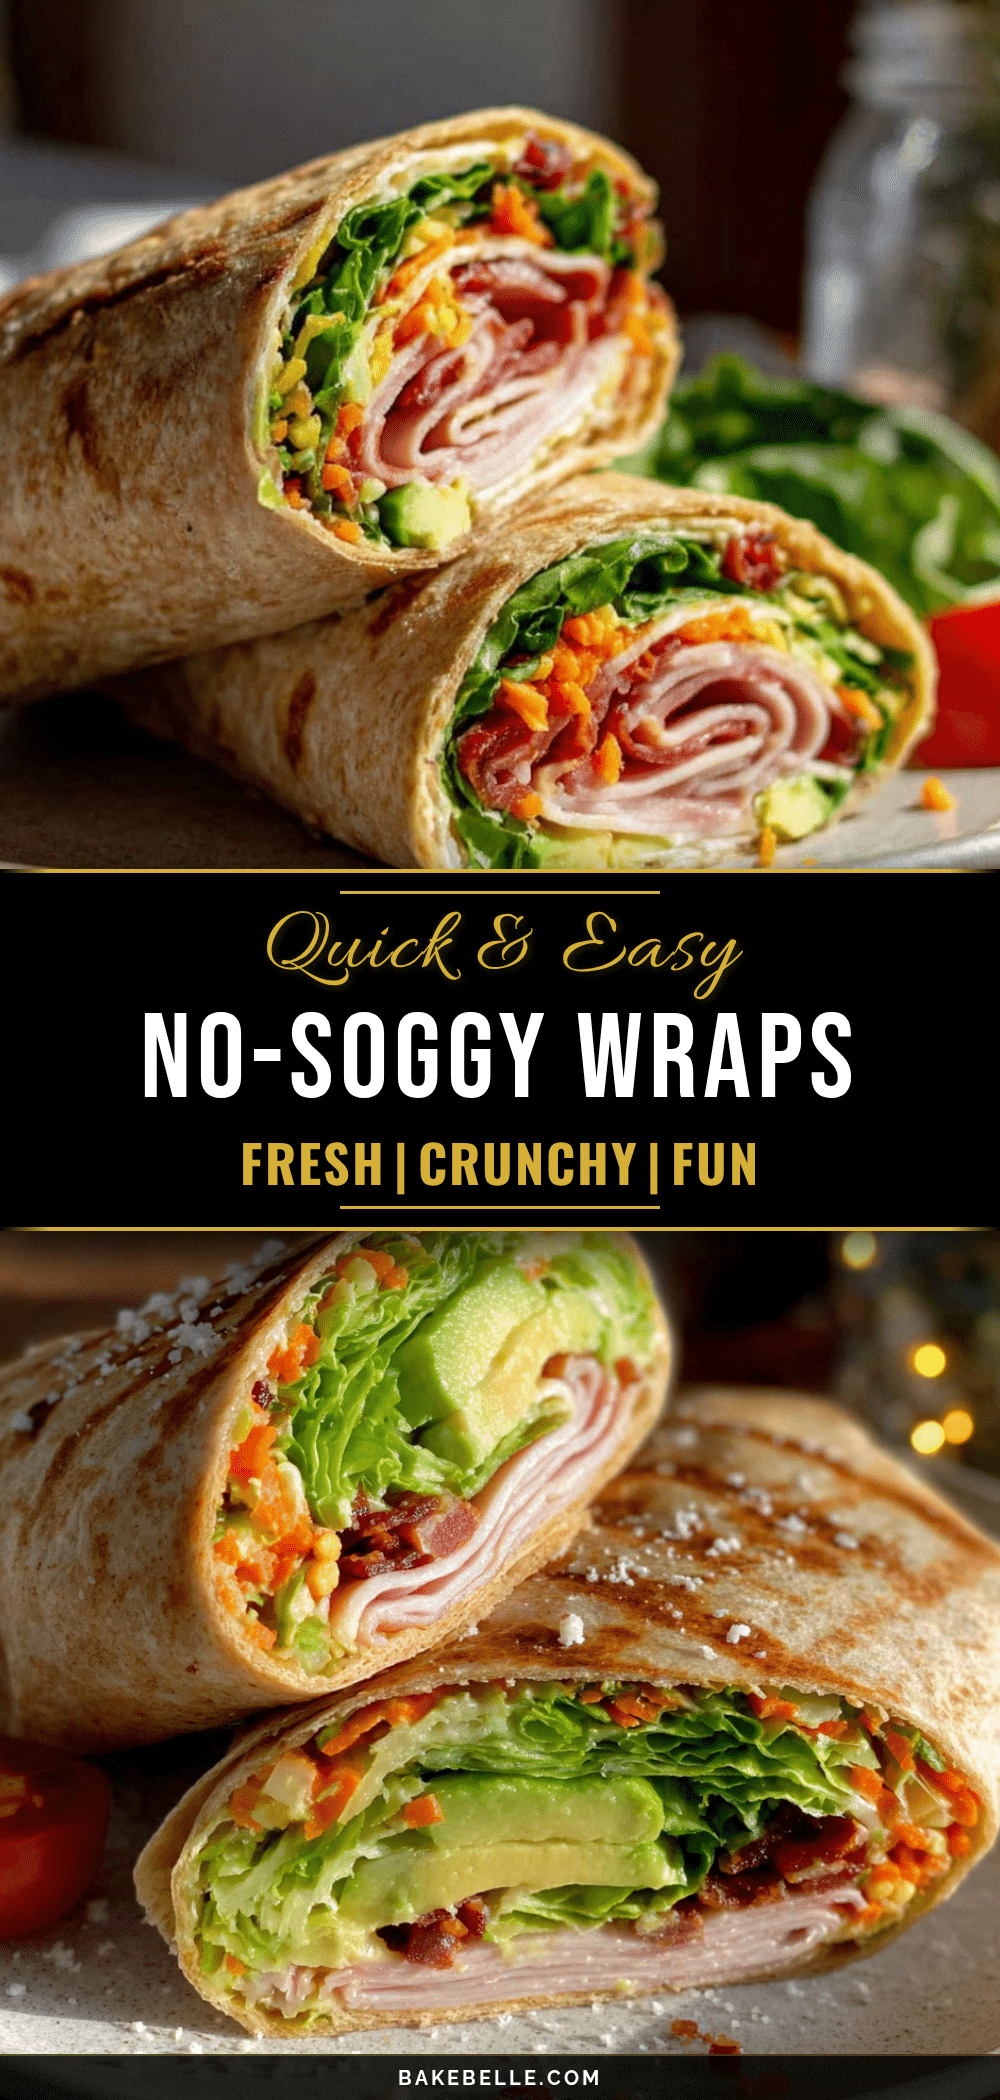
Easy No-Soggy Bread School Sandwich Wraps

These wraps are the ultimate lunchbox solution, using a clever layering technique to keep tortillas crisp and fresh for hours. Quick to assemble and packed with flavor, they’re a game-changer for busy mornings.
- Prep Time: 10 minutes
- Cook Time: 0 minutes
- Total Time: 10 minutes
- Yield: 1 serving 1x
- Category: Lunch
- Cuisine: American
Ingredients
- 1 large flour tortilla (burrito-sized)
- 2 tablespoons cream cheese, softened
- 2–3 slices deli turkey or ham
- 1–2 slices provolone or cheddar cheese
- 2–3 lettuce leaves (romaine or iceberg)
- 2–3 thin slices tomato, patted dry
- Salt and pepper to taste
- Optional: avocado, cucumber, or bell peppers (sliced thin and patted dry)
Instructions
- Warm the tortilla: Place one large flour tortilla on a microwave-safe plate and heat for 10 seconds. Alternatively, warm in a dry skillet over medium heat for about 15 seconds per side.
- Spread the cream cheese: Using a butter knife or offset spatula, spread a thin, even layer of softened cream cheese over the entire surface of the tortilla, leaving about a 1-inch border around the edges.
- Add the lettuce layer: Place 2-3 lettuce leaves (or a handful of spinach) in the center of the tortilla, covering about half the surface.
- Layer the fillings: Place 2-3 slices of deli turkey or ham on top of the lettuce, followed by 1-2 slices of cheese. Add a few thin slices of tomato (pat them dry first) and any optional veggies. Season with a pinch of salt and pepper.
- Roll it up tight: Fold the bottom edge of the tortilla over the fillings, then fold in the sides. Roll it up tightly, keeping the fillings tucked in. Press gently to secure the seam.
- Slice and serve: Using a sharp knife, slice the wrap in half on a diagonal. Serve immediately or wrap tightly in plastic wrap for later.
Notes
The cream cheese moisture barrier is essential to prevent sogginess. Pat all vegetables dry before assembling. Warm the tortilla to prevent cracking. Do not overstuff the wrap. For make-ahead, wrap tightly and refrigerate for 10-15 minutes before slicing.
Nutrition
- Serving Size: 1 wrap
- Calories: 375
- Sugar: 3
- Sodium: 800
- Fat: 18
- Saturated Fat: 8
- Carbohydrates: 30
- Fiber: 2
- Protein: 20
Keywords: no-soggy wraps, school lunch wraps, easy sandwich wraps, turkey wraps, cream cheese wraps, lunchbox ideas