I wasn’t expecting cooking advice from the accountant, but there I was, knee-deep in tax receipts at my kitchen table, listening to Mr. Henderson describe exactly how to make the best garlic butter chicken thighs of my life. He was reviewing my quarterly deductions, and out of nowhere, he starts talking about the sizzle when chicken skin hits a hot pan. Honestly, I almost asked him to repeat the business expense categories, but the way he described that golden crust had me completely distracted. He told me his wife calls it his “fifteen-minute magic trick,” and let me tell you, I scribbled the basics on a napkin while he was still calculating my depreciation.
The first time I made these quick garlic butter chicken thighs, I was skeptical. I mean, an accountant with a secret chicken recipe? It sounded like the start of a joke. But the smell that filled my kitchen—butter bubbling, garlic browning, thyme whispering through the air—made me a believer before I even took a bite. The skin was crispy, the meat was juicy, and the whole thing came together in one pan. One. Pan. Maybe you’ve been there, staring at a sink full of dishes and wondering if dinner is worth the cleanup. This recipe is the answer to that very specific, very real problem.
I’ve tweaked Mr. Henderson’s original idea over the years, adding a splash of lemon here and a pinch of red pepper flakes there. But the soul of it remains the same: quick, buttery, garlicky chicken that tastes like you spent hours in the kitchen when you really just wanted to watch something mindless on TV. I even forgot the garlic once—true story—and it was still good, but not magical. The garlic is non-negotiable. So, if you’re ready for a dinner that feels fancy without the fuss, stick with me. This one’s a keeper.
Why You’ll Love This Recipe
Let’s be real for a second. Weeknights are chaotic. Between work, school runs, and that one drawer in your house that somehow becomes a black hole for random stuff, who has time for a complicated dinner? These one pan garlic butter chicken thighs are about to become your new best friend. I’ve tested this recipe more times than I can count, and I can tell you with total confidence—it delivers every single time.
- Quick & Easy: From pan to plate in under 30 minutes. Perfect for those nights when you’re hangry and the delivery app is taking too long.
- Simple Ingredients: You probably have butter, garlic, and chicken thighs in your kitchen right now. No fancy grocery store trips required.
- One Pan Wonder: Less cleanup means more time for you. The pan does all the work, and you get all the credit.
- Crowd-Pleaser: Kids devour it. Adults ask for seconds. Even picky eaters somehow forget they’re picky.
- Unbelievably Delicious: The garlic butter sauce is so good, you’ll want to drink it. Seriously. I won’t judge.
What makes this recipe different from every other chicken thigh recipe out there? It’s the technique. You’re not just cooking chicken—you’re building layers of flavor in one single pan. The butter browns just enough to get nutty, the garlic infuses every drop, and the chicken finishes with a crust that crackles when you bite into it. It’s comfort food that doesn’t weigh you down, and it’s fast enough to make on a Tuesday when you’ve got nothing left in the tank.
This isn’t just another recipe—it’s the kind that makes you close your eyes after the first bite. Trust me on this one.
What Ingredients You Will Need
This recipe uses simple, everyday ingredients to create something truly special. The magic is in how they work together, not in how hard they are to find. Here’s what you’ll need to grab:
- Chicken Thighs: 4-6 bone-in, skin-on chicken thighs (about 1.5 lbs or 680g). The skin gets incredibly crispy, and the bone keeps the meat moist. If you only have boneless, that works too—just reduce the cooking time by about 5 minutes.
- Unsalted Butter: 3 tablespoons (42g). I use unsalted so I can control the salt level. If you only have salted butter, just skip adding extra salt until the end.
- Garlic: 6-8 cloves, minced. Fresh garlic is non-negotiable here. The pre-minced stuff in a jar won’t give you that same punchy, aromatic flavor. Trust me, I’ve tried both.
- Olive Oil: 1 tablespoon (15ml). Helps the butter from burning and adds a little extra crispiness to the skin.
- Fresh Thyme: 4-5 sprigs. Adds an earthy, slightly floral note that pairs beautifully with garlic. Dried thyme works in a pinch—use about 1 teaspoon.
- Lemon Juice: 1 tablespoon (15ml), freshly squeezed. Brightens up the richness of the butter and cuts through the fat.
- Red Pepper Flakes: ½ teaspoon (optional). For a tiny kick of heat. I love this addition, but feel free to skip it if you’re sensitive to spice.
- Salt and Black Pepper: To taste. I recommend kosher salt for better seasoning control.
- Chicken Broth: ¼ cup (60ml). Deglazes the pan and creates a quick, flavorful sauce. You can also use white wine if you’re feeling fancy.
I personally recommend using Kerrygold butter for this recipe—it has a higher fat content, which means it browns beautifully without burning. And for the chicken, look for thighs that are evenly sized so they cook at the same rate. If you’re out of fresh thyme, rosemary is a fantastic substitute. It’s a little more piney, but it works wonders with the garlic butter combo.
Equipment Needed
You don’t need a professional kitchen to make these garlic butter chicken thighs. In fact, you probably already have everything you need. Here’s the short list:
- Large Skillet: A 10-12 inch oven-safe skillet is ideal. Cast iron is my go-to because it holds heat like a dream and gives you that perfect crust. But a heavy-bottomed stainless steel pan works great too. If you’re using non-stick, just be careful not to crank the heat too high.
- Tongs: For flipping the chicken without piercing the skin. A fork will release all those precious juices—don’t do it!
- Cutting Board and Knife: For mincing garlic and prepping any fresh herbs.
- Measuring Spoons: Because eyeballing butter and garlic can get messy fast.
- Meat Thermometer: Optional, but highly recommended. Chicken thighs are done at 165°F (74°C), but I pull mine at 170°F for extra tenderness.
If you don’t have a cast iron skillet, don’t sweat it. I’ve made this recipe in a regular non-stick pan more times than I can count. The key is to let the chicken sear undisturbed for a solid 5-6 minutes so the skin gets properly golden. No peeking!
Preparation Method
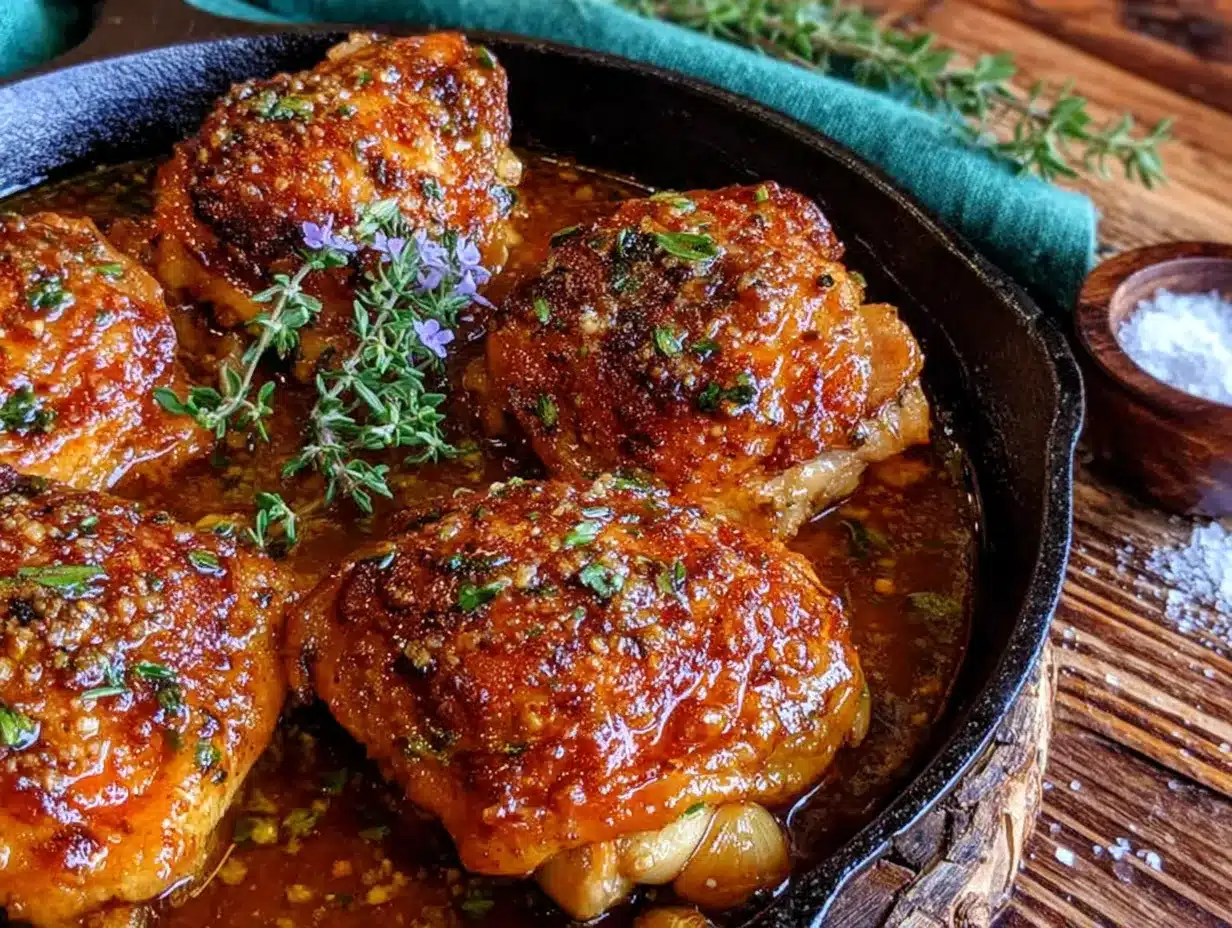
Alright, let’s get cooking. This is where the magic happens. Follow these steps, and you’ll have a dinner that tastes like it took way more effort than it actually did.
- Pat the chicken dry. Use paper towels to remove as much moisture as possible from the chicken thighs. This is the single most important step for crispy skin. Season both sides generously with salt and pepper. Let them sit at room temperature for 10 minutes while you prep the garlic.
- Heat the pan. Place your skillet over medium-high heat and add the olive oil. Wait until the oil shimmers—about 2 minutes. You want the pan hot enough that the chicken sizzles the second it hits the surface.
- Sear the chicken. Place the chicken thighs skin-side down in the hot pan. Don’t crowd them—if your pan is too small, cook in batches. Let them cook undisturbed for 6-7 minutes. The skin should be deep golden brown and release easily from the pan. Flip them over and cook for another 4 minutes on the other side.
- Remove the chicken. Transfer the thighs to a plate and set aside. Don’t worry if they’re not fully cooked yet—they’ll finish in the sauce. Leave the rendered fat in the pan (that’s pure flavor).
- Make the garlic butter. Reduce the heat to medium-low. Add the butter to the pan and let it melt, swirling occasionally. Once it’s foamy, add the minced garlic and red pepper flakes (if using). Stir constantly for about 30 seconds until the garlic is fragrant but not browned. Burnt garlic is bitter garlic—so keep it moving.
- Deglaze the pan. Pour in the chicken broth and scrape up any browned bits from the bottom of the pan with a wooden spoon. Those bits are packed with flavor. Let the sauce simmer for 1-2 minutes until it thickens slightly.
- Return the chicken. Place the chicken thighs back in the pan, skin-side up. Add the fresh thyme sprigs and drizzle the lemon juice over everything. Spoon some of that garlic butter sauce over the tops of the chicken.
- Finish cooking. Let the chicken simmer in the sauce for 5-7 minutes, basting occasionally with the pan juices. The sauce should reduce slightly and the chicken should be cooked through. If you’re using a meat thermometer, aim for 165°F (74°C) at the thickest part.
- Rest and serve. Remove the pan from the heat and let the chicken rest for 5 minutes. This allows the juices to redistribute. Spoon extra sauce over the top before serving.
I’ll be honest—the first time I made this, I got impatient and skipped the resting step. The chicken was still good, but the juices ran out onto the plate instead of staying in the meat. Lesson learned. Let it rest. Your patience will be rewarded.
Cooking Tips & Techniques
Over the years, I’ve made this recipe enough times to learn a few tricks that make a real difference. Here’s what I wish someone had told me from the start:
- Don’t skip drying the chicken. Moisture is the enemy of crispy skin. If you’re really short on time, you can pat the chicken dry and then leave it uncovered in the fridge for an hour. That dries the skin out even more, giving you an extra-crunchy crust.
- Let the pan get hot. I know it’s tempting to throw the chicken in early, but trust the process. A hot pan ensures that the skin sears instead of steaming. If the chicken sticks when you try to flip it, it’s not ready yet—give it another minute.
- Watch the garlic. Garlic burns fast. Once it turns dark brown, it becomes bitter and ruins the whole sauce. Keep the heat low when you’re cooking the garlic, and stir it constantly. If you get distracted, just take the pan off the heat for a few seconds.
- Use fresh thyme. Dried thyme is fine in a pinch, but fresh thyme adds a brightness that dried just can’t match. Plus, the sprigs look gorgeous in the pan. If you’re using dried, crush it between your fingers before adding to release the oils.
- Baste, baste, baste. Spooning that garlic butter sauce over the chicken while it simmers is what takes this from good to unforgettable. Do it every minute or so during the final cooking stage.
I once forgot to add the lemon juice entirely—just completely blanked on it. The chicken was still delicious, but it felt heavy. That little squeeze of lemon at the end is what makes the dish feel balanced and bright. Don’t skip it.
Variations & Adaptations
One of the best things about this recipe is how easy it is to tweak. Here are a few variations I’ve tried and loved:
- Lemon Herb Version: Add the zest of one lemon along with the juice, and swap the thyme for fresh rosemary and parsley. It’s brighter and more aromatic—perfect for spring dinners.
- Spicy Honey Garlic: Add 1 tablespoon of honey and an extra ½ teaspoon of red pepper flakes to the sauce. The sweetness balances the heat, and the honey helps the chicken get a gorgeous glaze.
- Creamy Garlic Butter: After deglazing the pan, stir in ¼ cup (60ml) of heavy cream. Let it simmer for 2-3 minutes until thickened. This turns the sauce into a rich, velvety dream that’s amazing over mashed potatoes.
- Dairy-Free Option: Substitute the butter with a high-quality vegan butter or ghee (if you tolerate it), and use olive oil for the sear. The flavor will be slightly different, but still delicious.
- Oven-Finished Method: After searing the chicken on the stovetop, transfer the skillet to a preheated 400°F (200°C) oven for 15-20 minutes. This gives you a hands-off finish and extra-crispy skin.
My personal favorite variation is the spicy honey garlic version. I made it for a friend who claimed she didn’t like spicy food, and she ended up asking for the recipe. The honey caramelizes on the skin, and the heat sneaks up on you in the best way.
Serving & Storage Suggestions
These garlic butter chicken thighs are incredibly versatile when it comes to serving. Here’s how I like to enjoy them:
- Serving Temperature: Serve hot, straight from the pan. The sauce should be bubbling and the skin should still be crispy. If it sits too long, the skin can soften, so eat up!
- What to Serve With: I love pairing this with creamy mashed potatoes or crusty bread to soak up every drop of that garlic butter sauce. A simple side of steamed green beans or a crisp arugula salad with lemon vinaigrette balances the richness perfectly. For a low-carb option, try it with roasted cauliflower or zucchini noodles.
- Beverage Pairing: A crisp white wine like Sauvignon Blanc or a light Pinot Grigio cuts through the butter beautifully. If you’re a beer person, a pale ale or pilsner works great too.
- Storage: Store leftovers in an airtight container in the refrigerator for up to 3 days. The flavors actually meld together even more overnight, so leftovers are a treat.
- Reheating: The best way to reheat is in a skillet over medium heat with a splash of chicken broth or water. This helps re-crisp the skin and revive the sauce. Avoid the microwave—it will make the skin rubbery and the sauce greasy.
- Freezing: You can freeze the cooked chicken thighs in the sauce for up to 2 months. Thaw overnight in the fridge and reheat in a skillet. The skin won’t be as crispy after freezing, but the flavor will still be amazing.
I’ve found that these chicken thighs taste even better the next day. The garlic mellows out, and the sauce gets thicker and more concentrated. If you’re meal prepping, this is a fantastic option.
Nutritional Information & Benefits
Here’s a rough estimate of the nutritional content per serving (based on 4 servings, using bone-in, skin-on chicken thighs):
| Nutrient | Amount per Serving |
|---|---|
| Calories | 420 |
| Protein | 32g |
| Fat | 30g |
| Saturated Fat | 12g |
| Carbohydrates | 3g |
| Fiber | 0g |
| Sugar | 1g |
| Sodium | 480mg |
Chicken thighs are a fantastic source of protein, iron, and B vitamins, which support energy metabolism and red blood cell production. Garlic is known for its anti-inflammatory and immune-boosting properties, while butter provides fat-soluble vitamins like A, D, and E. If you’re watching your saturated fat intake, you can swap half the butter for olive oil. This recipe is naturally gluten-free and low-carb, making it a great option for keto or paleo diets. Just be mindful of the sodium if you’re on a low-salt diet—use low-sodium broth and adjust the salt accordingly.
I love that this recipe feels indulgent but is actually pretty balanced. It’s the kind of meal that satisfies a craving without making you feel heavy or sluggish. Plus, the protein keeps you full for hours.
Conclusion
So there you have it—quick garlic butter chicken thighs that come together in one pan and taste like a restaurant-quality meal. This recipe has saved me on countless busy weeknights, and I hope it does the same for you. The best part? You can tweak it a hundred different ways and it always turns out delicious.
I’d love to hear how yours turns out. Did you add extra garlic? Try the spicy honey version? Serve it with something unexpected? Drop a comment below and let me know—I read every single one. And if you loved this recipe, share it with a friend who needs a quick dinner win. Trust me, they’ll thank you later.
Now go grab that skillet and make some magic. You’ve got this!
Frequently Asked Questions
Can I use chicken breasts instead of thighs?
Yes, you can! Boneless, skinless chicken breasts will work, but they cook faster and can dry out more easily. Reduce the searing time to 4-5 minutes per side, and check for doneness at 160°F (71°C) before resting. The sauce will still be amazing.
How do I keep the garlic from burning?
The key is to lower the heat to medium-low before adding the garlic and to stir it constantly. Garlic burns in seconds if left unattended. If you’re worried, you can add the garlic along with the butter and remove the pan from the heat for a few seconds while stirring.
Can I make this recipe dairy-free?
Absolutely. Substitute the butter with a high-quality vegan butter or ghee (if you tolerate dairy). Use olive oil for the initial sear. The flavor will be slightly different, but the dish will still be rich and delicious.
What’s the best way to reheat leftovers?
Reheat in a skillet over medium heat with a splash of chicken broth or water. This helps re-crisp the skin and revive the sauce. Avoid the microwave—it will make the skin rubbery. If you’re in a rush, an air fryer at 350°F (175°C) for 3-4 minutes works great too.
Can I prep this ahead of time?
Yes! You can season the chicken and mince the garlic up to 24 hours in advance. Store them separately in the fridge. When you’re ready to cook, just pull everything out and follow the recipe. The actual cooking only takes about 20 minutes, so it’s perfect for last-minute dinners.
Pin This Recipe!
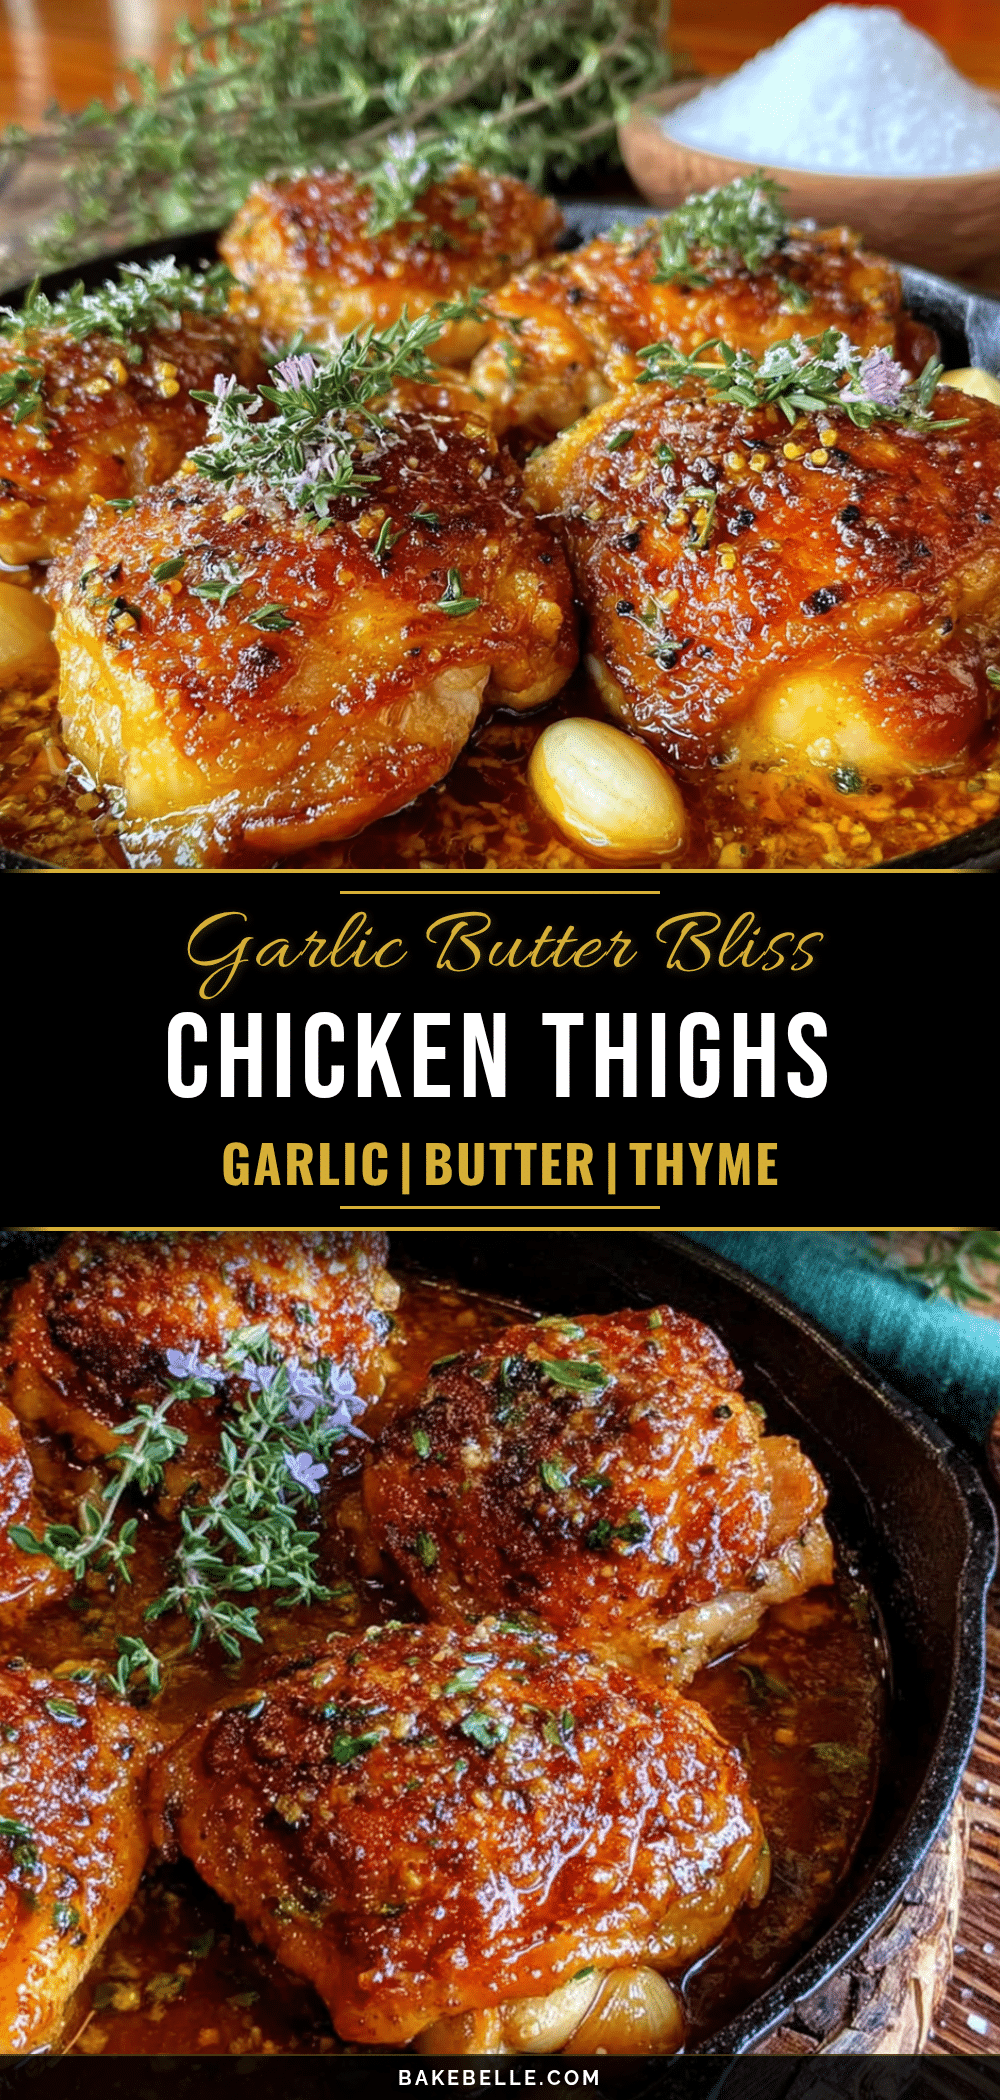
Easy One Pan Garlic Butter Chicken Thighs Recipe

Quick and easy one pan garlic butter chicken thighs with crispy skin and juicy meat, ready in under 30 minutes. Perfect for busy weeknights with minimal cleanup.
- Prep Time: 10 minutes
- Cook Time: 20 minutes
- Total Time: 30 minutes
- Yield: 4 servings 1x
- Category: Main Course
- Cuisine: American
Ingredients
- 4–6 bone-in, skin-on chicken thighs (about 1.5 lbs or 680g)
- 3 tablespoons unsalted butter (42g)
- 6–8 cloves garlic, minced
- 1 tablespoon olive oil (15ml)
- 4–5 sprigs fresh thyme (or 1 teaspoon dried)
- 1 tablespoon lemon juice (15ml), freshly squeezed
- ½ teaspoon red pepper flakes (optional)
- Salt and black pepper to taste
- ¼ cup chicken broth (60ml)
Instructions
- Pat the chicken dry with paper towels. Season both sides generously with salt and pepper. Let sit at room temperature for 10 minutes.
- Heat a large skillet over medium-high heat and add olive oil. Wait until the oil shimmers, about 2 minutes.
- Place chicken thighs skin-side down in the hot pan. Cook undisturbed for 6-7 minutes until deep golden brown. Flip and cook for another 4 minutes.
- Transfer chicken to a plate and set aside. Leave rendered fat in the pan.
- Reduce heat to medium-low. Add butter and let it melt, swirling occasionally. Once foamy, add minced garlic and red pepper flakes (if using). Stir constantly for about 30 seconds until fragrant.
- Pour in chicken broth and scrape up browned bits from the bottom of the pan. Let simmer for 1-2 minutes until slightly thickened.
- Return chicken to the pan, skin-side up. Add fresh thyme sprigs and drizzle lemon juice over everything. Spoon some garlic butter sauce over the chicken.
- Let chicken simmer in the sauce for 5-7 minutes, basting occasionally, until cooked through (165°F/74°C internal temperature).
- Remove pan from heat and let chicken rest for 5 minutes. Spoon extra sauce over the top before serving.
Notes
For extra crispy skin, pat chicken dry and leave uncovered in the fridge for an hour before cooking. Do not skip the resting step after cooking to keep juices in the meat. Garlic burns quickly—keep heat low and stir constantly when cooking garlic.
Nutrition
- Serving Size: 1 chicken thigh with
- Calories: 420
- Sugar: 1
- Sodium: 480
- Fat: 30
- Saturated Fat: 12
- Carbohydrates: 3
- Protein: 32
Keywords: garlic butter chicken thighs, one pan chicken, quick chicken dinner, crispy chicken thighs, easy weeknight dinner