I swore I’d never be the person making homemade gummies for my family. For years, I watched friends spend entire afternoons juicing, simmering, and pouring mysterious mixtures into silicone molds, and I just couldn’t understand the appeal. Store-bought gummies were fine—cheap, easy, and my kids actually ate them. Then last February, my youngest came home from preschool with yet another runny nose, and I found myself staring at the ingredient list on a popular immune-support gummy brand. The third ingredient was corn syrup. The fourth was sugar. I put the package back on the shelf and drove straight to the store for dried elderberries. Honestly, I didn’t even know what I was doing, but I was determined to make something better.
The first batch was a disaster—way too tart, weirdly thick, and the silicone mold I bought was shaped like little bears that looked more like deformed potatoes. But my daughter, the one with the runny nose, ate three of them before I could even clean up the mess. That moment changed everything. I spent the next week tweaking the recipe, testing different sweeteners, and figuring out how to get that perfect, bouncy texture without using a single packet of gelatin from the box store. Maybe you’ve been there—standing in the supplement aisle, frustrated by marketing claims and long ingredient lists, just wanting something simple that actually works. This recipe is what came out of that frustration, and it’s become a non-negotiable staple in our kitchen every cold season.
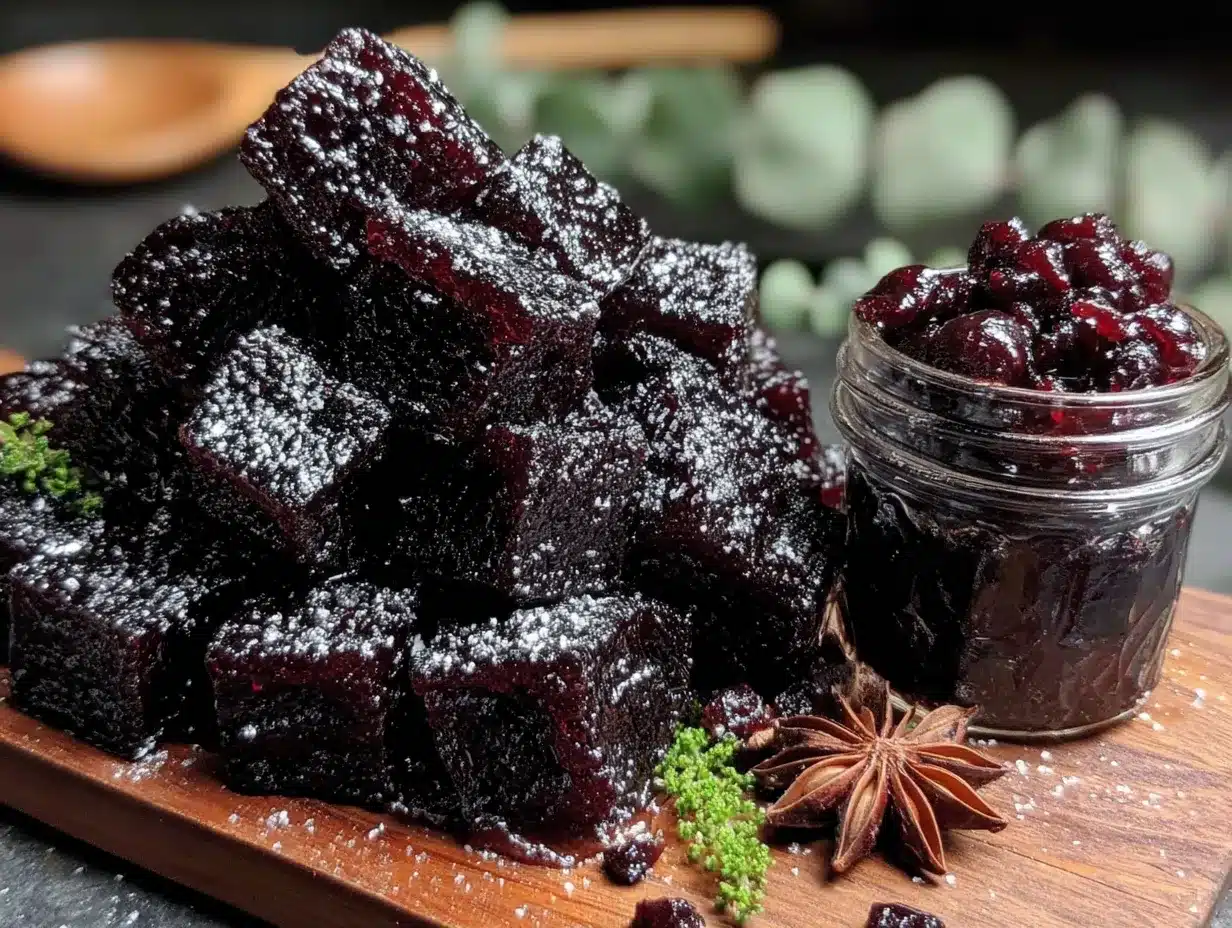
These healthy elderberry immune-boost gummies are everything I wanted: made with real food ingredients, sweet enough for kids to actually want them, and packed with the immune-supporting power that elderberries are famous for. The best part? They take less than 30 minutes to make, and you probably already have most of the ingredients in your pantry. This is the recipe that proved me wrong about homemade gummies, and I have a feeling it might do the same for you.
Why You’ll Love This Recipe
Let me tell you why these gummies have become my most-requested recipe from friends and family. It’s not just because they’re cute (though the little bear shapes do make everyone smile). These healthy elderberry immune-boost gummies deliver on every front that actually matters when you’re trying to feed your family well.
- Quick & Easy: From start to finish, these come together in under 25 minutes. Most of that time is just waiting for the elderberry syrup to simmer. The actual hands-on work? Maybe 10 minutes, tops. Perfect for a Sunday afternoon prep session.
- Simple Ingredients: No weird chemicals, no artificial flavors, no high-fructose corn syrup. You’ll need dried elderberries, water, a natural sweetener (honey or maple syrup work beautifully), and gelatin. That’s it. Four ingredients to support your immune system.
- Perfect for Cold Season: These are a game-changer when the whole household starts sniffling. I make a double batch at the first sign of a scratchy throat, and we all feel a little more prepared to fight off whatever’s going around.
- Crowd-Pleaser: My kids legitimately ask for these as treats. My husband, who raised an eyebrow at my “homemade gummy experiment,” now steals them from the fridge when he thinks I’m not looking. Even my mom, who is famously skeptical of anything “healthy,” admitted they’re delicious.
- Unbelievably Delicious: The elderberry flavor is naturally fruity and slightly tart, and when you balance it with just the right amount of honey, it creates this deep, almost jammy sweetness that store-bought gummies can’t touch. The texture is soft and bouncy—not too firm, not too jiggly.
What makes these different from every other elderberry gummy recipe out there? It’s the ratio. I tested this recipe seven times before I got it right. Too much gelatin and you’re chewing on rubber. Too little and they never set. The sweet spot I found gives you that perfect, satisfying chew without being tough. Plus, I figured out how to concentrate the elderberry flavor so you actually taste it, not just the sweetener. These aren’t sugar gummies with a hint of berry—they’re the real deal.
What Ingredients You Will Need
This recipe uses simple, wholesome ingredients to deliver bold immune support and satisfying texture without any fuss. Everything is easy to find at your regular grocery store or online.
For the Elderberry Syrup Base
- 1/2 cup dried elderberries (look for organic if possible; I prefer the brand Mountain Rose Herbs for consistent quality)
- 2 cups filtered water (tap water works, but filtered gives a cleaner flavor)
- 1 tablespoon fresh ginger, sliced (optional but adds warmth and extra immune support; peel it first)
- 1 cinnamon stick (optional; adds a lovely cozy flavor that pairs beautifully with elderberry)
- 1/4 cup raw honey (local honey is ideal for seasonal allergy support; do not use for children under 1 year—substitute with maple syrup instead)
For the Gummy Base
- 1/2 cup cold elderberry syrup (made from the ingredients above, cooled completely)
- 3 tablespoons grass-fed gelatin (I use Vital Proteins or Great Lakes; avoid collagen peptides as they won’t set properly)
- 1-2 tablespoons additional honey or maple syrup (to taste; adjust based on how tart your elderberry syrup turned out)
Ingredient Selection Tips: When choosing dried elderberries, look for ones that are deep purple-black in color, not brown or faded. They should smell slightly sweet and earthy. Avoid elderberries that look dusty or have visible mold. For the gelatin, I cannot stress this enough—use a brand you trust. I’ve had batches fail because I tried a random off-brand gelatin that just wouldn’t set. Grass-fed gelatin is worth the extra few dollars for the clean flavor and reliable results.
Substitution Guidance: If you’re vegan or vegetarian, this recipe won’t work with traditional gelatin, but you can try agar agar powder. Note that the texture will be different—more firm and less bouncy—and you’ll need to follow the package directions for activation. For a lower-sugar version, you can use monk fruit sweetener or stevia, but start with less and taste as you go since these are much sweeter than honey. If you’re avoiding nightshades, skip the cinnamon and ginger and use a pinch of turmeric instead for a different immune-supportive twist.
Equipment Needed
You don’t need a fancy kitchen to make these healthy elderberry immune-boost gummies. Here’s what I use, plus some honest thoughts on what you can skip or substitute.
- Silicone gummy molds: These are non-negotiable for the cute shape, but you can also pour the mixture into a small glass dish and cut it into squares once set. I bought a set of bear molds on Amazon for $8 and they’ve lasted through dozens of batches.
- Small saucepan: For simmering the elderberry syrup. Any pot works, but a smaller one helps concentrate the liquid faster.
- Fine-mesh strainer or cheesecloth: To strain out the berries and spices. A regular strainer works too, but you’ll get some sediment in your syrup. I don’t mind a little texture, but if you want perfectly clear gummies, use cheesecloth.
- Glass measuring cup with spout: This makes pouring into the molds so much easier. A spout gives you control, and glass is easy to clean if the mixture starts to set before you’re done.
- Whisk: For incorporating the gelatin without lumps. A fork works in a pinch, but a small whisk is much more efficient.
- Dropper or small funnel: Optional but helpful for filling tiny molds without spilling everywhere. I use a glass dropper I bought for essential oils (thoroughly washed, obviously).
Budget-Friendly Tip: If you don’t want to buy silicone molds, pour the gummy mixture into a 8×8 inch glass baking dish lined with parchment paper. Once set, cut into small squares with a sharp knife. They won’t look like bears, but they’ll taste exactly the same.
Preparation Method
Let me walk you through this step by step. I’ve made this recipe more times than I can count, and these are the exact details that give you perfect gummies every single time.
- Make the elderberry syrup. In a small saucepan, combine the dried elderberries, 2 cups filtered water, sliced ginger, and cinnamon stick if using. Bring to a boil over medium-high heat, then reduce to a simmer. Let it bubble gently for 20-25 minutes, or until the liquid has reduced by about half. You’ll know it’s ready when the liquid is deep purple and smells intensely fruity. Don’t let it boil too hard or the water will evaporate too quickly and you’ll end up with a thick paste instead of syrup.
- Strain the syrup. Place your fine-mesh strainer over a bowl or glass measuring cup. Carefully pour the hot liquid through the strainer, pressing gently on the berries with the back of a spoon to extract all that good purple goodness. Discard the solids (or compost them!). Let the syrup cool to room temperature. This is important—if you add gelatin to hot syrup, it will clump and you’ll get lumpy gummies. Ask me how I know. I usually let it sit for about 30 minutes.
- Measure your syrup. Once cooled, measure out exactly 1/2 cup of the elderberry syrup. If you have extra, save it for smoothies or tea—it’s delicious and still packed with immune benefits. Pour the measured syrup into a small bowl.
- Bloom the gelatin. Sprinkle the 3 tablespoons of gelatin evenly over the surface of the cold elderberry syrup. Do not stir yet. Just let it sit for 5-10 minutes. The gelatin will absorb the liquid and become thick and spongy. This is called “blooming” and it’s the secret to smooth, lump-free gummies. I’ve skipped this step in a hurry before, and trust me, it’s not worth it.
- Gently warm the mixture. After the gelatin has bloomed, place the bowl in a warm water bath (not boiling, just warm tap water) or very gently warm it on the stove over low heat, stirring constantly. You want the gelatin to dissolve completely into the syrup. The mixture should become liquid and smooth, like thick juice. Do not let it boil—high heat can break down the gelatin and your gummies won’t set.
- Sweeten to taste. Once the gelatin is fully dissolved, stir in the additional honey or maple syrup. Start with 1 tablespoon, taste, and add more if you want it sweeter. Remember that the gummies will taste slightly less sweet once they’re cold, so aim for a flavor that’s just a touch sweeter than you want the final product to be.
- Pour into molds. Carefully pour the liquid into your silicone molds using the glass measuring cup with spout, dropper, or small funnel. Work quickly but steadily—the mixture will start to set as it cools. If it thickens before you’re done, just rewarm it gently in the water bath for a few seconds.
- Set in the refrigerator. Place the filled molds on a flat tray or plate and transfer to the refrigerator. Let them set for at least 2-3 hours, but overnight is better if you have the time. I’ve pulled them out after 2 hours and they were fine, but the texture improves with a longer chill. They should be firm to the touch and pop easily out of the molds.
- Remove from molds. Gently press on the back of each mold cavity to release the gummies. If they stick, pop them in the freezer for 5 minutes—that usually does the trick. Store in an airtight container in the refrigerator.
Cooking Tips & Techniques
After making these healthy elderberry immune-boost gummies more times than I care to count, I’ve collected a few hard-won lessons that’ll save you from my early mistakes.
The temperature trap. The single biggest mistake people make is adding gelatin to hot liquid. I did this my first time and ended up with a stringy, lumpy mess that looked like something from a science experiment. Gelatin needs to bloom in cold liquid first. Period. If you’re in a rush, you can use cold water to bloom the gelatin, then mix it with warm syrup, but the cold syrup method gives you the most consistent results.
Don’t over-simmer the elderberries. I once forgot about my pot and let the elderberries simmer for nearly 45 minutes. The syrup was incredibly concentrated and bitter. The resulting gummies tasted like medicine—and not in a good way. Stick to the 20-25 minute window. You want the liquid reduced by about half, not to a syrupy sludge.
Grease your molds lightly. Even with silicone molds, a very light spray of coconut oil helps the gummies release perfectly. I skipped this step once and spent 15 minutes wrestling tiny bear shapes out of their cavities. Not my finest moment.
Work in batches if needed. If you’re making a double batch, don’t try to pour all the molds at once. The mixture will start to set as it cools, and you’ll end up with thicker gummies toward the end. Pour one tray, pop it in the fridge, then rewarm the remaining mixture gently before pouring the next batch. Your gummies will be consistently shaped and textured.
Trust the set time. I know it’s tempting to check on them after an hour, but gummies need time to fully set. The gelatin continues to firm up as it chills, and pulling them too early will give you soft, squishy gummies that fall apart when you try to remove them. Patience, my friend. Let them chill overnight if you can.
Variations & Adaptations
One of the things I love about this recipe is how flexible it is. Here are some of my favorite variations I’ve tested over the years.
Berry Blend Gummies: Replace half the elderberries with dried blackberries or blueberries for a different antioxidant profile. The flavor is slightly sweeter and less tart, which kids seem to love. I made a batch with blackberries last fall and my neighbor’s kids ate the entire container in one afternoon.
Spiced Immune-Boost Version: Add a pinch of turmeric and a crack of black pepper to the simmering elderberries. The black pepper helps your body absorb the curcumin in turmeric, and the combination is incredibly warming and comforting. This is my go-to version when I feel like something is trying to take hold.
Citrus Elderberry Gummies: Add the zest of one orange and one lemon to the simmering syrup. The citrus oils add brightness and extra vitamin C. Strain them out with the elderberries. The resulting gummies have a sunny, cheerful flavor that’s perfect for winter mornings.
Low-Sugar Version: Use monk fruit sweetener or stevia instead of honey. Start with half the amount called for and adjust to taste. The texture will be slightly different—less sticky—but they still set beautifully. I made a batch for my diabetic uncle and he was thrilled to have a treat he could actually eat.
Vegan Option (Texture Alert): Substitute the gelatin with agar agar powder. Use 1 tablespoon agar agar powder dissolved in 1/4 cup cold water, then bring to a boil and simmer for 2 minutes before mixing with the elderberry syrup. The texture is more like firm jelly than bouncy gummies, but the immune benefits are the same. Store these in the fridge and they’ll keep for about a week.
Serving & Storage Suggestions
These healthy elderberry immune-boost gummies are best enjoyed cold, straight from the refrigerator. The texture is at its peak when they’re chilled—firm, bouncy, and satisfying to chew. I like to pop a few in a small bowl and let them sit for a minute or two before eating, just to take the edge off the cold.
How to Serve: For adults, I recommend 2-3 gummies per day during cold season. For children over 1 year, 1-2 gummies daily is plenty. They make a great afternoon snack, a post-school treat, or a little something sweet after dinner. I’ve also been known to pack them in lunchboxes (with an ice pack, since they need to stay cold).
Storage Instructions: Keep your gummies in an airtight container in the refrigerator. They’ll stay fresh for up to 2 weeks, though in my house they’re usually gone within 5 days. Do not leave them at room temperature for more than an hour—the gelatin will start to soften and they’ll lose their shape. If you’re traveling with them, pack them in a small cooler.
Freezer Option: Yes, you can freeze these! Place the gummies in a single layer on a parchment-lined baking sheet and freeze until solid, then transfer to a freezer-safe bag or container. They’ll keep for up to 3 months. Thaw in the refrigerator overnight before eating. The texture will be slightly softer after freezing, but still delicious.
Flavor Development: Interestingly, the elderberry flavor deepens after a day or two in the fridge. The gummies I make on Sunday always taste better by Tuesday. Something about the flavors melding together in the cold. So if you can resist eating them all on day one, you’re in for a treat.
Nutritional Information & Benefits
These gummies aren’t just tasty—they’re genuinely good for you. Here’s what you’re getting in each serving (based on a batch of approximately 60 small gummies, with a serving size of 3 gummies).
- Calories: Approximately 45 per serving
- Carbohydrates: 10g (mostly from honey and elderberries)
- Protein: 4g (thanks to the gelatin, which is pure protein)
- Fat: 0g
- Sugar: 8g (naturally occurring from honey and berries)
Health Benefits: Elderberries are packed with antioxidants, particularly anthocyanins, which give them that deep purple color. Research suggests they can help reduce the duration and severity of cold symptoms. The gelatin supports joint health, skin elasticity, and gut health. Ginger and cinnamon add anti-inflammatory properties. Honestly, this is one of the few treats I feel genuinely good about feeding my family every day.
Dietary Considerations: This recipe is naturally gluten-free, dairy-free, and nut-free. It’s suitable for paleo and whole30 diets if you use maple syrup instead of honey (honey is technically not whole30 approved). Not suitable for vegans unless you use the agar agar variation. Contains no major allergens beyond possible cross-contamination with gelatin processing facilities.
Conclusion
These healthy elderberry immune-boost gummies have become such a staple in our home that I honestly can’t imagine cold season without them. They’re proof that you don’t need a cabinet full of supplements or a chemistry degree to support your family’s health. Just four simple ingredients, a little bit of patience, and the willingness to try something new.
What I love most about this recipe is how adaptable it is. Maybe you’ll make them exactly as written and fall in love with the classic elderberry-honey flavor. Or maybe you’ll add orange zest and turmeric and create something entirely your own. That’s the beauty of homemade food—it bends to your preferences, your pantry, your family’s needs.
I’d love to hear how these turn out for you. Did you try a variation? Did your kids love them? Did you accidentally make them too tart and have to adjust the sweetness? Drop a comment below and let me know. Your experiments might just inspire someone else’s next batch. And if you share a photo on social media, tag me so I can cheer you on. Now go make some gummies—your immune system will thank you.
Frequently Asked Questions
Can I use fresh elderberries instead of dried?
I don’t recommend it. Fresh elderberries have a much higher water content, which makes it hard to concentrate the flavor properly. Dried elderberries are also more readily available and consistent in quality. Stick with dried for the best results.
Why did my gummies turn out cloudy or have white foam on top?
That’s usually from not blooming the gelatin properly or from heating the mixture too quickly. The white foam is just air bubbles trapped in the gelatin. You can skim it off with a spoon before pouring into molds, or gently tap the filled molds on the counter to release bubbles.
Can I make these without a stove?
Yes! You can make the elderberry syrup in a slow cooker on low for 4-6 hours, or even in a microwave-safe bowl in 30-second bursts. Just watch it carefully to avoid boiling over. The gelatin blooming and dissolving process works the same way regardless of how you heat the syrup.
How do I know if my elderberry syrup is concentrated enough?
You’re looking for the liquid to reduce by about half. It should be deep, dark purple and slightly syrupy when you tilt the pot. If it’s still thin and watery, let it simmer a few more minutes. If it’s thick like honey, you’ve gone too far—just add a little water to thin it out.
Can I double this recipe?
Absolutely. I regularly make double batches. Just use a larger pot for the syrup and give yourself extra time for pouring. The gelatin mixture will start to set faster in larger quantities, so work in batches and rewarm as needed. Store the extra batch in the freezer for up to 3 months.
Pin This Recipe!
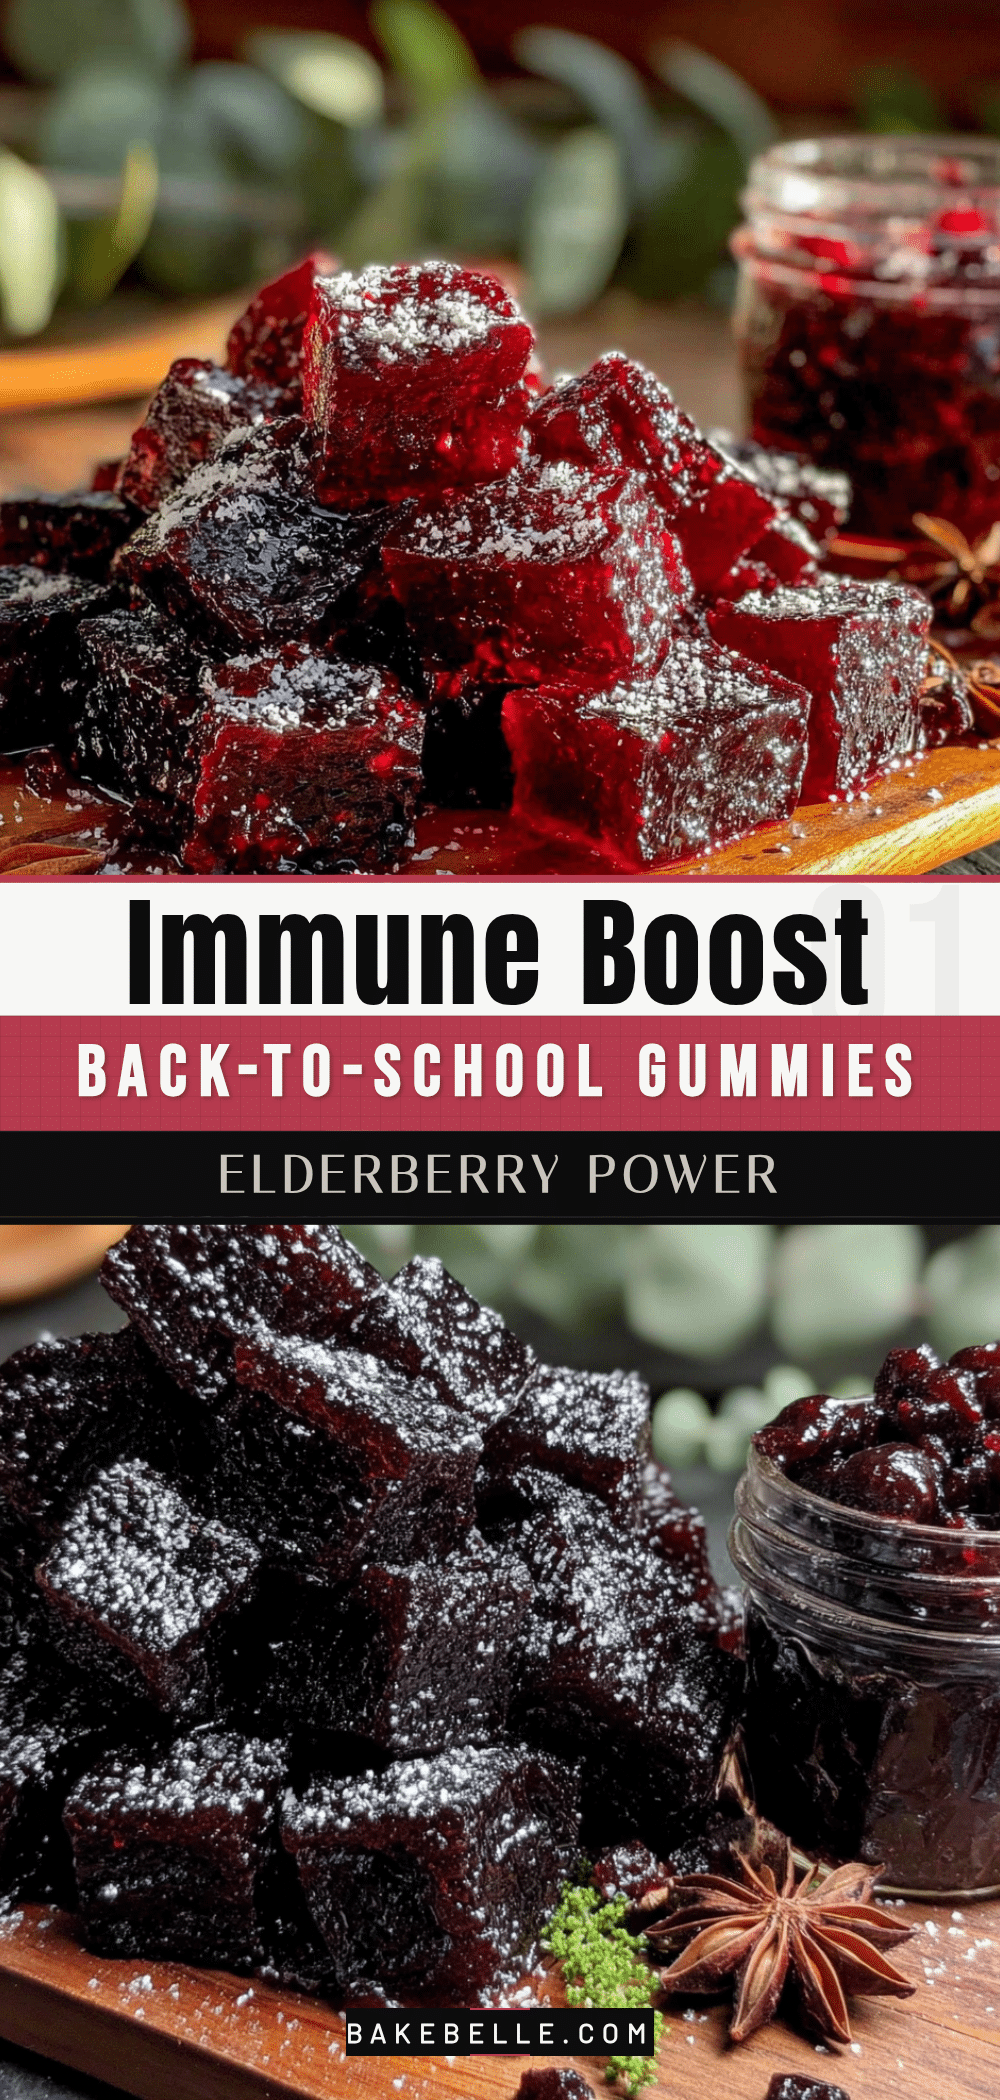
Healthy Elderberry Gummies: Easy Immune-Boost Recipe
These healthy elderberry immune-boost gummies are made with real food ingredients, sweet enough for kids to actually want them, and packed with the immune-supporting power that elderberries are famous for. They take less than 30 minutes to make and use simple pantry ingredients.
- Prep Time: 10 minutes
- Cook Time: 25 minutes
- Total Time: 35 minutes (plus 2-3 hours setting time)
- Yield: 60 small gummies 1x
- Category: Snack
- Cuisine: American
Ingredients
- 1/2 cup dried elderberries
- 2 cups filtered water
- 1 tablespoon fresh ginger, sliced (optional)
- 1 cinnamon stick (optional)
- 1/4 cup raw honey (or maple syrup for children under 1 year)
- 1/2 cup cold elderberry syrup (made from above ingredients)
- 3 tablespoons grass-fed gelatin (e.g., Vital Proteins or Great Lakes)
- 1–2 tablespoons additional honey or maple syrup (to taste)
Instructions
- Make the elderberry syrup: In a small saucepan, combine dried elderberries, 2 cups filtered water, sliced ginger, and cinnamon stick if using. Bring to a boil over medium-high heat, then reduce to a simmer. Let it bubble gently for 20-25 minutes, or until the liquid has reduced by about half.
- Strain the syrup: Place a fine-mesh strainer over a bowl or glass measuring cup. Carefully pour the hot liquid through the strainer, pressing gently on the berries with the back of a spoon to extract all liquid. Discard the solids. Let the syrup cool to room temperature (about 30 minutes).
- Measure your syrup: Once cooled, measure out exactly 1/2 cup of the elderberry syrup. Pour the measured syrup into a small bowl.
- Bloom the gelatin: Sprinkle the 3 tablespoons of gelatin evenly over the surface of the cold elderberry syrup. Do not stir. Let it sit for 5-10 minutes until thick and spongy.
- Gently warm the mixture: After the gelatin has bloomed, place the bowl in a warm water bath or very gently warm it on the stove over low heat, stirring constantly, until the gelatin dissolves completely and the mixture is smooth. Do not let it boil.
- Sweeten to taste: Stir in the additional honey or maple syrup. Start with 1 tablespoon, taste, and add more if desired. Aim for a flavor slightly sweeter than the final product.
- Pour into molds: Carefully pour the liquid into silicone gummy molds using a glass measuring cup with spout, dropper, or small funnel. Work quickly but steadily. If the mixture thickens, rewarm gently.
- Set in the refrigerator: Place the filled molds on a flat tray and refrigerate for at least 2-3 hours, preferably overnight, until firm.
- Remove from molds: Gently press on the back of each mold cavity to release the gummies. If they stick, freeze for 5 minutes. Store in an airtight container in the refrigerator.
Notes
Do not add gelatin to hot liquid; always bloom in cold liquid first. Do not over-simmer elderberries (20-25 minutes max). Lightly grease silicone molds with coconut oil for easy release. Work in batches if making a double batch. Gummies need at least 2-3 hours to set; overnight is better. Store in refrigerator for up to 2 weeks or freeze for up to 3 months. For vegan option, substitute gelatin with agar agar powder (1 tablespoon dissolved in 1/4 cup cold water, then boiled and simmered for 2 minutes).
Nutrition
- Serving Size: 3 gummies
- Calories: 45
- Sugar: 8
- Carbohydrates: 10
- Protein: 4
Keywords: elderberry gummies, immune boost, homemade gummies, healthy gummies, elderberry recipe, immune support, gelatin gummies, natural remedy