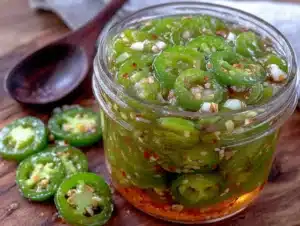
I was elbow-deep in a pile of dirt, yanking out bindweed from my overgrown garden bed, when my neighbor across the fence, a retired electrician named Sal, started talking about jalapeños. Honestly, I wasn’t in the mood for small talk. My back ached, the sun was brutal, and I was pretty sure I’d just uncovered a family of grubs. But Sal, he just kept going. He pointed at the single, sad jalapeño plant I had bought on a whim and said, “You know, you’re gonna have more peppers than you know what to do with. You gotta can ’em.” He talked about his mother’s pantry in Chicago, rows of jars filled with pickled everything, but especially these little rings. He said she used a coffee mug to press the peppers down into the jars. A coffee mug. I nodded, wiped the sweat from my forehead, and honestly, I forgot about the whole conversation. Until three weeks later, when my one plant exploded with forty green bullets.
I was drowning in jalapeños. I gave bags away to friends, I made spicy salsa until my blender smoked, and I still had a basket full. That’s when I remembered Sal and his mother’s coffee mug. I texted him, and within an hour, he was in my driveway, holding a stained index card with a recipe scribbled in pencil. It wasn’t a fancy food blog recipe. It was a note. It said “brine: 1 cup vinegar, 1 cup water, 1 T salt. Boil. Pour. Wait.” That was it. I was skeptical. It seemed too simple. But I had nothing to lose, so I grabbed my smallest pot, a single pint jar, and got to work.
That first batch was a revelation. The peppers stayed crunchy, the brine was perfectly tangy and salty, and the heat was there but not punishing. I mean, they were just so much better than the mushy, fluorescent things you buy at the store. Maybe you’ve been there, staring at a jar in the grocery store, wondering why they cost eight bucks and taste like nothing. This small-batch recipe changed my entire perspective on preserving. It wasn’t a big, scary process. It was just me, a few peppers, and a simple brine. I keep making it because it’s the most satisfying kitchen project you can finish in under an hour, and you get a jar of pure, crunchy gold at the end.
Why You’ll Love This Recipe
Let’s be real for a second. Canned jalapeño rings from the store are often a letdown. They’re either too soft, too sweet, or they have that weird metallic aftertaste. This easy small-batch canned jalapeño pepper rings recipe is the antidote to all of that. I’ve tested this brine ratio more times than I can count—tweaking the salt, the vinegar type, the processing time—to get it just right. You get the professional-grade crunch and flavor without needing a pressure canner or a degree in food science.
- Quick & Easy: From cutting the first pepper to hearing that satisfying “pop” of the jar lid sealing, you’re looking at about 45 minutes. Perfect for a weekend afternoon when you want to do something productive but not exhausting.
- Simple Ingredients: You need vinegar, water, salt, and peppers. That’s it. No weird additives, no calcium chloride, no sugar unless you want it. Your pantry already has this stuff.
- Perfect for Gifting: A single pint jar of these rings, tied with a bit of twine, makes the best hostess gift. It’s unexpected and way more impressive than a bottle of wine.
- Crunchy, Not Mushy: The secret is in the quick-pickle method and not over-processing the jars. These rings stay crisp for months, holding their shape perfectly on a taco or sandwich.
- Customizable Heat: You control the spice. Remove all the seeds and ribs for a mild ring, or leave them all in for a fiery kick. The store can’t do that for you.
What makes this recipe different from the rest is the “small-batch” philosophy. Most canning recipes assume you have a bushel of peppers and a dozen jars. This is for the gardener with one prolific plant, or for the cook who just wants a single jar for the fridge without committing to a massive canning operation. It’s not just another version of canned peppers; it’s the most practical, waste-free version. This is the recipe that makes you feel like a kitchen wizard, even if you’ve never canned anything in your life. It’s the kind of thing you’ll pull out of the pantry on a Tuesday night, add to your nachos, and feel a little smug about how good they are.
What Ingredients You Will Need
This recipe uses the most basic pantry staples to build a clean, sharp brine that lets the jalapeño flavor shine. Don’t be tempted to overcomplicate it. The simplicity is the point.
- Fresh Jalapeño Peppers (8-10 medium): This is the star. Look for peppers that are firm, smooth, and have a vibrant green color. Avoid any that are soft or have brown spots. The size matters here—medium peppers are easier to slice into uniform rings. (I usually grab a handful from the farmer’s market or my garden).
- Distilled White Vinegar (1 cup): This provides the necessary acidity for safe canning and gives that classic tangy pickle flavor. I don’t recommend using apple cider vinegar here as it can darken the brine and change the flavor profile. Stick with plain white vinegar for the cleanest taste.
- Water (1 cup): Regular tap water is fine, but if you have very hard water, you might want to use filtered water to prevent any cloudiness in the brine.
- Canning or Pickling Salt (1 tablespoon): This is crucial. Do not use regular table salt, which contains anti-caking agents and iodine that can turn your brine cloudy and make the peppers taste off. Canning salt dissolves cleanly and gives a pure salty flavor. You can find it in any grocery store near the canning supplies.
- Optional: Garlic Cloves (2-3, peeled): I almost always add a couple of garlic cloves to the jar. They infuse the brine with a mellow savory note that pairs beautifully with the peppers. Plus, you get pickled garlic at the end, which is a bonus.
- Optional: Dried Oregano or Bay Leaf: A small pinch of dried oregano or one bay leaf adds a subtle herbal background note. It’s not traditional for all styles, but I love it in mine.
For a slightly sweeter ring, you can add 1 teaspoon of sugar to the brine. I usually skip it because I prefer the straight savory-tangy flavor, but if you like the sweet-heat combo of store-bought rings, go for it. Just dissolve it in the hot brine.
Equipment Needed
You don’t need a fancy canning kit for this. Here’s what you’ll actually use:
- One Pint-Size Mason Jar (16 oz): A wide-mouth jar is easier to pack with pepper rings. Make sure it’s a canning jar designed for heat processing, not a repurposed pasta sauce jar.
- New Lid and Screw Band: Always use a new lid for a proper seal. The screw band can be reused if it’s not rusted or bent.
- Small Saucepan: For making the brine.
- Medium Stockpot or Deep Pot: This is for your water bath. It needs to be deep enough to cover the jar with at least 1 inch of water.
- Sharp Knife and Cutting Board: A sharp knife makes clean cuts and prevents crushing the peppers.
- Small Bowl: To hold the sliced rings.
- Kitchen Towel: For handling the hot jar.
- Jar Lifter (Optional but recommended): This tool makes lifting the hot jar out of the boiling water so much safer. If you don’t have one, use sturdy tongs.
I used a regular pair of kitchen tongs for years before I bought a jar lifter. They work, but you have to be careful not to drop the jar. A jar lifter is a ten-dollar investment that saves a lot of anxiety.
Preparation Method
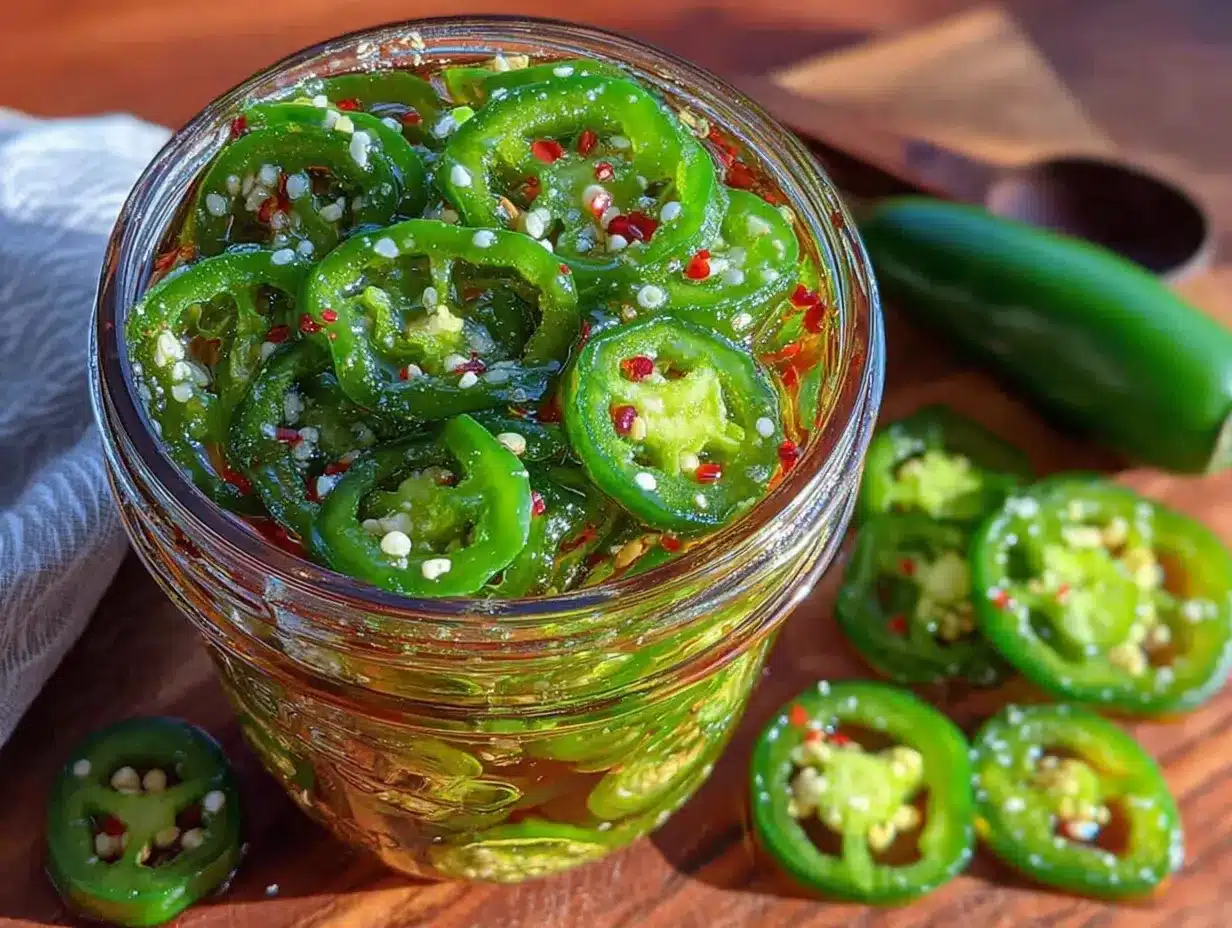
Alright, let’s get to the fun part. This process is straightforward, but paying attention to the details makes the difference between a good jar and a great one.
- Prep the Jars and Lids: Wash your pint jar, lid, and screw band in hot, soapy water. Rinse thoroughly. Place the jar in your stockpot, cover it with water, and bring it to a simmer. You want the jar hot when you fill it to prevent it from cracking. Place the lid in a small bowl of hot water (not boiling) to soften the sealing compound. Just leave it there until you need it.
- Prepare the Peppers: Wash your jalapeños well. Put on some gloves if you have sensitive skin—trust me on this one. I once rubbed my eye after cutting peppers and regretted it for an hour. Cut off the stem end of each pepper. Slice the peppers into uniform rings, about 1/4-inch thick. If you want milder rings, cut the peppers in half lengthwise first and scrape out the white ribs and seeds with a small spoon before slicing. For spicy rings, just slice them whole.
- Pack the Jar: Remove the hot jar from the simmering water using your jar lifter or tongs. Place it on a kitchen towel. Tightly pack the pepper rings into the jar. Don’t be shy—really push them in there. They will settle as you go. If you are using garlic or herbs, tuck them in among the peppers. Leave about 1/2 inch of headspace at the top of the jar.
- Make the Brine: In your small saucepan, combine 1 cup of distilled white vinegar, 1 cup of water, and 1 tablespoon of canning salt. If you are using sugar, add it now. Bring this mixture to a rolling boil over high heat, stirring to dissolve the salt completely.
- Pour the Brine: Carefully pour the hot brine over the pepper rings in the jar. Fill it until the liquid reaches the 1/2-inch headspace mark. You want the peppers completely submerged. Use a chopstick or a butter knife to gently run around the inside of the jar to release any trapped air bubbles. Add a little more brine if the level drops after removing the bubbles.
- Wipe and Seal: Wipe the rim of the jar with a clean, damp paper towel. Any salt or pepper bits on the rim can prevent a seal. Place the hot lid on the jar, then screw on the band until it is fingertip-tight. Don’t crank it down with all your strength—just snug it up.
- Process the Jar: Using your jar lifter, carefully lower the jar back into the simmering water in your stockpot. Make sure the jar is covered by at least 1 inch of water. Put the lid on the pot. Bring the water back to a full boil, then start your timer. Process the jar for 10 minutes. (If you live at an altitude above 1,000 feet, you need to add 1 minute of processing time for every 1,000 feet above sea level).
- Cool and Check the Seal: After 10 minutes, turn off the heat. Use your jar lifter to remove the jar and place it on a towel on the counter. Do not move or jostle it. Let it cool completely for 12 to 24 hours. You will hear a satisfying “pop” as the lid seals. After it’s cool, press the center of the lid. It should not flex up or down. If it pops, the jar didn’t seal, and you should store it in the refrigerator and use it within a month.
The rings will look a little dull at first, but give them a week in the pantry. The flavors will meld, and the brine will clear up. Patience is the hardest part!
Cooking Tips & Techniques
I’ve made a few mistakes over the years so you don’t have to. Here are the things I wish I knew from the start.
Don’t Skip the Hot Jar Step. I got lazy once and poured hot brine into a cool jar. The thermal shock cracked the jar right down the middle. All that work, wasted. Always heat your jar in the simmering water while you prep the peppers. It keeps everything safe and happy.
Uniform Slices Matter. This isn’t just about looks. If some rings are 1/8-inch thick and others are 1/2-inch thick, they will pickle at different rates. The thin ones might get soft, while the thick ones are still too crunchy. Take the extra 30 seconds to make your slices consistent. A mandoline slicer is great for this, but a steady hand with a sharp knife works just fine.
The “Fingertip-Tight” Rule. This is the most common mistake new canners make. If you screw the band on too tight, air can’t escape during processing, and the lid can buckle. If it’s too loose, the seal won’t form. Screw the band on just until you feel resistance, then give it a tiny bit more. Think of it like closing a jar of pickles you’re about to open—not like you’re trying to seal a nuclear reactor.
Patience with the Brine. When you first pour the brine, it might look a little cloudy. Don’t panic. This happens sometimes, especially if your water is hard. It usually clears up as the peppers cure. If it’s still cloudy after a week, it’s still safe to eat—it’s just a cosmetic issue.
Multitasking Strategy. While your jar is simmering to heat up, slice your peppers. While the brine is coming to a boil, pack your jar. This whole process flows smoothly if you just think one step ahead. I always set out my ingredients and tools before I even touch a pepper. It makes the whole thing feel like a calm, meditative process instead of a frantic race.
Variations & Adaptations
Once you master the basic recipe, you can play around. Here are a few ways I’ve adapted this over the years.
- Smoky Chipotle Style: Before packing the jar, I add one dried chipotle pepper to the bottom. It rehydrates in the brine and gives the rings a deep, smoky flavor that is incredible on burgers.
- Sweet & Spicy: Add 2 tablespoons of honey to the brine instead of sugar. It dissolves beautifully and adds a floral sweetness that balances the heat. This version is my go-to for topping cream cheese and crackers.
- Mediterranean Twist: Add a sprig of fresh dill and a clove of garlic to the jar. This creates a flavor profile closer to a classic dill pickle, but with a spicy kick. It’s surprisingly good on Greek salads.
- Low-Sodium Version: You can reduce the salt to 1 teaspoon, but be aware that salt is a preservative. This version will have a shorter shelf life and should be stored in the refrigerator. The texture will also be slightly less crisp.
- Mix it Up: I love doing a “garden medley” jar. I use half jalapeño rings and half sliced carrots or thinly sliced red onion. The carrots and onions pickle beautifully and are fantastic on their own.
I tried a version with star anise once, and honestly, it was a little too licorice-forward for my taste. Not every experiment is a winner, but that’s the fun of small-batch canning. You’re not committing to a dozen jars of a flavor you might not love.
Serving & Storage Suggestions
These rings are incredibly versatile. I use them as a finishing touch more than a cooking ingredient.
How to Serve: I love serving these straight from the jar at room temperature. The cold fridge temperature can mute some of the flavor, so let them sit out for 15 minutes before serving. They are the absolute best thing to put on a hot dog or a bratwurst. Seriously, it’s a game-changer. They also shine on tacos, nachos, sandwiches, and salads. I’ve even chopped them up and mixed them into tuna salad for a spicy kick.
Storage: If your jar sealed properly (the lid is concave and doesn’t flex), you can store it in a cool, dark pantry for up to 12 months. The flavor actually gets better after about a month. If the jar didn’t seal, or if you opened it, store it in the refrigerator. It will stay crisp and delicious for about 2 to 3 months.
Reheating (If Needed): Honestly, I never heat these up. The cold crunch is the whole point. But if you want them on a hot sandwich, just lay the rings on the sandwich and let the heat from the meat warm them slightly. Don’t boil them or microwave them—they will turn into sad, limp mush.
Flavor Development: The first day, the rings taste mostly like vinegar and salt. Give them a week. The garlic and pepper flavors will infuse the brine, and the heat will become more rounded and less sharp. It’s worth the wait.
Nutritional Information & Benefits
I’m not a nutritionist, but I can tell you what I know about these little green powerhouses. A serving of about 5 pepper rings (30g) contains roughly 5 calories, less than 1g of carbohydrates, and a good dose of vitamin C. The capsaicin in jalapeños is known for its metabolism-boosting and anti-inflammatory properties.
Dietary Considerations: This recipe is naturally gluten-free, vegan, and low-carb. It contains no major allergens, though some people with a sensitivity to vinegar might want to moderate their intake. The sodium content is moderate due to the canning salt, so if you are watching your salt intake, you might want to enjoy them in moderation or try the low-sodium variation I mentioned earlier.
For me, the biggest benefit is knowing exactly what is in my food. There are no preservatives, no artificial colors, and no high-fructose corn syrup. It’s just peppers, vinegar, water, and salt. That simplicity feels good.
Conclusion
This easy small-batch canned jalapeño pepper rings recipe is the kind of kitchen project that gives you a huge return for very little effort. It takes a handful of common ingredients and turns them into something special—a jar of crunchy, tangy, spicy goodness that you can pull out whenever you need to add a little life to a meal. I love that it connects me to that conversation with Sal, and to the simple, practical wisdom of home cooks who came before us. This isn’t a complicated, fussy recipe. It’s a real, working recipe that delivers every single time.
I really hope you give this a try. It’s so satisfying to see that jar seal and know you made it yourself. And if you do make it, I’d love to hear about it. What did you put the rings on? Did you add any fun spices? Drop a comment below and let me know. Share this recipe with a friend who has a jalapeño plant that’s going crazy in their garden. They’ll thank you for it. Happy canning!
Frequently Asked Questions
Do I have to process the jars in a water bath, or can I just store them in the fridge?
You can absolutely skip the water bath processing if you plan to eat the peppers within a month. Just pack the jar, pour the hot brine over them, let them cool, put the lid on, and store them in the refrigerator. This is called “quick pickling.” The water bath is only necessary if you want to store the sealed jar in your pantry at room temperature for months.
Can I use apple cider vinegar instead of white vinegar?
You can, but I don’t recommend it for this recipe. Apple cider vinegar has a stronger, fruitier flavor that can overpower the delicate heat of the jalapeños. It will also darken the brine, making the final product look less vibrant. Stick with distilled white vinegar for the cleanest, brightest result.
Why did my brine turn cloudy?
Cloudy brine is usually caused by one of two things: using table salt with anti-caking agents, or using very hard tap water. If you used canning salt and filtered water, it might still be cloudy right after processing. This is normal and often clears up as the peppers cure over a week or two. It is safe to eat.
How long do the peppers need to sit before they taste good?
I know it’s hard to wait, but they really need at least one week in the jar for the flavors to develop. The first day, they taste mostly like hot vinegar. After a week, the garlic, pepper, and salt meld together into that perfect tangy-spicy profile. They hit their peak flavor around the one-month mark.
Can I double this recipe?
Yes, absolutely. Just multiply all the ingredients by the number of jars you want to make. If you are making more than four jars, you might need to process them in batches so you don’t overcrowd your stockpot. Make sure each jar is covered by at least 1 inch of water during processing. The processing time stays the same at 10 minutes.
Pin This Recipe!
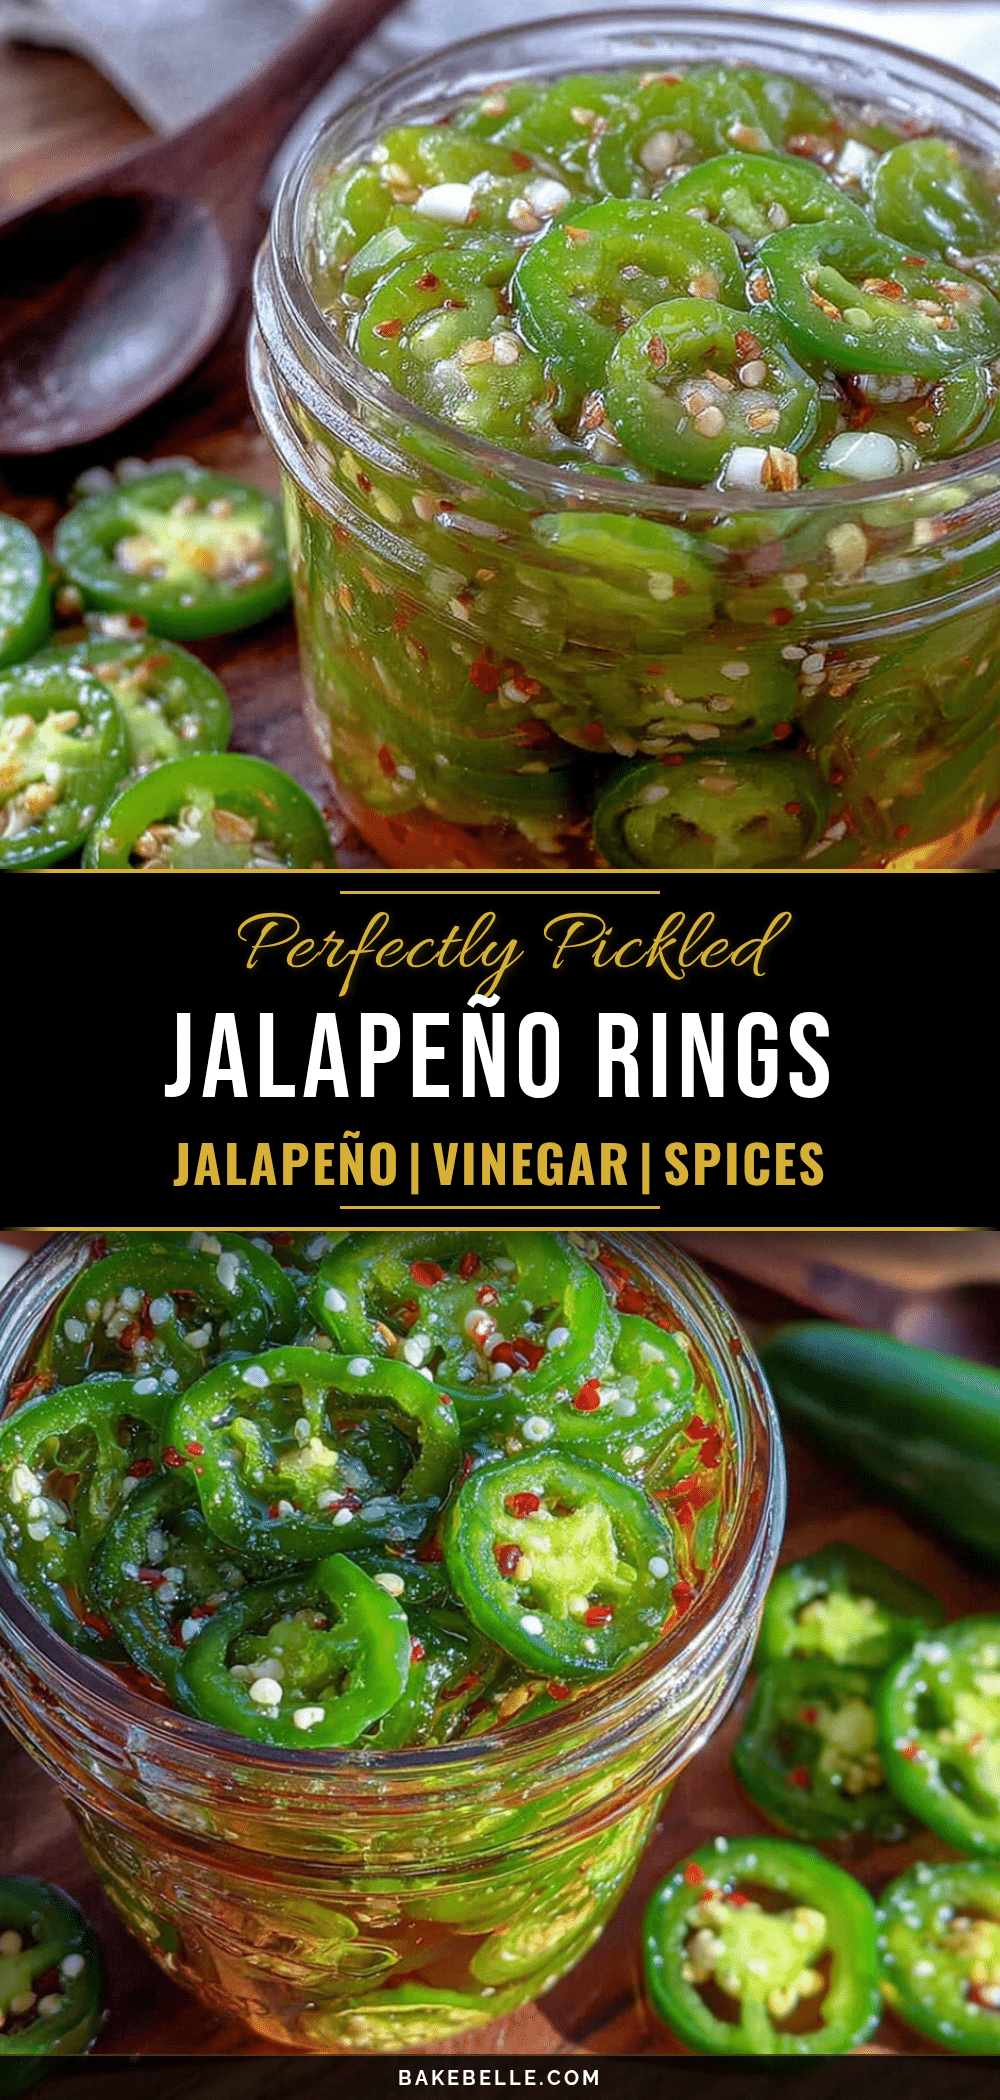
Easy Small-Batch Canned Jalapeño Rings: Best Homemade Recipe
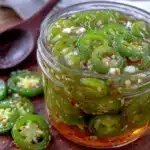
This easy small-batch canned jalapeño pepper rings recipe delivers crunchy, tangy, spicy goodness in under an hour. Perfect for gardeners with one prolific plant or cooks who want a single jar without a massive canning operation.
- Prep Time: 15 minutes
- Cook Time: 10 minutes
- Total Time: 45 minutes
- Yield: 1 pint (about 8-10 servings) 1x
- Category: Appetizer, Condiment
- Cuisine: American
Ingredients
- 8–10 medium fresh jalapeño peppers
- 1 cup distilled white vinegar
- 1 cup water
- 1 tablespoon canning or pickling salt
- 2–3 peeled garlic cloves (optional)
- 1 pinch dried oregano or 1 bay leaf (optional)
- 1 teaspoon sugar (optional, for sweeter rings)
Instructions
- Wash the pint jar, lid, and screw band in hot, soapy water. Rinse thoroughly. Place the jar in a stockpot, cover with water, and bring to a simmer to heat the jar. Place the lid in a bowl of hot water to soften the sealing compound.
- Wash the jalapeños. Wearing gloves, cut off the stem ends. Slice into uniform 1/4-inch rings. For milder rings, remove seeds and ribs; for spicy, leave them in.
- Remove the hot jar from the simmering water using a jar lifter or tongs. Tightly pack the pepper rings into the jar, leaving 1/2 inch headspace. Tuck in garlic or herbs if using.
- In a small saucepan, combine vinegar, water, and salt (plus sugar if using). Bring to a rolling boil, stirring to dissolve the salt.
- Carefully pour the hot brine over the peppers, filling to the 1/2-inch headspace. Use a chopstick or butter knife to release air bubbles. Add more brine if needed.
- Wipe the jar rim with a clean, damp paper towel. Place the hot lid on the jar and screw on the band until fingertip-tight.
- Using a jar lifter, lower the jar into the simmering water in the stockpot, ensuring it is covered by at least 1 inch of water. Cover the pot, bring to a full boil, and process for 10 minutes (add 1 minute per 1,000 feet above sea level).
- Turn off the heat. Remove the jar and place on a towel on the counter. Let cool completely for 12 to 24 hours. Check the seal: the lid should be concave and not flex. If it doesn’t seal, refrigerate and use within a month.
Notes
For best flavor, let the rings sit for at least one week before eating. The brine may appear cloudy initially but usually clears up. If the jar doesn’t seal, store in the refrigerator and use within a month. Wear gloves when handling jalapeños to avoid skin irritation.
Nutrition
- Serving Size: 5 rings (30g)
- Calories: 5
- Sodium: 180
- Carbohydrates: 1
Keywords: canned jalapeño rings, pickled jalapeños, small-batch canning, homemade pickled peppers, jalapeño recipe, water bath canning, easy canning recipe